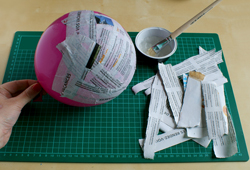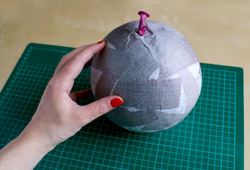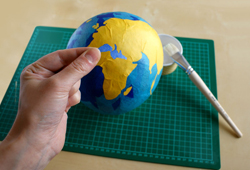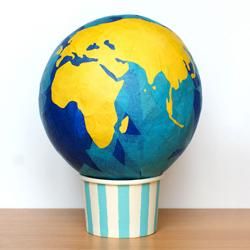
Create your globe in paper mache ! A balloon, a few newspapers, some pretty coloured kraft paper and blue tissue paper are all you need for this activity.
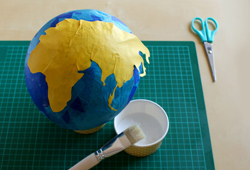
An opportunity to review geography basics: the names of continents and oceans while having fun!
Materials:
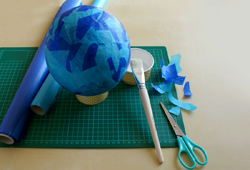
- Canson® tissue paper: turquoise blue and ultramarine blue
- Kraft Canson® Paper: yellow
- Canson® tracing paper
- Newpapers
- Balloon
- Scissors
- Wallpaper glue and white/vinyl glue
- Paint brushes
- Pencil and black felt pen