Make a chronological frieze

Rate this tutorial
Average: 3.9 (10 votes)

Create a chronological frieze representing the great historical periods of prehistory to the present day, a universal frieze that will allow children to locate eras and the great upheavals of history.

Some coloured paper, a little cutting and you're ready to reveal history! 

Materials:

Cutting the colour blocks

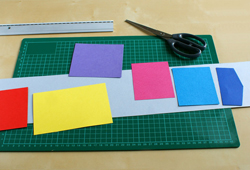
Start by defining the height of your frieze (eg. : here, it is 10 cm high), then cut rectangles of different widths.

The scale is approximate, the two greatest periods being Antiquity and the Middle Ages (Prehistory being the end of the frieze, it can be truncated).

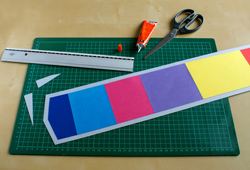
You can cut the last rectangle as a point to create an "arrow" effect that gives the reading direction of the frieze.

Collage of the frieze

Paste all coloured rectangles end-to-end and in the correct order on a strip of light grey paper, leaving a 1 cm margin horizontally and vertically.

Add information

Download and print the PDF containing all the labels.

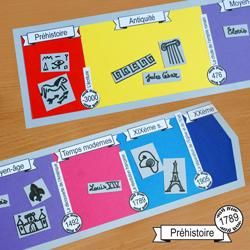
Cut out all the elements (this activity can be done in pairs or small groups to let the children make their own choice before gluing) and stick them on your frieze.

Using the frieze

Once your collages are finished, you can use this frieze as a simple educational display or as a game, maybe invite the children to draw symbols (fleurs de lys, castles, hieroglyphs, Phrygian cap...), write names (Charlemagne, Clovis, Napoleon ...) on pieces of paper that they will have to place in the corresponding periods.

The frieze is a working base for different types of activities related to the History programme, where you can define your own goals.