
Making an Easter bunny

Rate this tutorial
Average: 4.3 (3 votes)

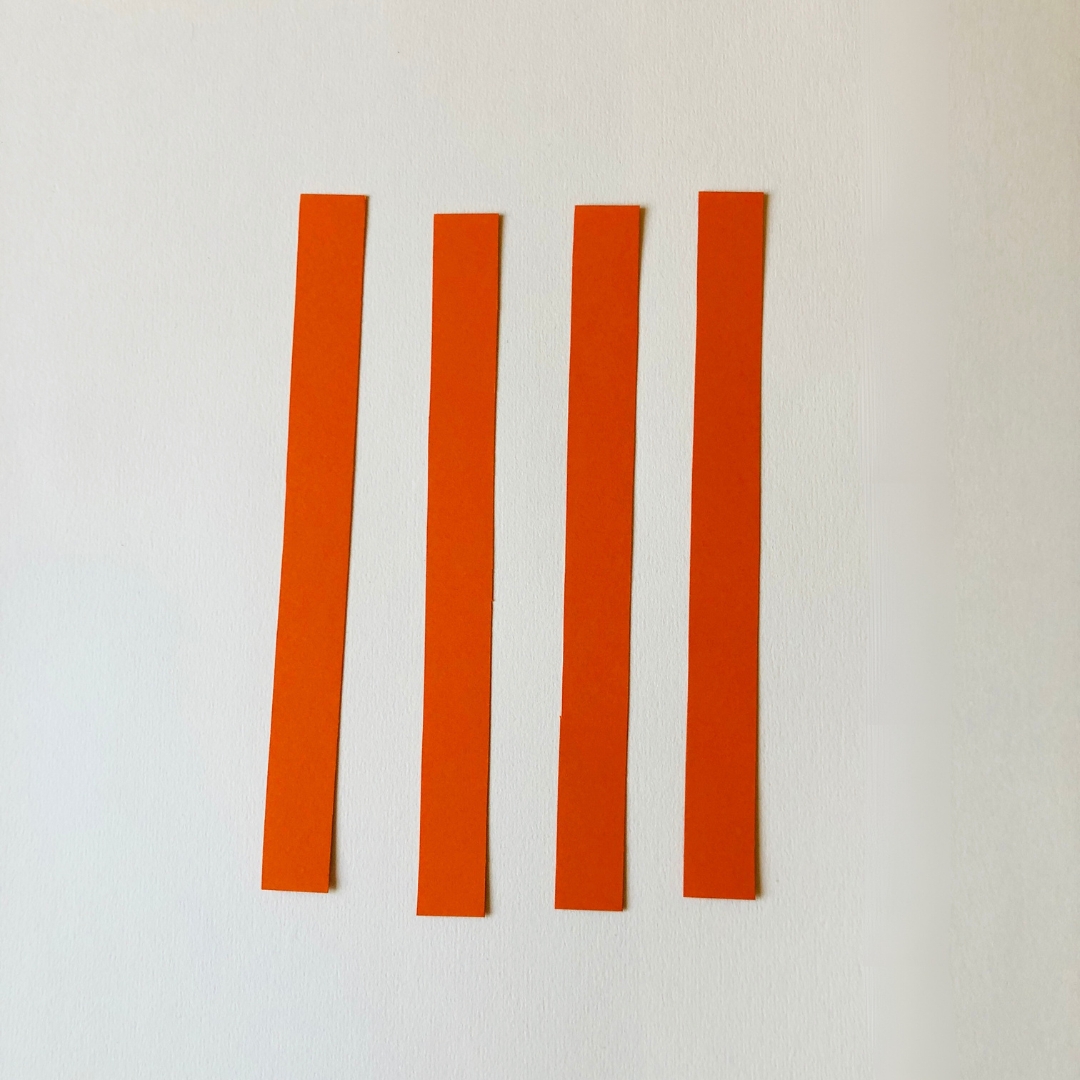
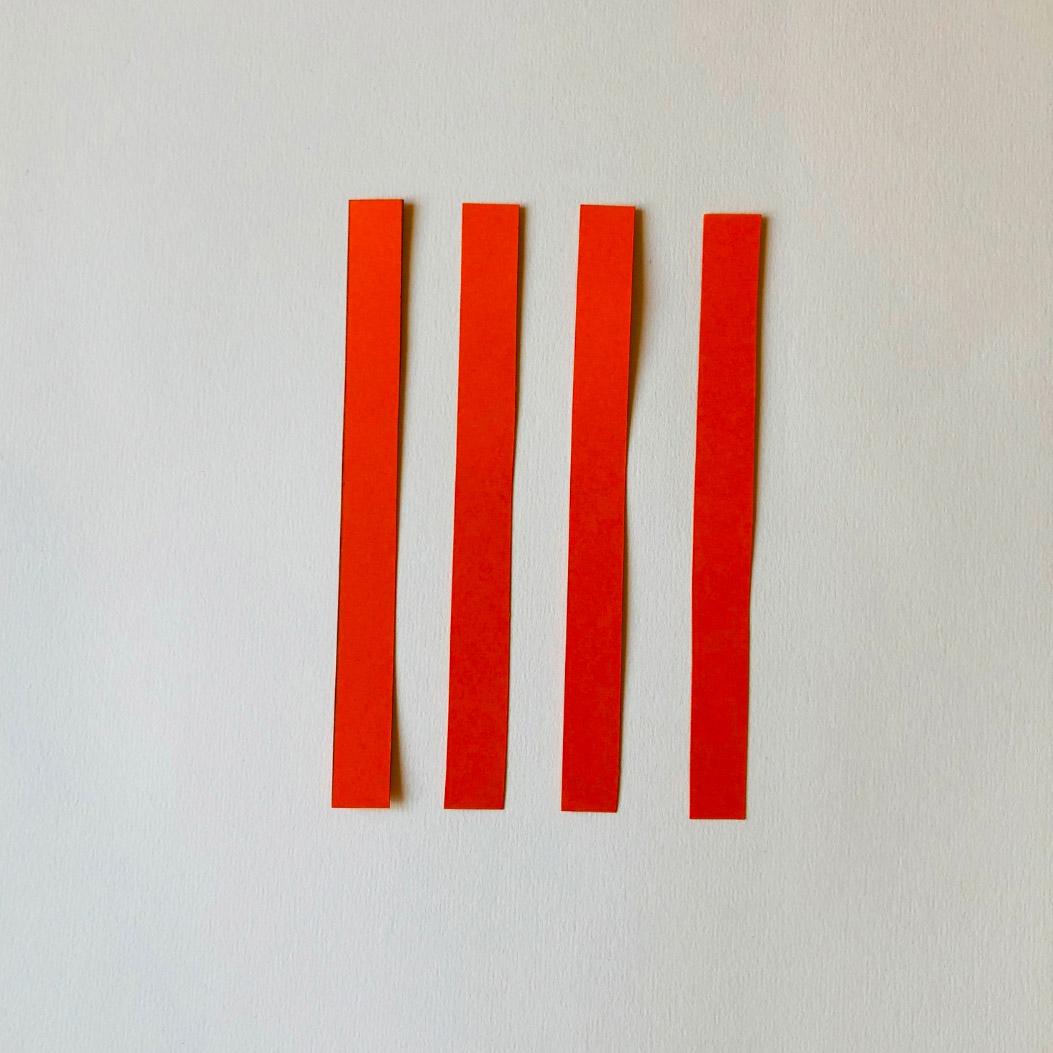
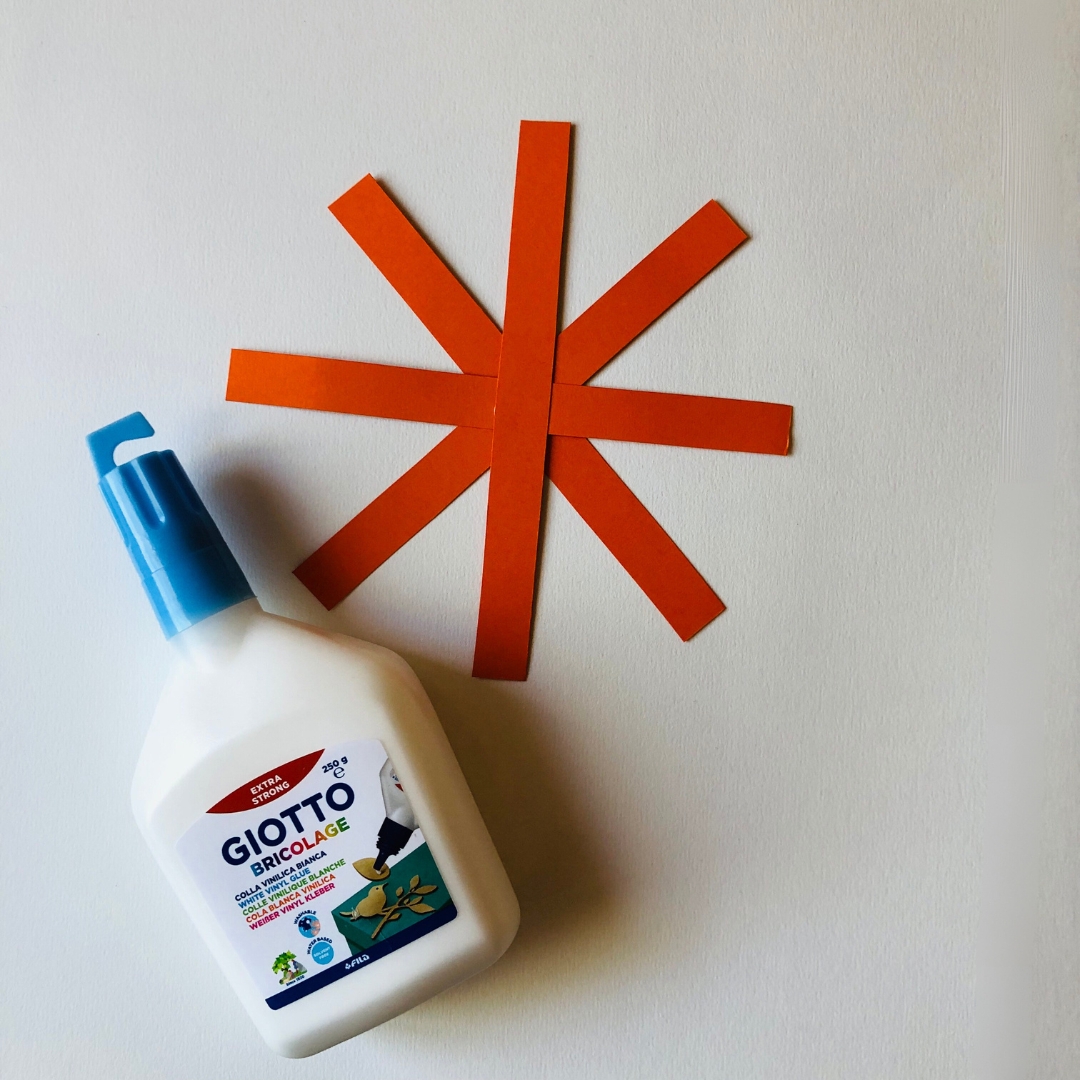
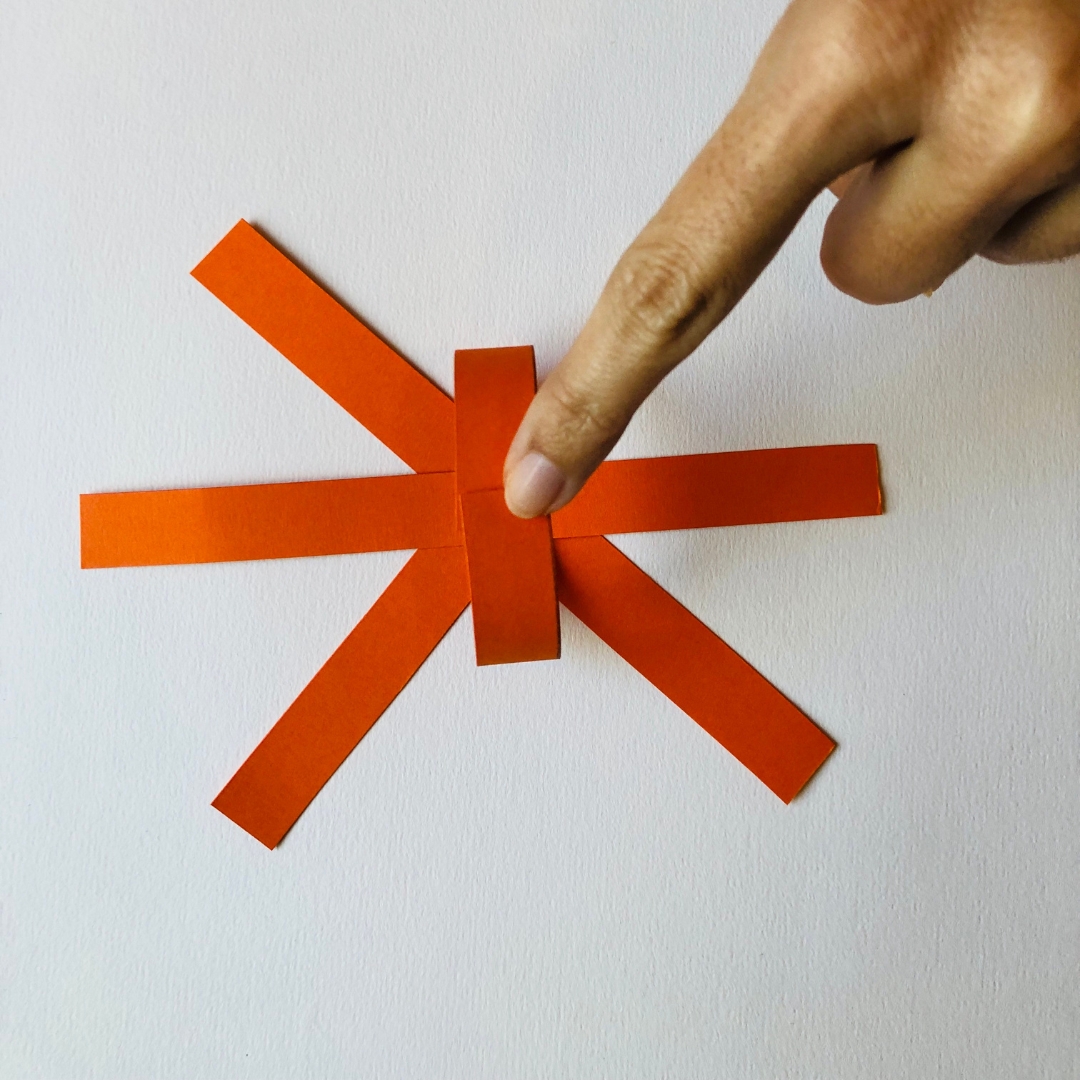
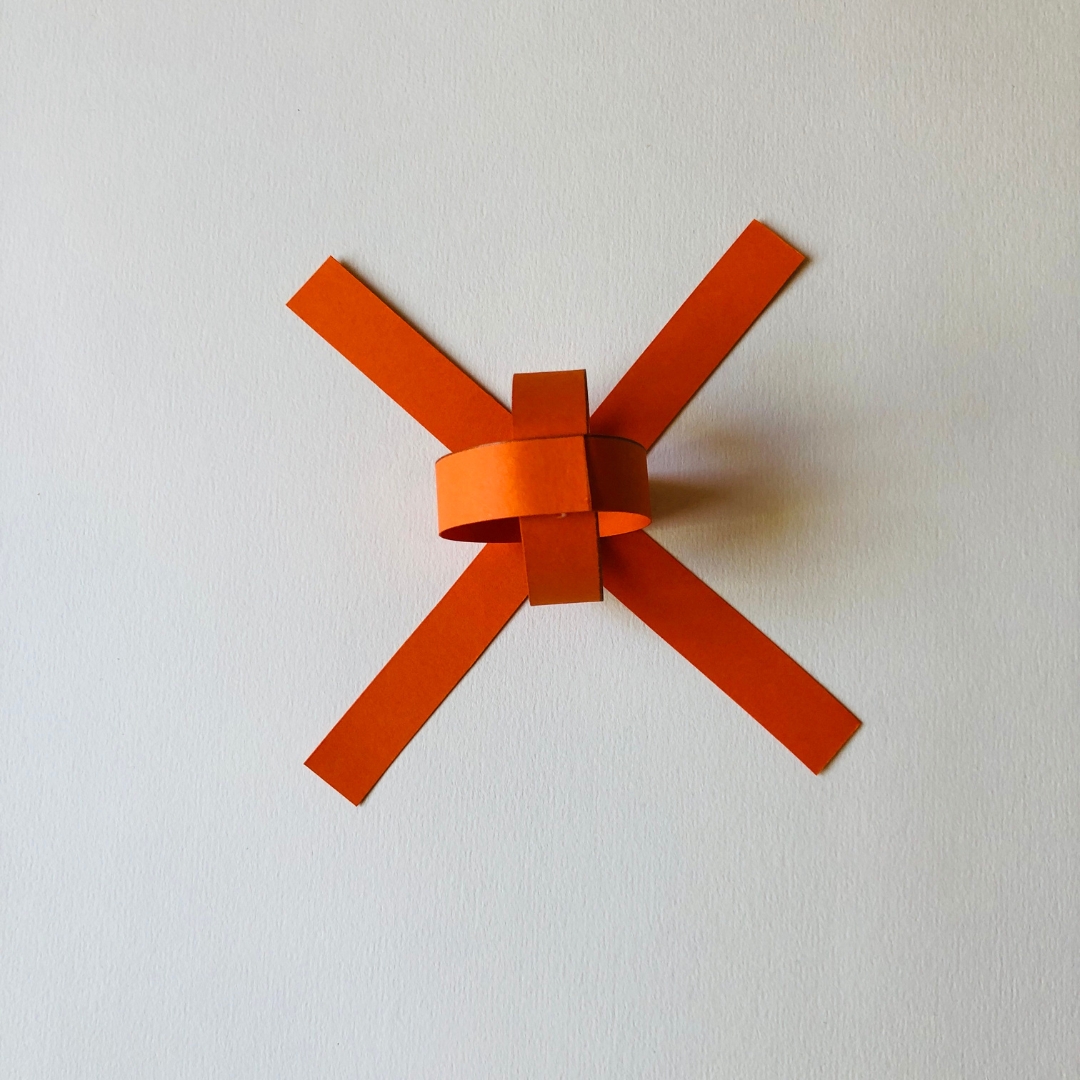
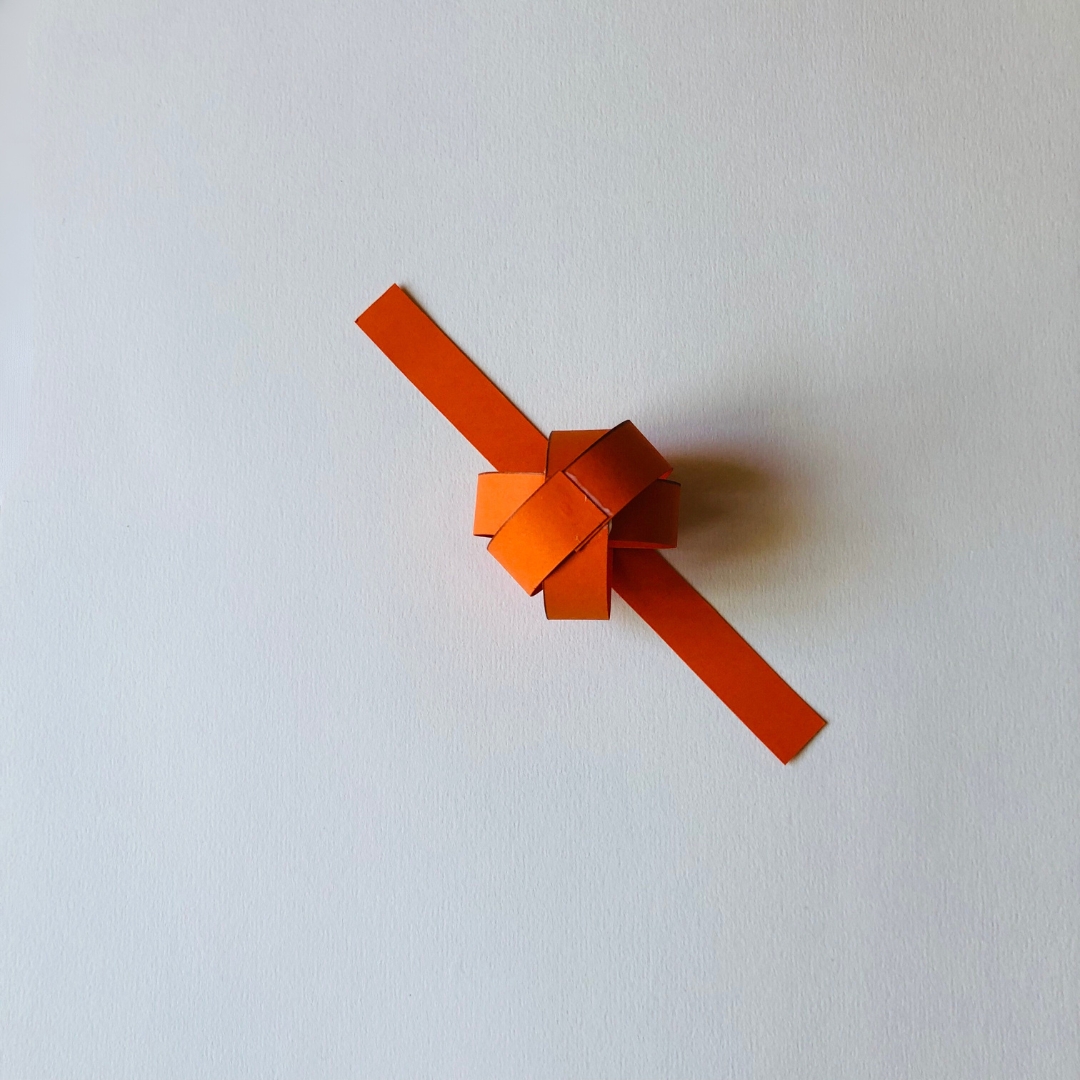
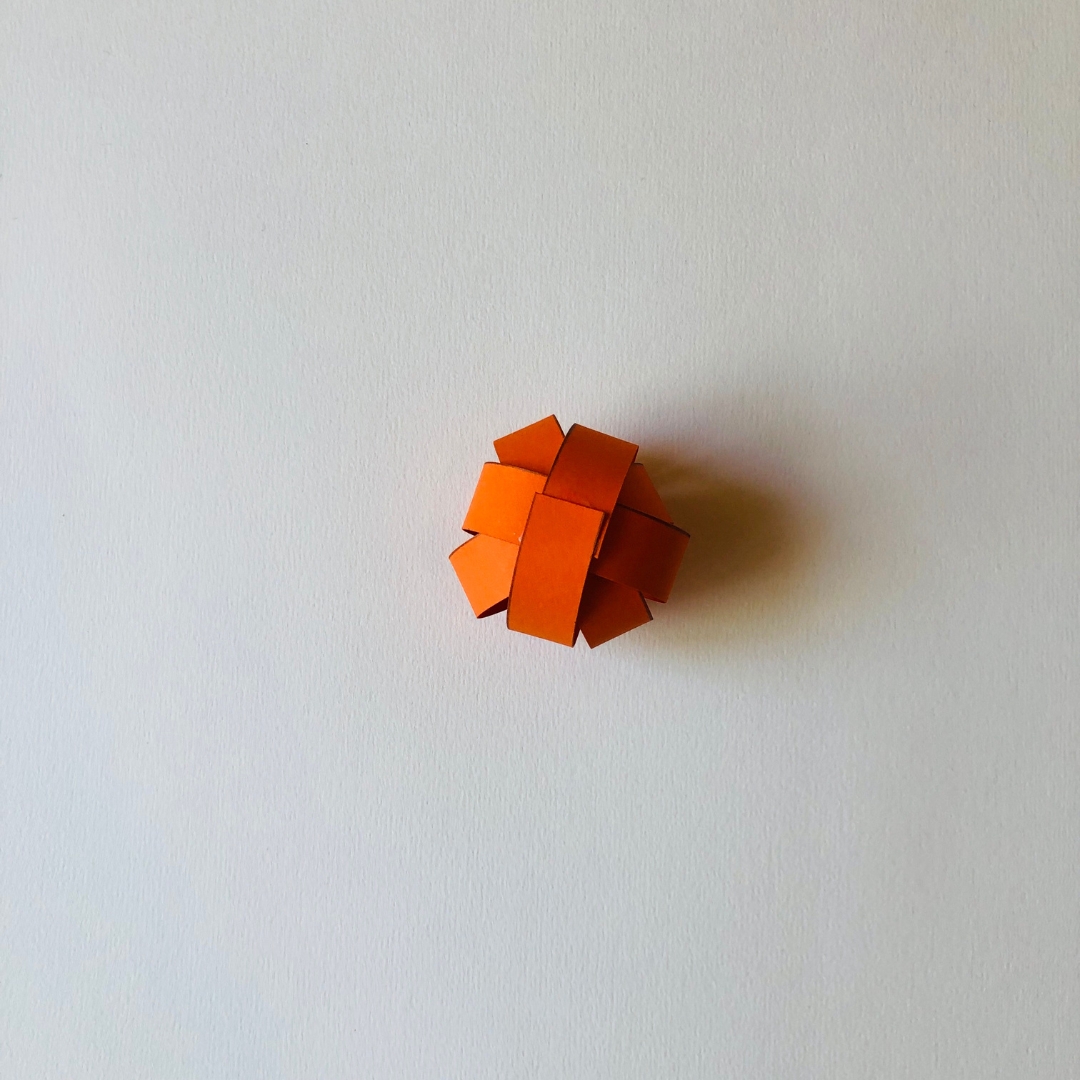
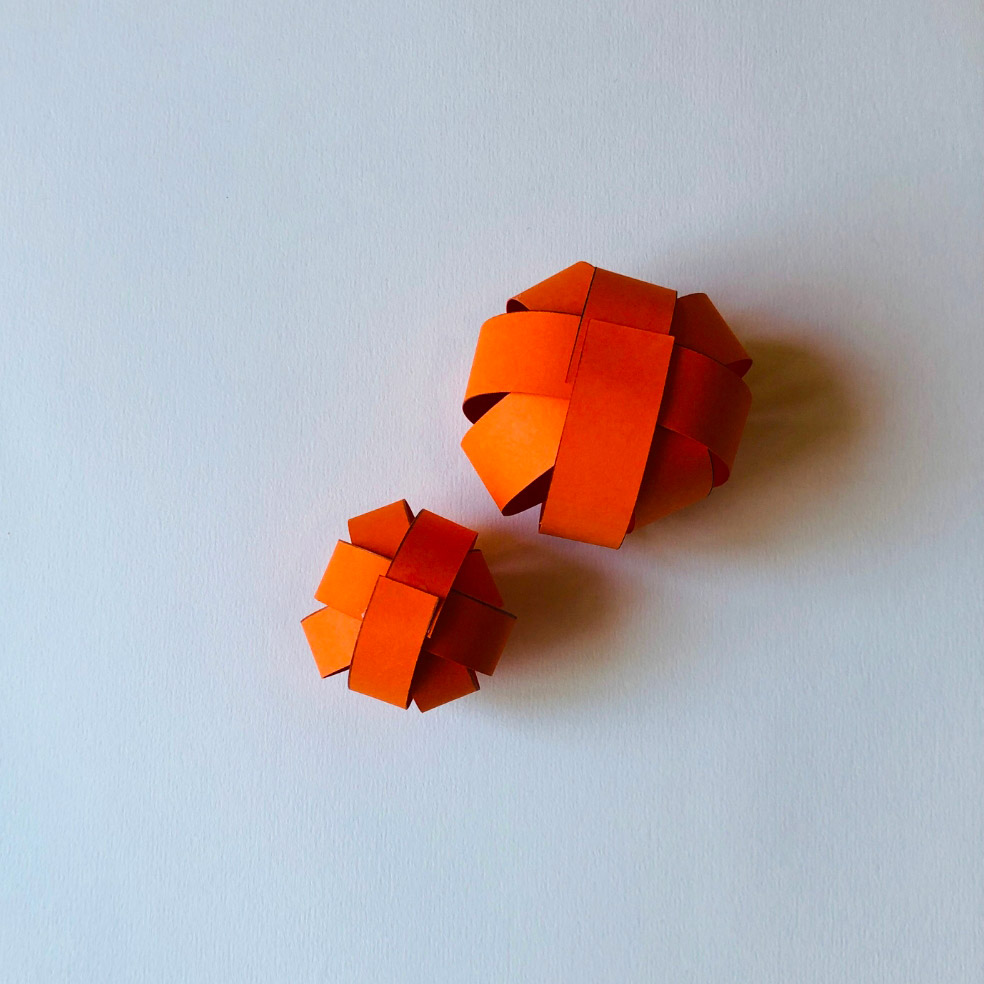
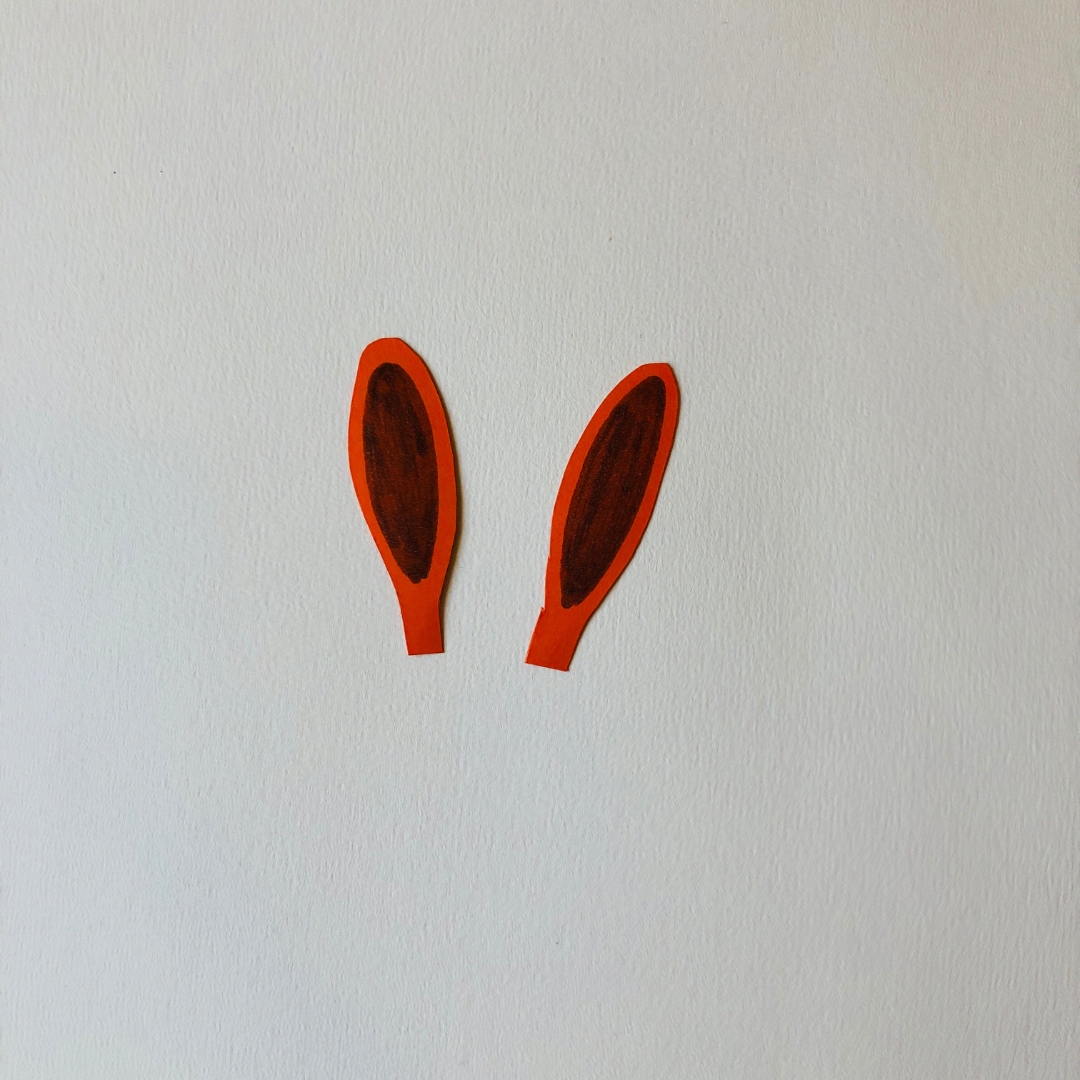
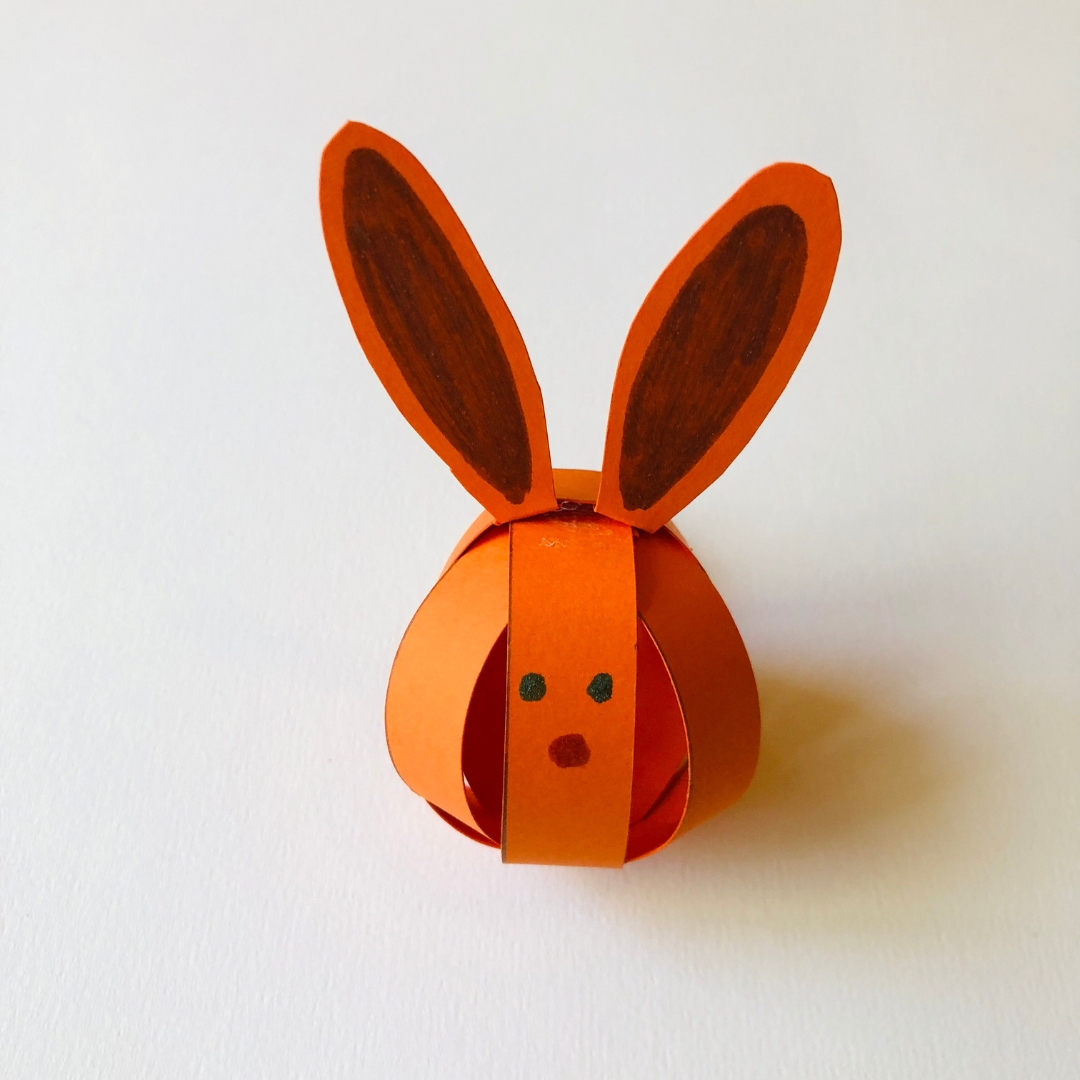
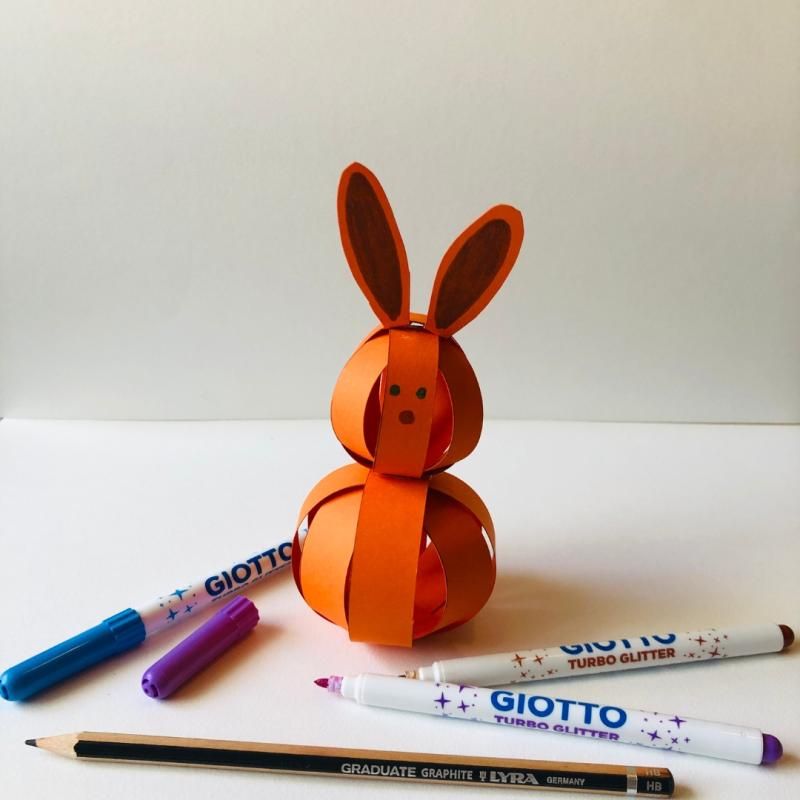
Easter and its famous egg race are just around the corner! Don't know where to hide the chocolate eggs? We suggest you make a paper rabbit. You'll have a place to hide your treats! To do this, follow the 7 steps explained in this sheet.


You will need Canson® Iris Vivaldi® 240 g/m2 paper. Its thickness makes it easy to create objects. To create a happy, festive rabbit, we chose a yellow sheet and Giotto Turbo Glitter felt tips. We recommend you use a set square and a Lyra® pencil to draw the lines. You will also need Giotto® glue.

Step 1

Draw and cut 4 strips of 2 cm (i.e. 2 strips of 21 x 2 cm).

Step 2

Draw and cut out 4 strips measuring 1.5 x 16 cm.

Step 3

To make your rabbit's head, take the 4 small strips of paper and join them together.


Use Giotto glue for better adhesion.

Step 4

To make the body, repeat step 3 using the large strips of paper.

Step 5

Draw two rabbit ears and cut them out. Colour them in using Giotto Turbo Glitter felt tips. This glittery ink will make your rabbit more festive.

Step 6

Glue the ears to your rabbit's head. Then draw the nose and eyes.

Step 7

Glue the rabbit's head to its body.

Well done, you're ready for Easter! You can pop chocolates inside and hide your rabbit!

Recommended product:
Iris® Vivaldi®
See also :