
Activities for children: Make a photo montage frame

Rate this tutorial
No votes yet

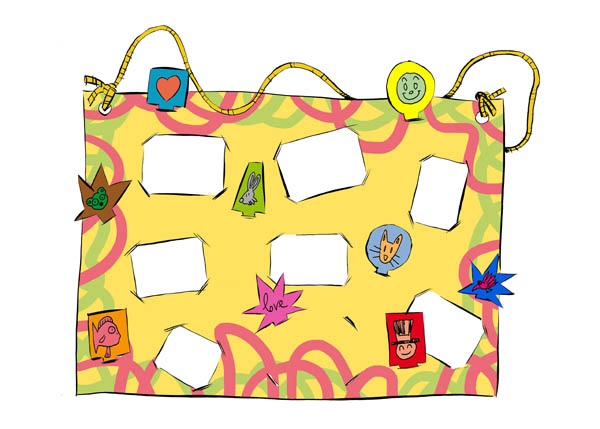
Here is a little recipe to make a photo montage frame and personalize it yourself. A 100% original gift for Mother's Day or Christmas!

Materials

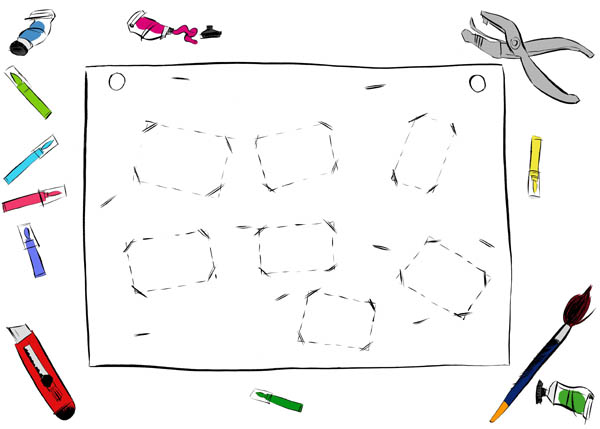
  • 2 sheets of Canson Bristol 300g, in A3 format (blank)
  • 1 pencil
  • something to color with (markers, paint and brush...)
  • 1 photo
  • 60 cm. of string
  • 1 adult (to operate the cutter)

1. Prepare your sheet of paper

  • Borrow a photo from your parents.
  • Trace its outline 6 or 7 times on your paper: that will mark the placement of photos.
  • In the corners of the contours, mark the lines for slots of two cm. length which will need to be cut with the cutter (they will be used to hold the photos).
  • Mark the other slots for the other photos.
  • Punch a hole in each of the upper two corners of your sheet.
  • Ask your parents to cut the slots with the cutter.

2. Decorate your sheet

You can decorate your sheet with paint or markers.

  • Make a first layer of a light color over the whole sheet.
  • Decorate the edges with another color (if you are using paint, let it dry well). You choose the style of your frame: fir trees and gifts for Christmas, hearts of all colors for Father's Day or Mother's Day, or, like here, simple abstract colors, etc.

3. Personalize your photo montage frame

  • Cut various forms from the other sheet of Bristol: circle, stars and other simple forms. Leave a small "tail" of 3 or 4 cm on each of them for "planting" on your photo montage frame.
  • Write small messages or make small drawings on them keeping with the theme that you want (you can also make collages with colored papers or stickers). If you don't have a theme, have fun drawing whatever you know you draw best.

4. Attach the string

And voila! You only need to attach the string and hang it on the wall.

Change the photos and the little inserts in the slots as often as possible (along with the holidays and the seasons)!