Make a multi-coloured town entirely out of paper

Rate this tutorial
Average: 4 (2 votes)

To make this collage scene, all you need is a pair of scissors and some coloured paper! Children can enjoy the opportunity to be inspired by different architectural styles and design a beautiful town that's packed with a variety of shapes and details.

This project can be completed in small groups. Paper at the ready!

Materials:

  • Canson® Vivaldi paper (240 gr/m²) : A3 format, cream
  • Canson® Vivaldi Paper sheets (240 gr/m²): selection of bright colours
  • Scissors
  • Glue

Cutting out the bases

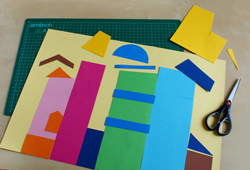
Begin by cutting out large paper rectangles and bands of varying sizes to make the base for all the buildings. Opt for strong colours as a contrast to the background colour.

You could even alternate the colours on the same building, or add coloured separate parts - anything is possible!

Once all the pieces have been cut out, put your composition together and stick it all down.

Adding the roofs

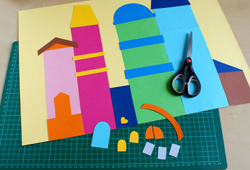
Cut out triangle and trapezium shapes to make the roofs. These can overlap with each other a little bit.

To end up with towns made in the classroom that have plenty of shapes and different styles you might want to give the children a few pictures to look at, or you might work as a group to put together a list of details they could add to their designs.

Adding the details

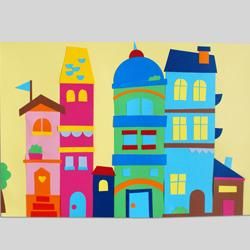
It is the details that will make the composition interesting, so to finish off the towns you might want to add a wide range of decorative elements. These could include: chimneys, tiles,  window boxes, flags, arched or rectangular windows, staircases, trees, and rounded or straight doors.

Once the gluing has all been done, you could get all the towns together and assemble them into an attractive frieze.