1. Removing from wet paint
With a paintbrush
Moisten a medium paintbrush then apply to the part of the wash you want to lighten. Remove the excess color with a blotter. Repeat the operation until you have the shade you want.
With a cotton swab
Lightly rub the surface being treated with a dry cotton swab. Be careful, it is very absorbent and should only be applied briefly.
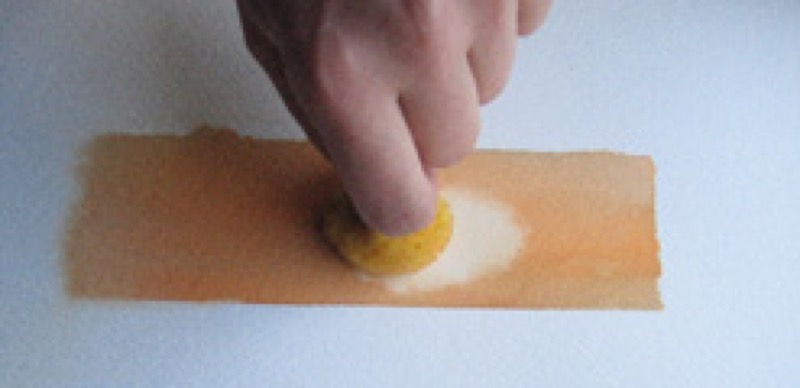
With a sponge
Moisten your sponge with water, wring it out, then apply it to the part being lightened. Press the sponge down on the paper to make it absorb the pigments better.
Use a sponge on very large areas, such as a sky.
-To vary effects, alternate natural and synthetic sponges.
With a blotter
A blotter, while less flexible than a paper towel, is nevertheless very absorbent. There are two possible techniques:
-For precision color lightening: fold the blotter firmly in two and apply it.
-To lighten the color over larger areas: lay the blotter flat, tapping lightly.
Other solutions:
-Business cards, razor blades and paintbrush handles: for creating straight, precise, scratched effects!
-Coarse salt: sprinkle over a very wet wash to create star-shaped effects.