Watercolour is based on 2 main principles: dry or wet paper. How can water be used to good effect?
A simple rule applies everywhere:
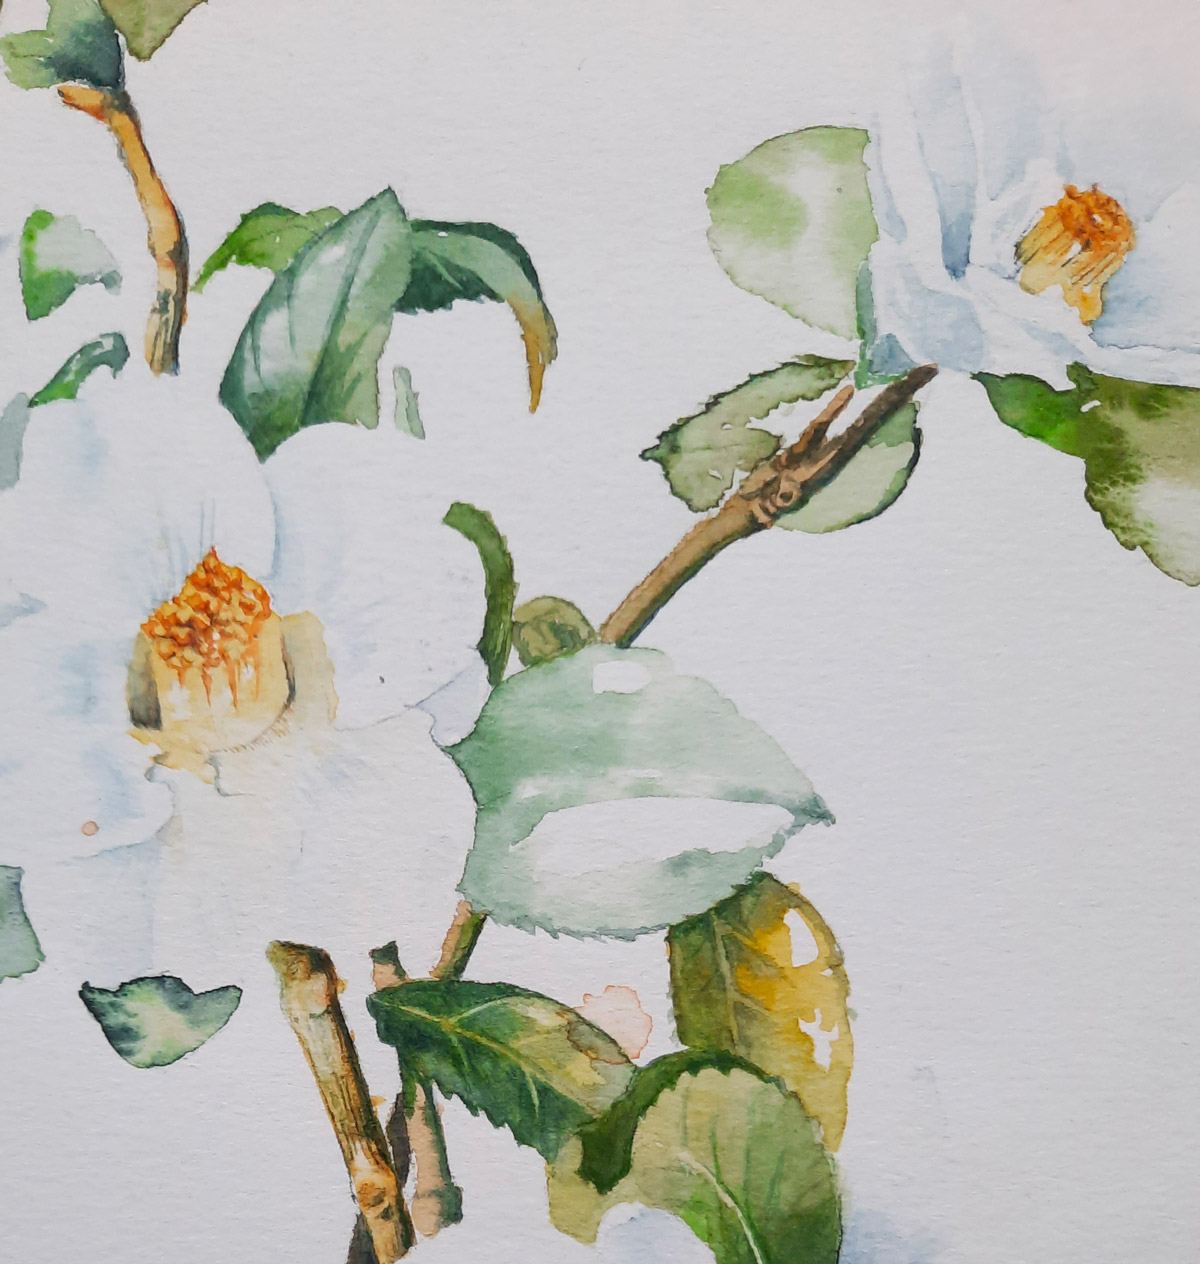
Dry paper = sharp contours
Wet paper = blurred contours
Watercolour is based on 2 main principles: dry or wet paper. How can water be used to good effect?
A simple rule applies everywhere:
Dry paper = sharp contours
Wet paper = blurred contours
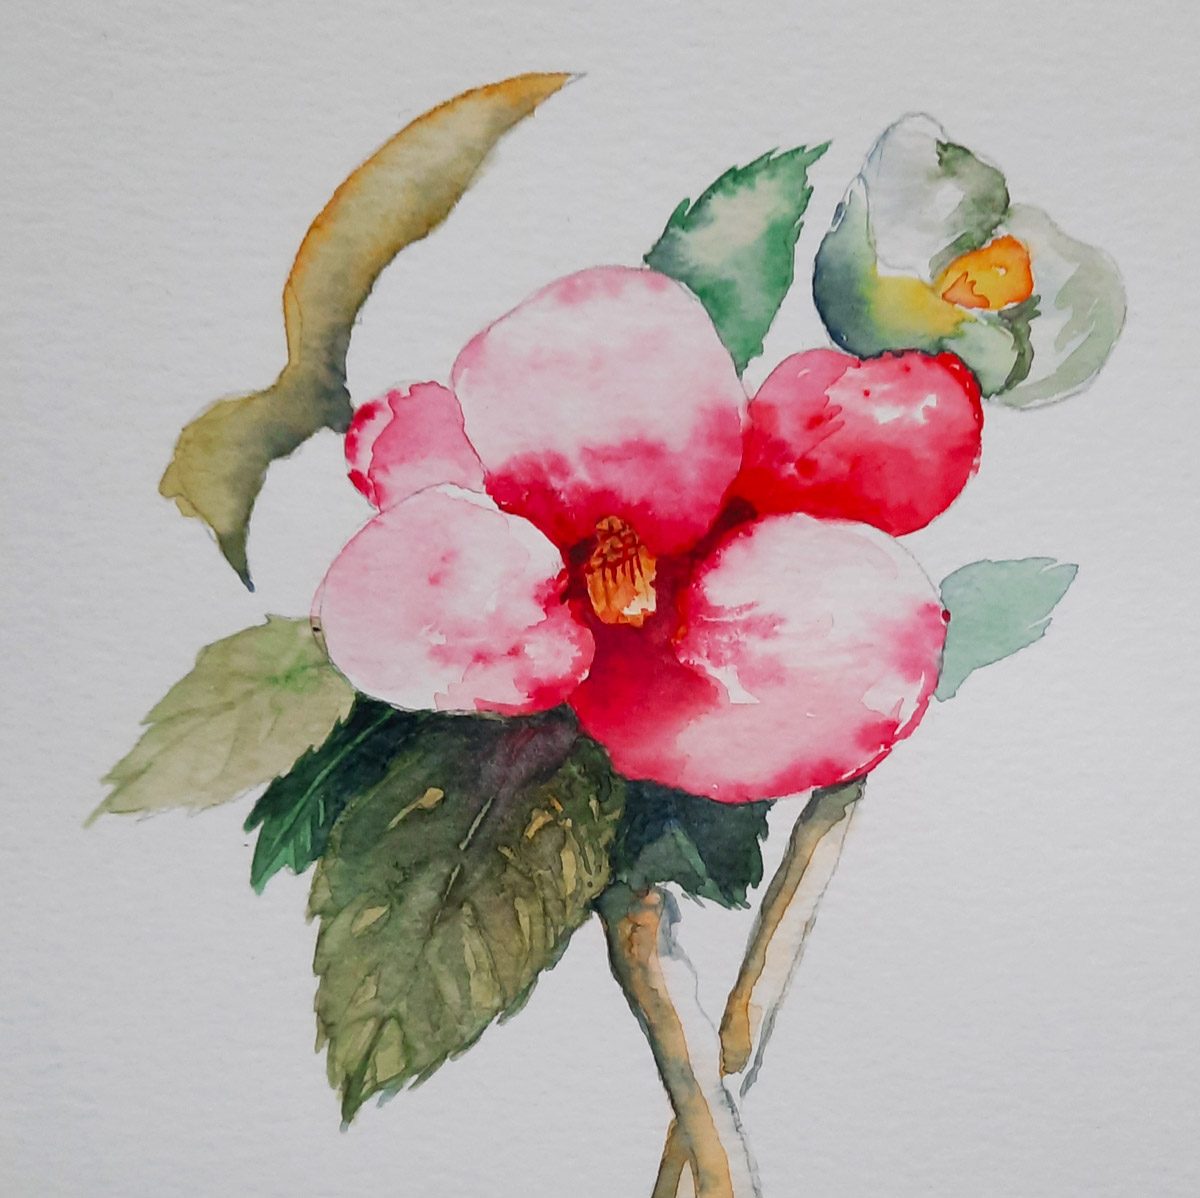
To achieve a soft, misty look, wet your paper over the entire surface of the petal.
Then apply a few dabs of pigment to one end. The water and paper will diffuse the colour naturally. You can even tilt your support. Random effects will then form and create beautiful nuances.
Important: as long as the paper is wet, you can continue to apply colour. Drying time will depend not only on the thickness of the paper but also on your environment (at home or outside, heat, wind, etc.). In any case, you'll be able to feel how the pigments adhere under your brush as the minutes pass. Once dry, avoid returning to the area too often, as this may create rings.
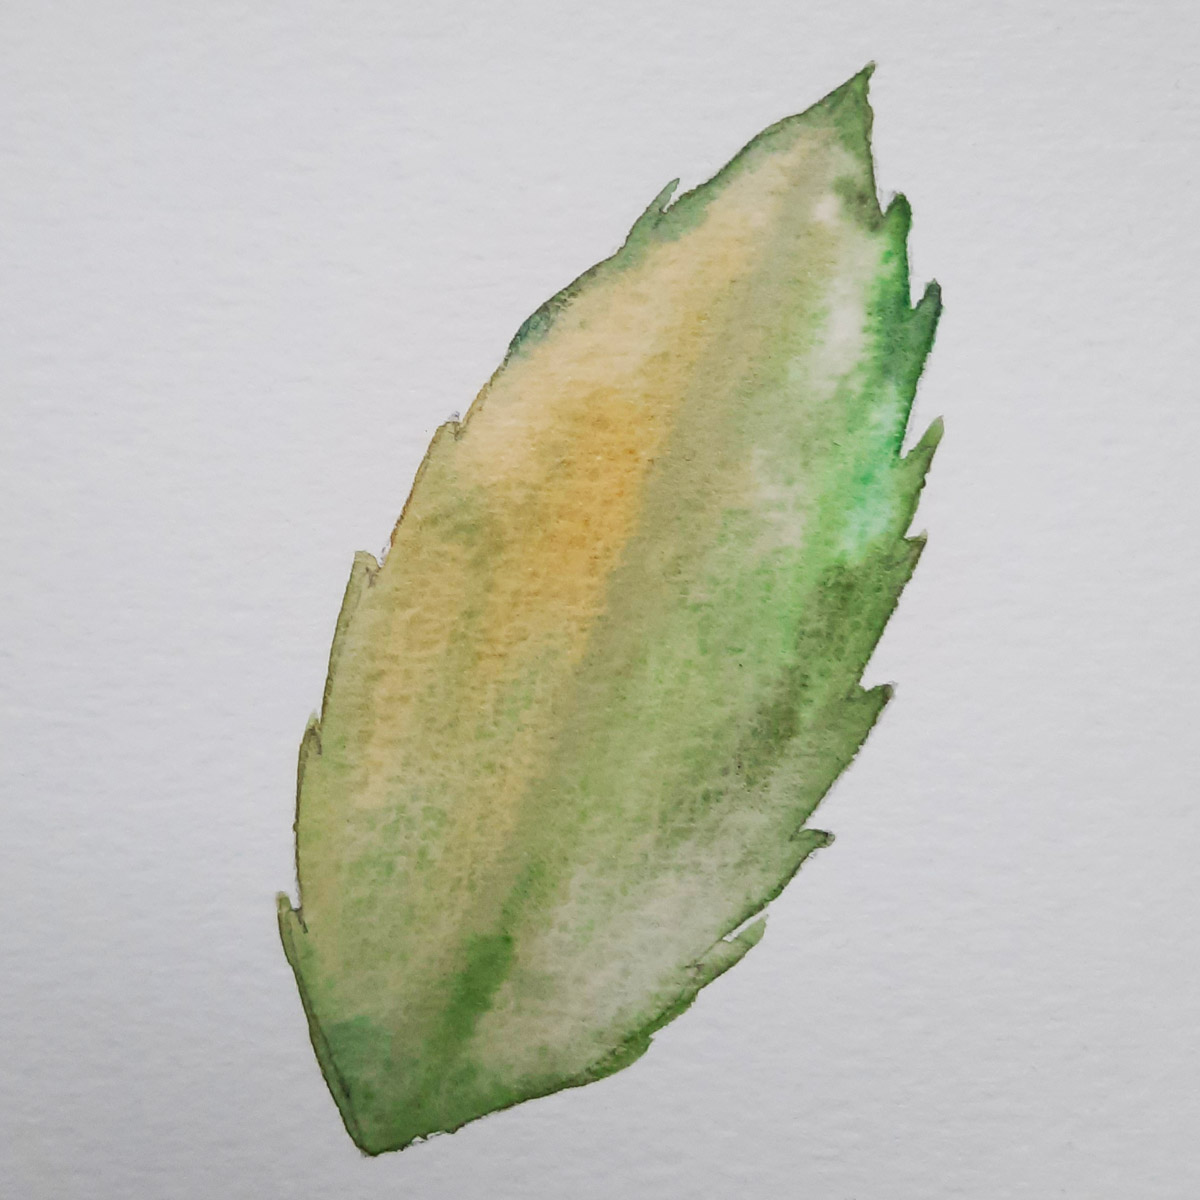
Create a wet background in green as in the first step of the petal.
Wait until it's all dry!
Then, using a fine brush, draw in the veins. The edges of your brushstrokes will be perfectly sharp. A wide range of effects are possible: sharp leaves in the foreground or more blurred ones in the background.
Tip: Use a hairdryer to speed up drying time. Keep the appliance far enough away from your sheet to avoid unwanted effects (unless you do it deliberately: in that case, your colours will scatter and create "firework" effects).
It's up to you to experiment! Remember: watercolour is a medium in which "accidents" can become fantastic effects. Practising on quality Canson paper will help you discover all this potential.
By subscribing you will receive the Canson newsletter 6 times a year. This newsletter will contain information about products both new and old, we offer tutorials and we will also tell you our news (promotions, events, social media etc.). Please enter your contact information to complete your subscription.