
How to paint a seaside landscape in watercolour?

Rate this tutorial
Average: 4.8 (8 votes)

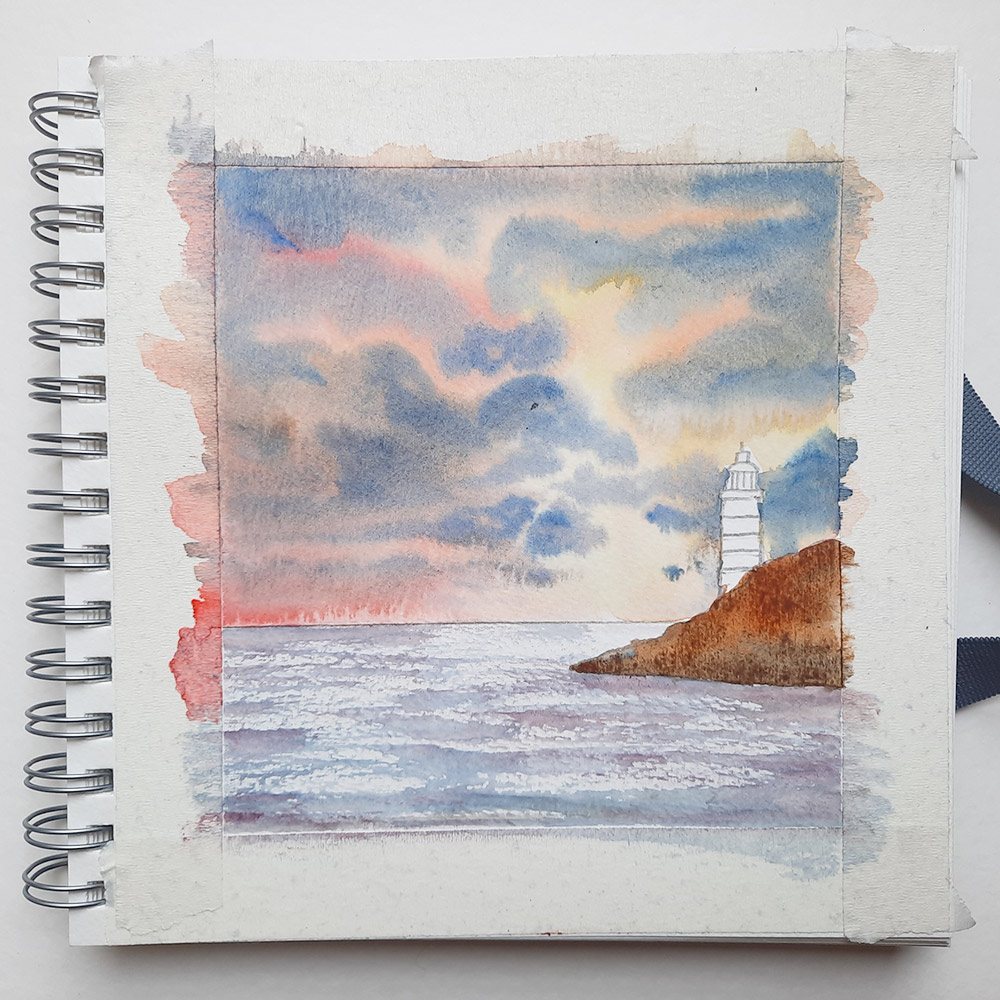
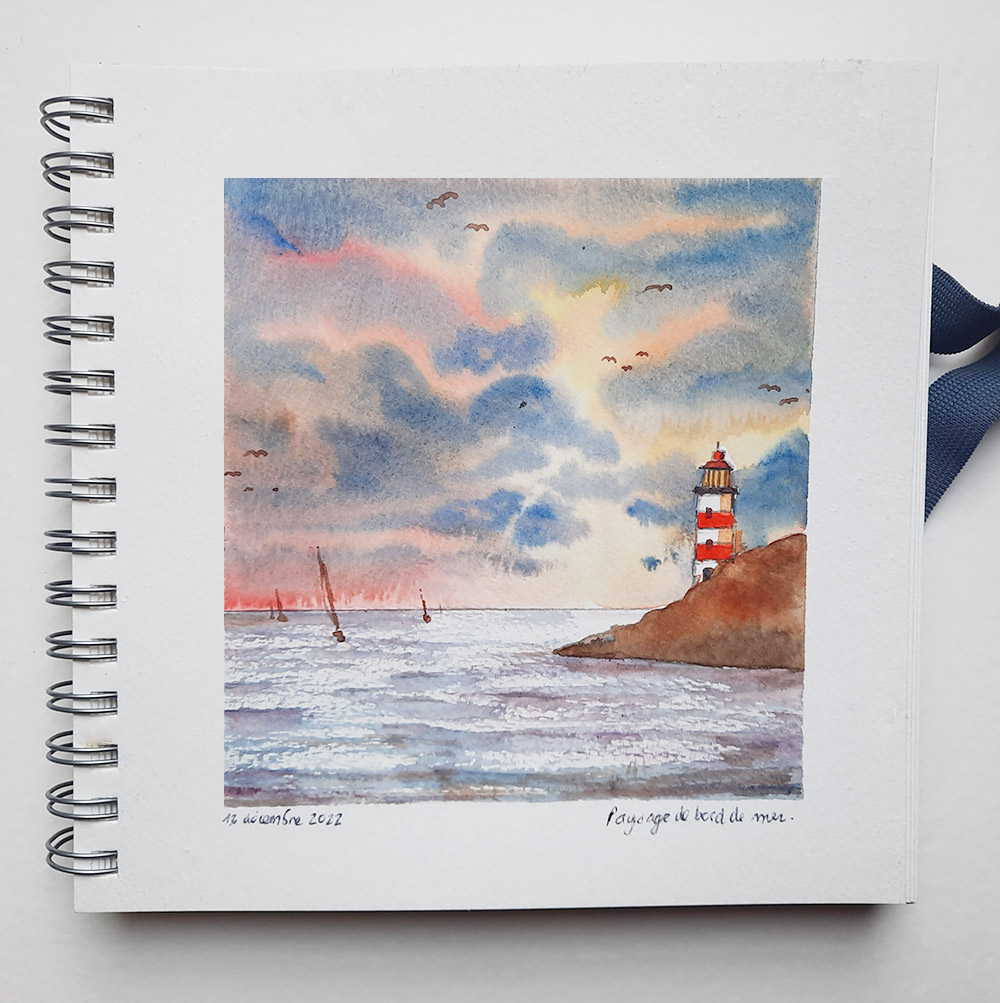
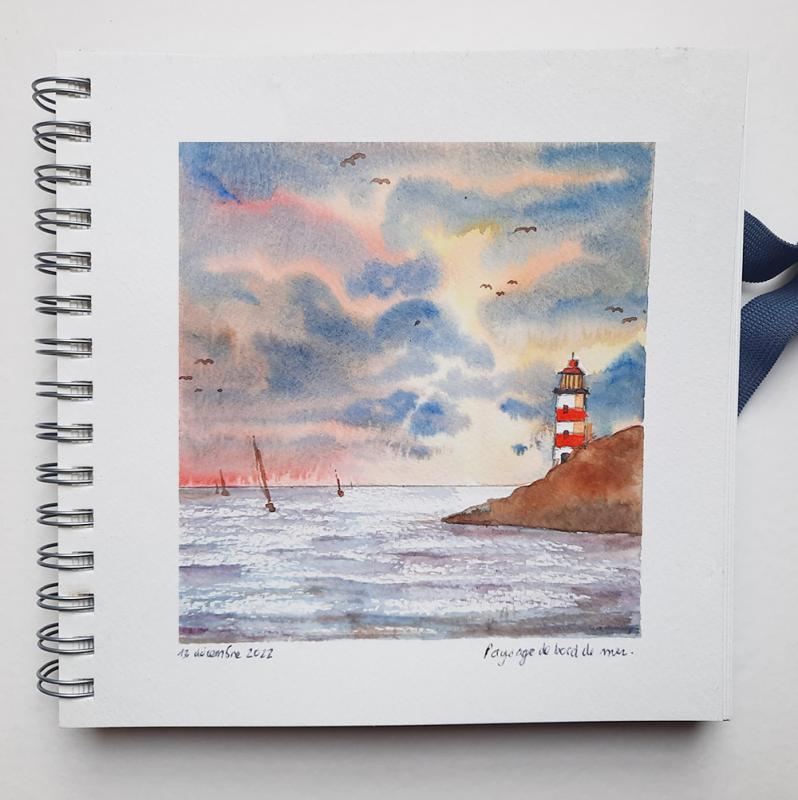
Watercolour allows you to create many effects with fewer means. Colour tone, paper grain and choice of brushes are the steps to consider to easily create a seaside landscape.


Time required: 1 hour


Equipment used:
•    Paper: Canson Montval Art Book
•    Colours: Daler-Rowney Aquafine
•    Brushes: Daler-Rowney Aquafine
•    Pencil: Lyra Rembrandt Graphite Set
•    Accessories: 2 pots of water, cloth.

Step 1

Create a frame using repositionable tape.

Step 2

Draw a horizon line, rocks and a simplified lighthouse with a HB pencil.
Then, use another piece of tape to delimit the horizon.

Step 3

Wet the sky with a brush and clear water. Add colour: yellow + red. Leave space between each part to suggest clouds.

Step 4

Make a mixture of Ultramarine Blue and a little Sienna. Deposit dark touches by creating spaces.

Step 5

Remove the tape marking the horizon.
Using a barely damp brush and blue pigment, move back and forth, tilting the bristles near the ferrule.
This is a very useful effect that takes some practice.
The grain of the Canson Montval paper will create white reservoirs (the reflections of the waves).
A candle can also be used.

Step 6

Once everything is completely dry, mix burnt umber, sienna and a touch of black on your palette.
Paint the rock.

Step 7

Use red to paint the lighthouse with alternating rectangles.
Add details using a fine brush:
•    Finely painted boats on either side of the horizon
•    Some stylised birds
•    A door and two windows on the lighthouse

Step 8

Gently remove the pieces of tape.
Write the place and the date.


This imaginary landscape can be used as the basis in many special cases during your travels. Whether dark or clear sky; sunrise or sunset; calm or rough sea; lighthouses or houses….