
How to paint a tree with a haze effect en watercolours

Rate this tutorial
Average: 5 (3 votes)

Difficulty level: easy

Author : Alain Devienne - View his Facebook page - View his Art Majeur profile.

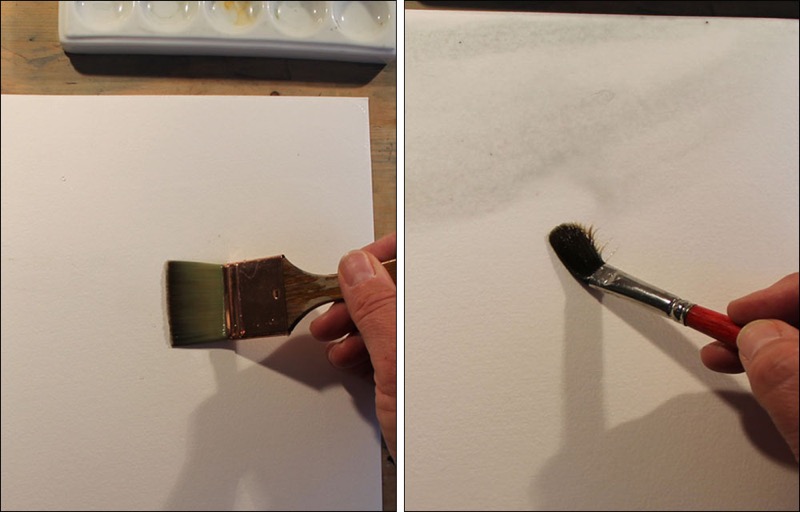
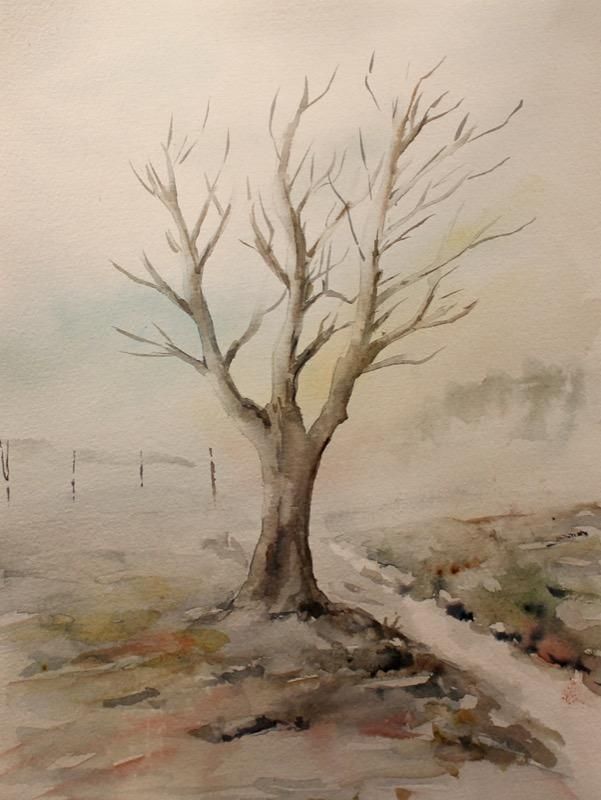
Completion of a typical exercise in watercolour paints, with very few materials, by playing with water.

Material :

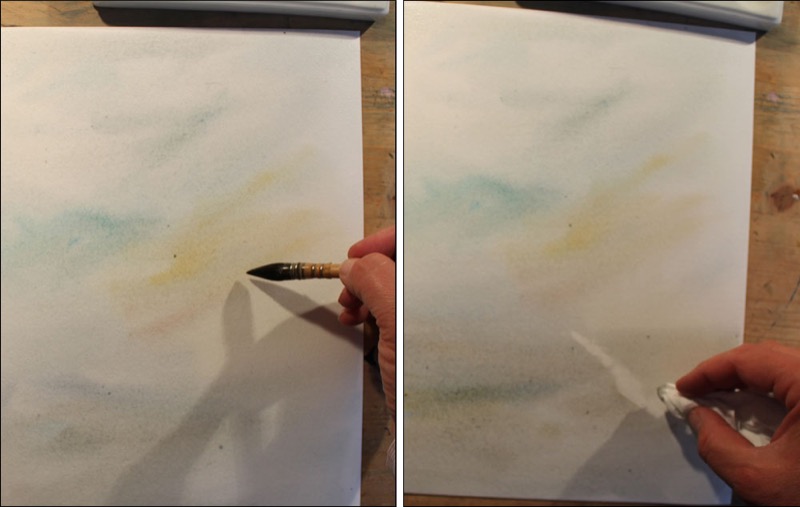
  • Paper:  1 sheet of Canson® Heritage 300g paper, 24 x 32cm fine grain. This pure cotton paper reacts very well with water and its subtle grain gives a hazy watercolour effect. The fact that it can be corrected is a real advantage.
  • Colours: Extra-fine watercolours Maimeri : Payne's grey, Indigo blue, yellow ochre, red earth, terre verte, ultramarine, brown.
  • Pencils and brushes:  Princeton Fine brushes (a wide spalter brush, a "cat tongue" brush, a wash brush, one or two fine sable-hair pointed round brushes) and an H or HB pencil.
  • Accessories: A rag, a paper tissue, 2 water containers: one for cleaning the brushes, the other for a supply of clean, clear water.

​Step 1: Preparing the paper and applying the first colours

Step 1: Preparing the paper Canson® Héritage and applying the first colours

Begin applying the colour, from top to bottom in an irregular fashion to give a hazy look. A mixture of Payne's grey, brown and blue will give a cold feeling to the sky.

​Step 2: Reveal the whites

Continue from top to bottom, adding several touches of yellow ochre to warm the composition up. Overall, it should remain light.

You can reveal whites by using the paper tissue to create areas of light, for example, to create a path in front of the tree.

​Step 3: Paint the trunk

Leave the painting to dry. Once it is dry, draw the contours of the tree with the HB pencil.

Wet the tree area and draw the branches with clear water, use a raking light to distinguish the wet parts of the paper. Then use a mixture of brown and indigo at the base of the tree.
The paint will bleed in the wet areas. Tip the sheet up to help the paint spread. Add more paint, adding yellow ochre and red earth in the still wet trunk area.

Step 4: Paint the branches

Finish the form of the tree by representing the branches, pulling the paint up towards the top.

A tree always grows towards the sky, so do the same with your gesture, moving from the trunk upwards.

Step 5: Paint the ground

Paint the details of the earth and rocks to root your tree to the ground. Ensure that the ground is lighter, by using more diluted paint to create atmosphere.

Add details in the foreground and background.

Step 6: Paint the fence

The fence posts will be represented by light marks made from top to bottom. Lightly move from top to bottom in order to create the haze effect in the background of the composition.