
Watercolor: Creating bleeding

Rate this tutorial
Average: 5 (5 votes)

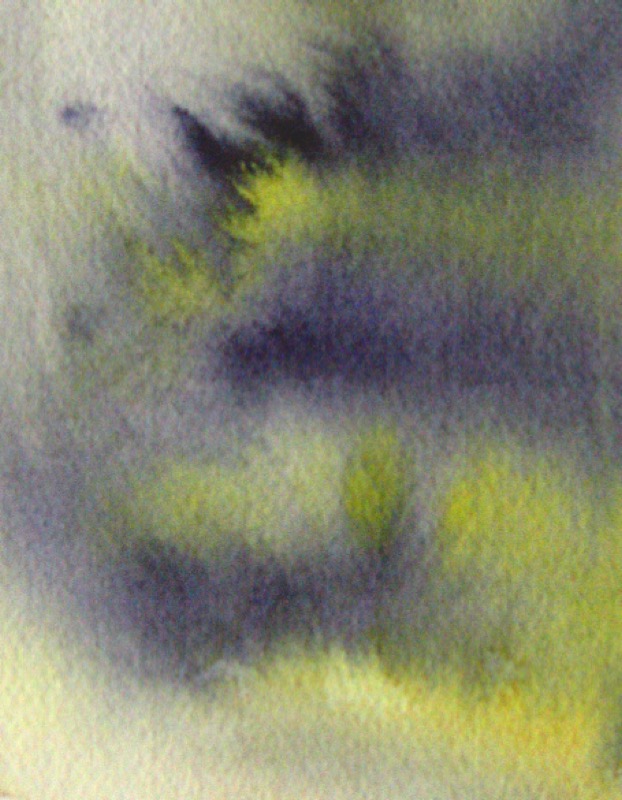
You can also use bleeding to create pretty effects, such as a stormy sky or light reflecting on water.

What you need to know:

- So long as the paper is wet all over, there's no risk of bleeding. It occurs when excess water is placed on an otherwise dry section of paper. Result: the color runs, creating a blotch with sharp, very pigmented edges (scalloping), leaving a very light color on the inside.

- The drier the paper, the stronger the scalloping, and the more transparent the inside of the blotch.

1. Overcoming unwanted bleeding

Erasing a blotch: an accidental blotch will be out of place in your composition. Don't give it time to dry! Rinse it first with a wet paintbrush, then by rubbing very gently with a sponge, taking care not to damage the paper.


Working the blotch into the composition: turn the blotch into an aspect of the composition. While unplanned, it can inspire you to rethink your creation!

Is there a blotch on your fine sand beach? Use it to create a rock eroded by the elements.

2. Making a blotch on purpose

Bleeding, smudges and running allow you to deliberately create effects that would be impossible with normal brush strokes, and are very useful for creating a sky full of clouds, a landscape reflecting on a lake, or an irregular texture. 


Your paper needs to be almost dry. If you applied a first wash, you'll need to wait until it stops being shiny.


Select satin finish paper (with a very fine grain): its smoothness lends itself to bleeding.

On rough grain paper, blow into a straw to help the water spread in the right direction. The straw technique also allows you to control the shape of a blotch or the direction of a drip. 

Some advice

Add a few drops of ox bile to your water container to encourage the bleeding to spread.