Estimated time: 3 hours
Level: expert
Artist: Ewa Karpinska, www.ewa-karpinska.fr
How to create a watercolour with an ephemeral atmosphere? Place a small sheet of paper on a Plexiglas sheet and create your first ever wet on wet watercolour with magnificent airy, cotton-like mists..
Material :
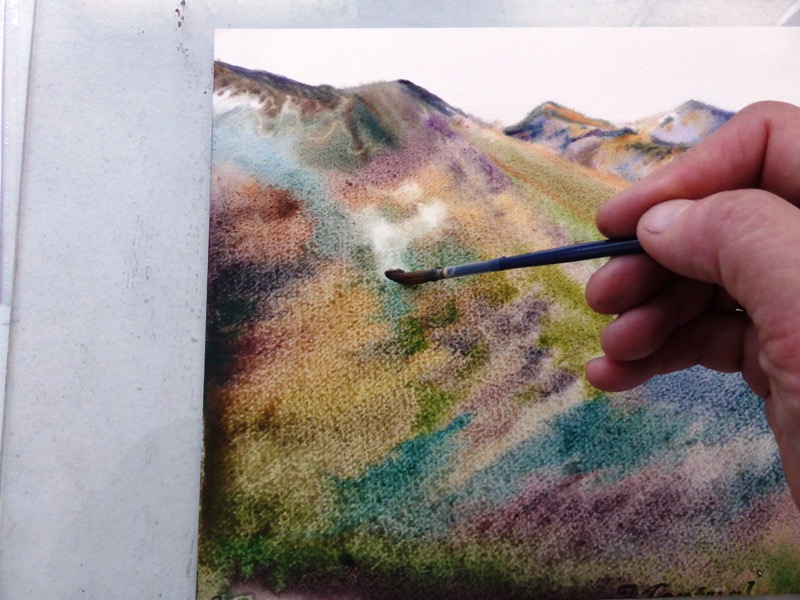
- Paper: Canson® Montval, fine grain, 300 gsm, format 24 x 32 cm
- Watercolour paint: Maimeri extrafine watercolour blue, yellow, pink, red oxide
- Brushes: Princeton brushes sable hair, liner, acrylic brush
- Accessories: a porcelain palette or large plate, a Plexiglas sheet, plastic basin.