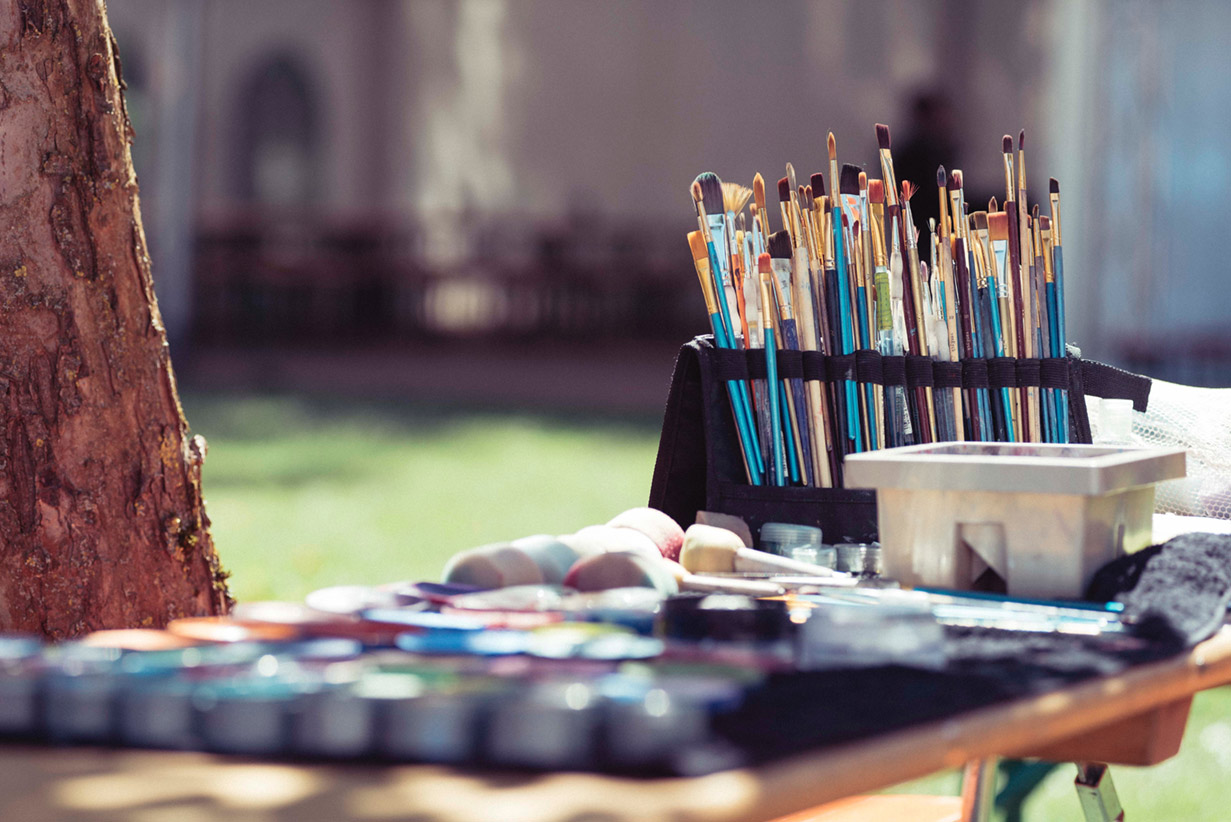
Reproducing the serenity of a landscape, drawing from life the activity of a market scene, or simply wanting to make the best of natural light … The reasons for working outdoors are numerous. The only thing left to do is to get very organized!
Paint and Draw Outdoors
Rate this tutorial
1. Choosing Your Technique
Unless you are painting your garden, working outdoors most often means working with fewer materials that are easy to work with and especially easy to transport.
- Most dry mediums can be adapted to all situations: charcoals, graphite, classic colored pencils or watercolors, and even pastels, preferably oil, given the fragility of the delicate rods.
- Watercolor paint can be easily used outdoors , as long as you store them in pots, and they are ideal for quick, spontaneous work.
- Immune to rain, oils enjoy bad weather! However, you’ll want to transport your work carefully—it will still be wet when you fold up your easel.
- You’re partial to acrylics? Mix into your colors a drying retardant in gel or liquid form…it will allow you to work at your own pace, even when there’s a breeze.
2. Choosing Your Paper
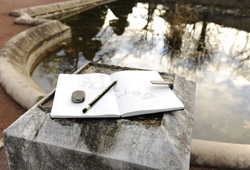
When sketching or drawing from life, a simple spiral notebook will do. They are available in different dimensions and weights. Avoid formats that are too cumbersome unless you are certain that you can work while seated.
Keep in Mind
Are you working with loose paper? Attach it to your drawing portfolio with drawing clips. Otherwise, the slightest breeze will be a spoilsport.
Wet techniques: Avoid encumbering yourself with a drawing board and never-ending fixatives!
Opt for a “four-sided glue pad,” ready to use, designed especially to prevent paper from curling up.
Each well-stretched sheet adheres to the preceding one until you decide to separate them, after your work has dried.
Getting it Right: Separating a Page from a 4-sided Glue Pad
Nothing could be easier! Pass a fine blade (utility knife or other) beneath the sheet on which you have worked, in the unglued zone (often at the top, center, or lower quadrant). Pass your blade all along the pad.
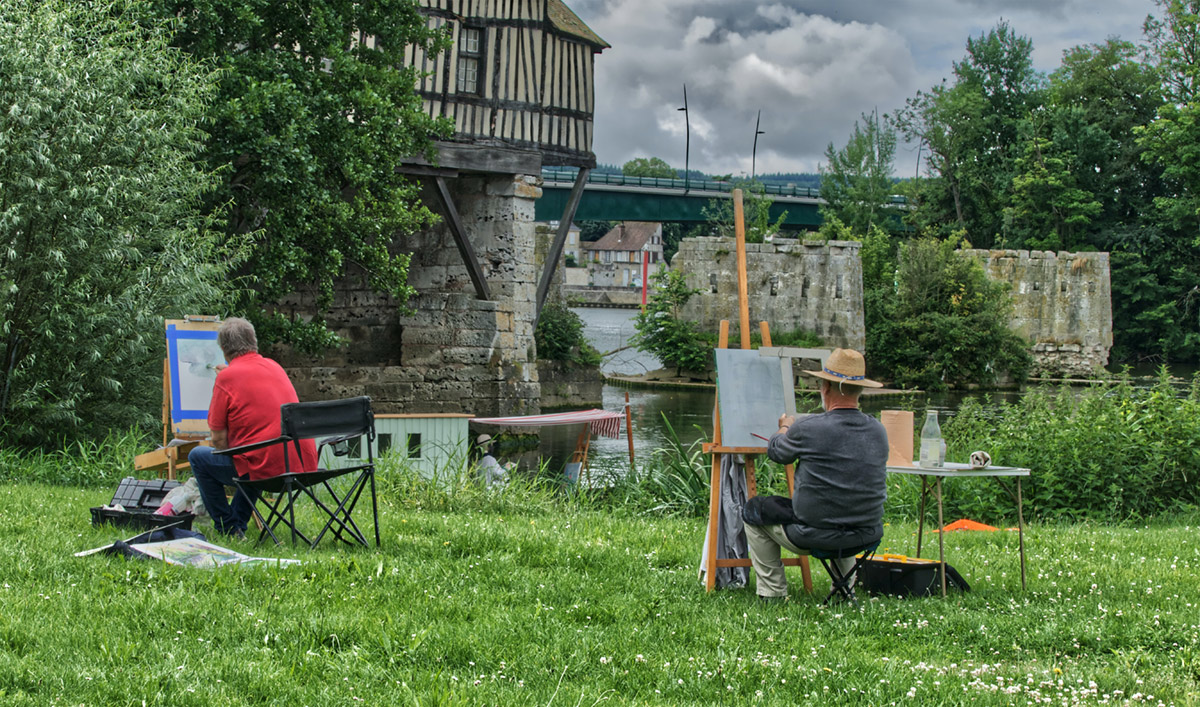
3. Make Yourself Comfortable
- Planning quick sketches in a notebook? A bench or small wall will provide sufficient seating. With a little practice, you can even work standing, leaning against a wall or lamp post.
- Watercolor paint, oils, pastels, and even charcoals will lead you to favor comfort and stability. Select a folding easel, called a “country easel,” and a stool. Some models come with a drawer, which is practical for organizing your media. Others have adjustable inclines that allow you to work horizontally or vertically.
4. Choosing Your Subject
The beauty of landscapes, the subtlety of architectural details, the richness of still-lifes, the power of street scenes… The possibilities are endless. Choose your theme according to your mood and your favorite medium, but also according to your level. Don’t think, for example, that you can capture the dazzling speed of running horses without being capable of suggesting movement in a few strokes.
Just getting started? Work on simple subjects that will allow ample time to work before having to pack up.
5. Observing Your Subject
Never try to reproduce all of your visual field!
- Visualize the scene as if it were in the viewer of a camera and choose the best frame.
- Outline the organization of different plans, perspectives, the angle of the light, the shadows, etc.
- Eventually, do a quick sketch on an adjoining sheet of paper, which will help validate your composition and serve as a memory aid.
Trick of the Trade: 3 Tips for Better Work!
- Concentrate on the Essence: It’s rare to finish your work in one sitting. Start with a sketch, position the larger areas, and continue your work in a homogeneous fashion. Save the details for your return to the studio.
- Capture the Moment: An ephemerous scene, changing light, the impossibility of coming back at another time… Don’t hesitate to photograph the scene you’re planning to reproduce, rather than trying to memorize all the details.
- Cheat…! No one will criticize you for having “forgotten” an awkward tree or for having enriched the foreground with an imaginary subject.
6. Developing Good Habits
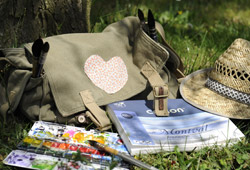
- Before leaving, verify that you can easily transport your materials. Slip a color box and folding stool in a backpack.
- Weather is not an exact science. When you settle in, locate a sheltered area nearby that will offer you shelter in case of storms.
- Avoid the sun. Its plays of light make your composition wonderful, but they damage your paper. Try to benefit from a homogeneous shade: covered terrace, umbrella, the shade of a building, etc. Also beware of heat, which accelerates drying time and dissolves oil pastels. Never work in windy conditions, or you will have to firmly secure your easel…
- It’s rare to have enough water and rags to clean your materials. Arrange your soiled tools in waterproof bags, and plan a cleaning session as soon as you have returned to base.
Be Careful: Never use seawater.
Recommended product:
Aquarelle Canson