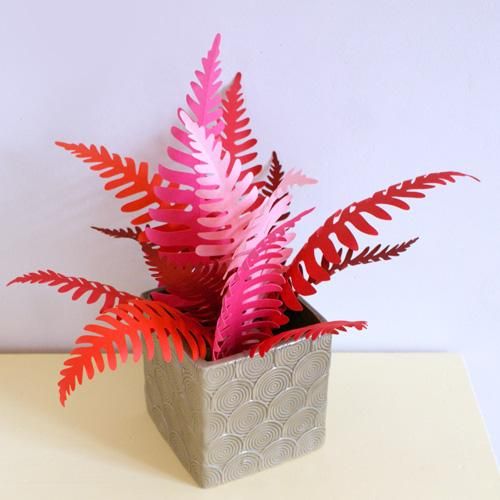
Create a paper plant

Rate this tutorial
Average: 3.6 (7 votes)

Time required: 2 hours and 30 minutes

Make a brightly coloured paper fern. There's nothing better to brighten up your home in the depths of winter!

List of materials:

  • Canson® Colorline 300 g/m2 : Rose petal, Fuchsia, Tomato, red and Dark red
  • Craft knife - scissors
  • Paper glue (with brush applicator)
  • Polystyrene ball (approximately 10cm)
  • Pins
  • Plant pot or plant pot holder
  • Template: ferns

Step 1: Template

Download and print out your templates onto Canson® Colorline paper. Use at least 5 A4 sized sheets so that you get at least 10 leaves.

Cut out all of the leaves.

You can obviously vary the colours according to taste.

Creating the bunch of leaves - step 1 of 2

Make a freehand fold line on the biggest leaves using a craft knife.

Fold the leaf in half guiding the paper with your hand to avoid bad folds.

Creating the bunch of leaves - step 2 of 2

Using the end of a paintbrush or a similarly round tool, curl the ends of the leaves slightly.

This technique will make the leaves look more dense and create pretty waves so that they look more realistic.

Step 4: The base of the plant

Use a craft knife to cut an approximately 10cm polystyrene ball so that one side is flat.

Step 5: Assembly

Use pins to push the leaves into the polystyrene ball.

Don't worry about packing them in, they will naturally fall down once they are positioned upright.

Finish by placing the smallest leaves on the outside.

Step 6: Finishing touches

Place the ball at the bottom of the plant pot.

Bend the leaves so that those on the outside hang slightly.