
How to make a cardboard masking tape dispenser

Rate this tutorial
Average: 2.4 (5 votes)

Level of difficulty: Intermediate

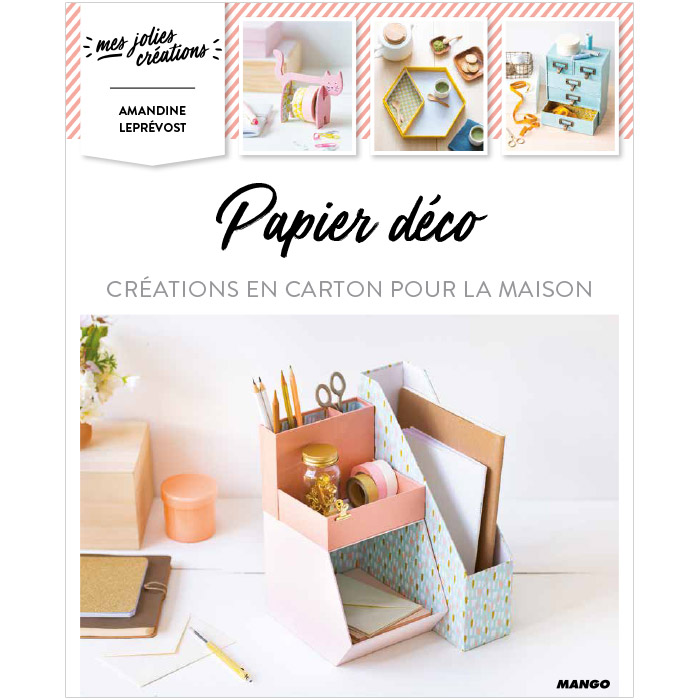
Author: Amandine Leprévost (from the blog Les yeux en amande)

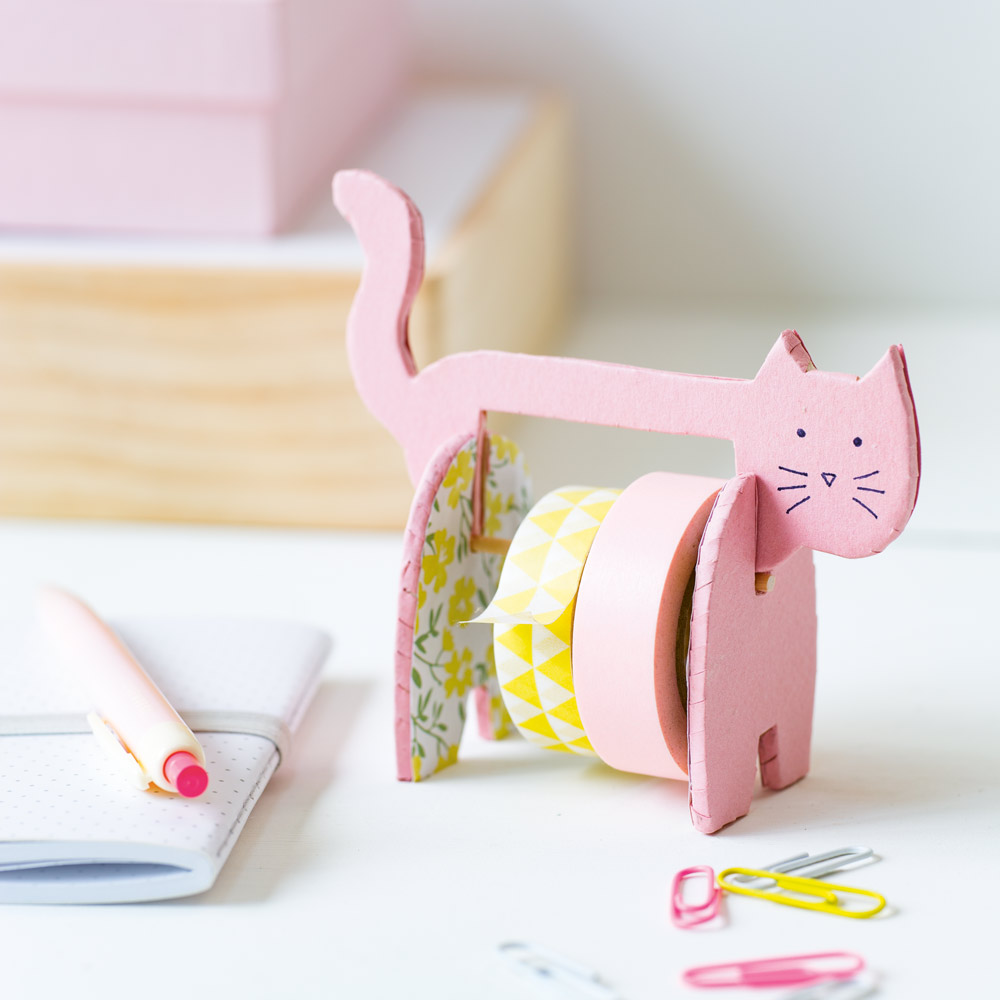
Who has never wondered how to organise their rolls of masking tape?

Here's the answer! A fun, practical dispenser that will make you smile every time you sit down at your desk.

Materials

  • The templates for the cat's paws and body cut out in Backing Boards Canson® 3 mm
  • A wooden cocktail stick about 6 cm long
  • Pink paper
  • Floral-patterned paper

For more cardboard craft ideas, get "Papier déco: créations en carton pour la maison" from Mango Edition

Step 1

Apply glue to each part of the dispenser and glue them to rectangles of pink paper.

Step 2

Cut out the paper leaving an overlap of around 1 cm.

Step 3

Cut slanted notches around all the edges of the paper using small scissors.

Step 4

Fold and glue the paper notches to the other side.

Repeat this process for all the sections of the dispenser.

Step 5

Cut the patterns out again in the pink paper (for the body) and patterned paper (for the paws).

Glue them to the back of each part of the dispenser so that they conceal the notches in the paper.

Step 6


Now all you have to do is draw the cat's eyes, nose and whiskers.

Step 7

Assemble the dispenser by putting the cocktail stick in the slot in the paws and inserting the body to hold it in place.