
Making a Pop-Up paper tiger mask

Rate this tutorial
Average: 3 (1 vote)

Estimated time: 3 hours

Level: Difficult 

Artist : Paul Rouillac

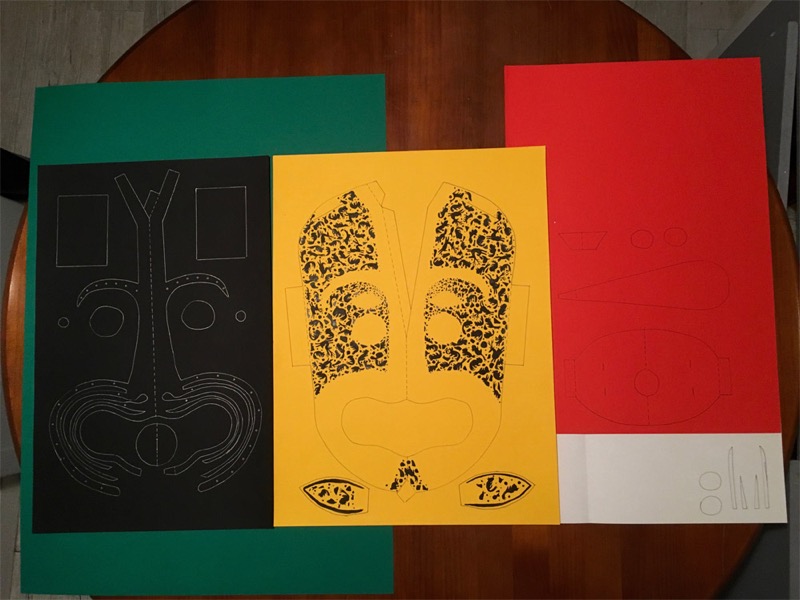
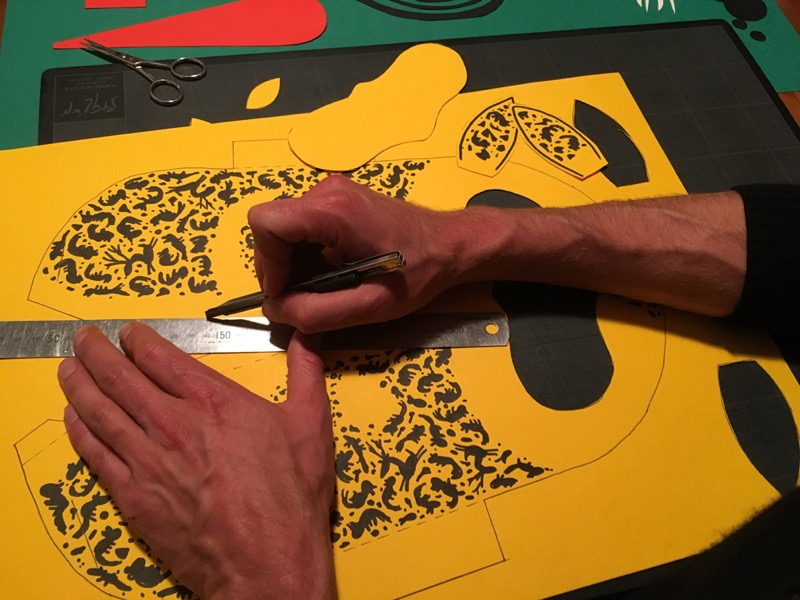
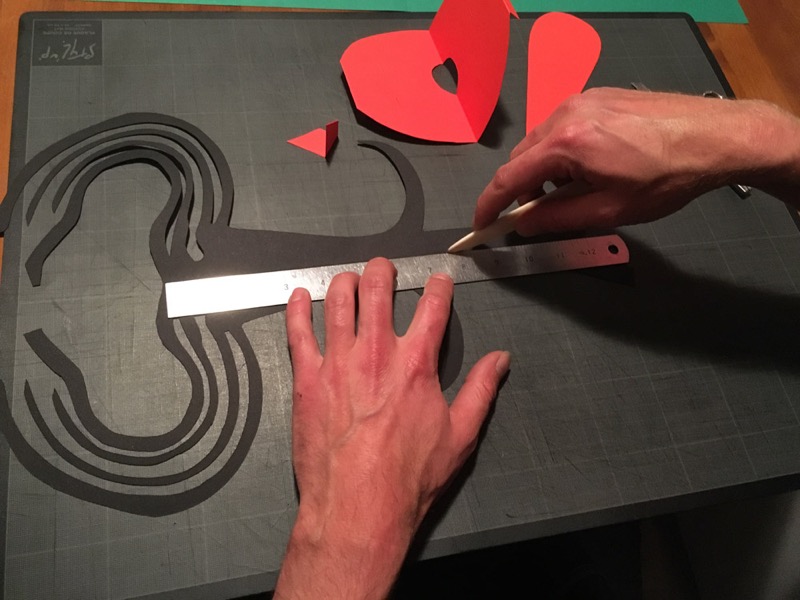
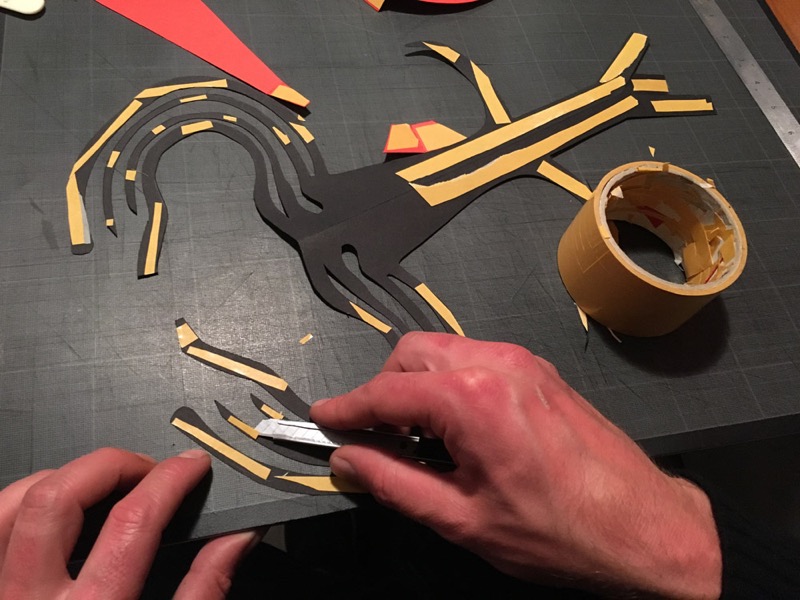
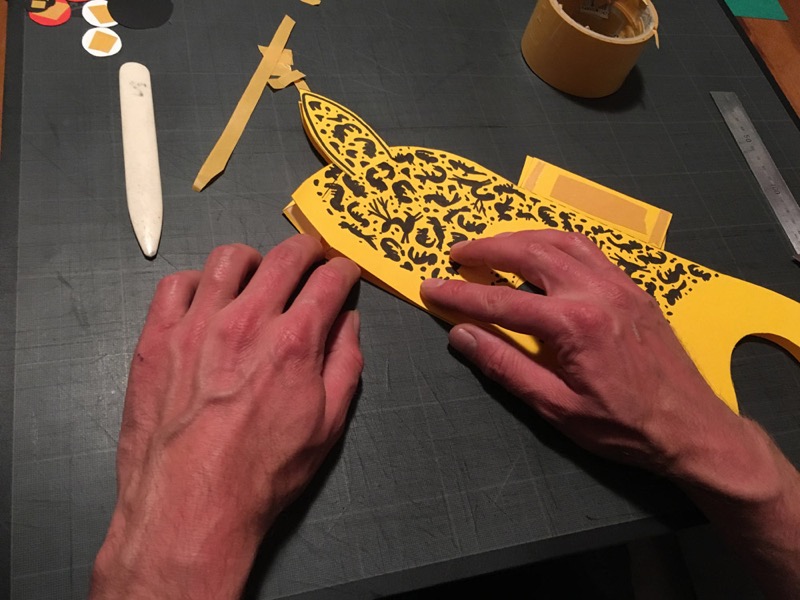
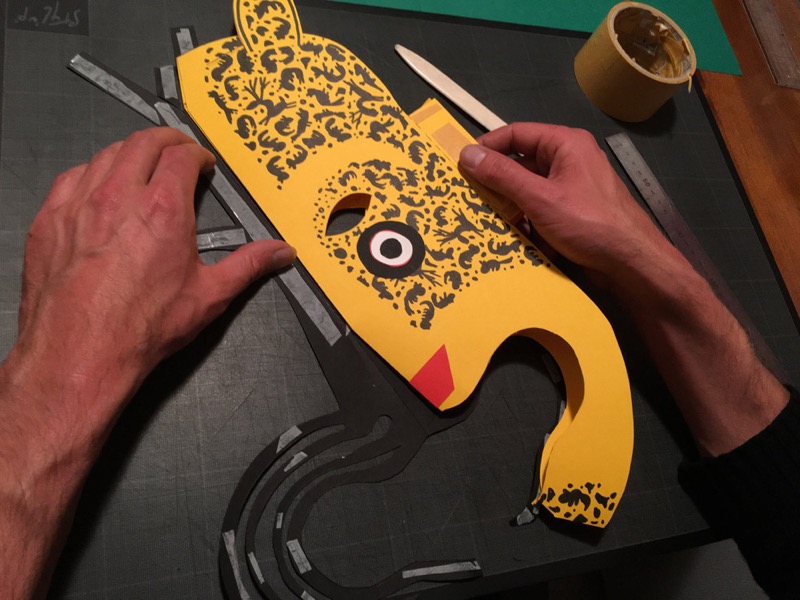
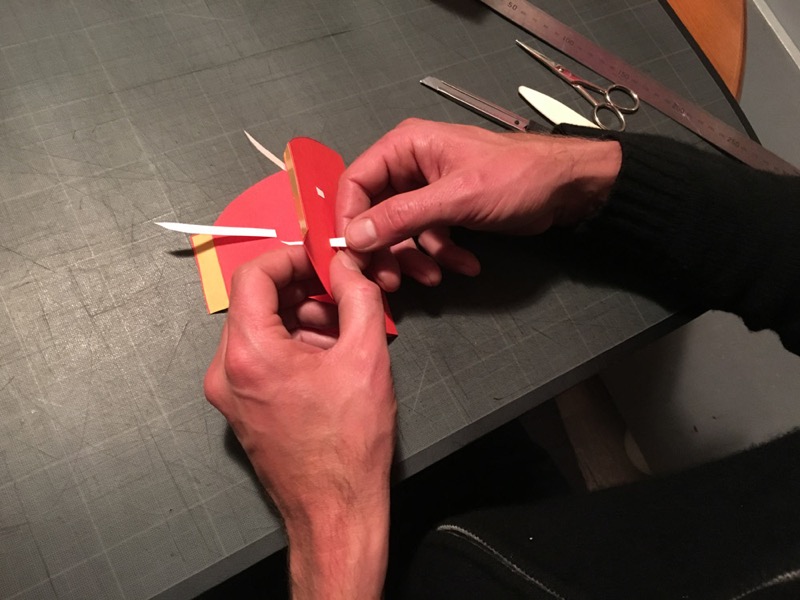
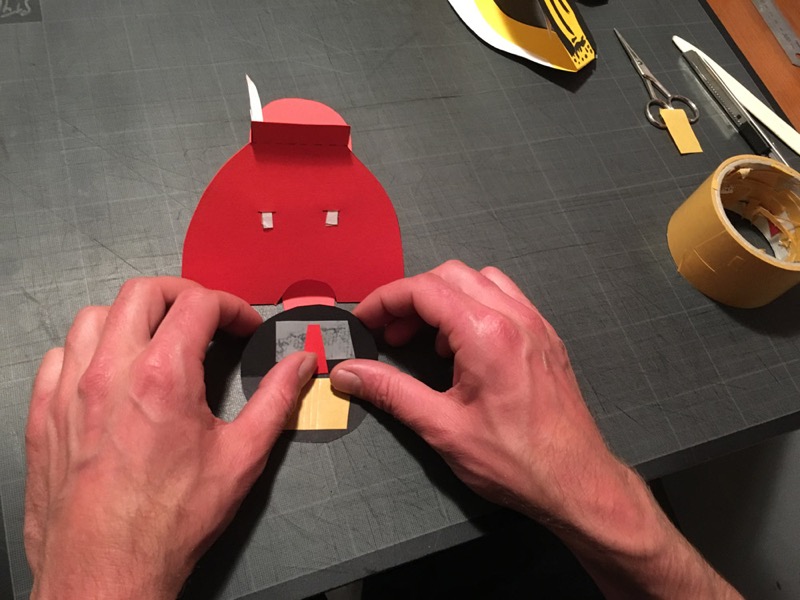
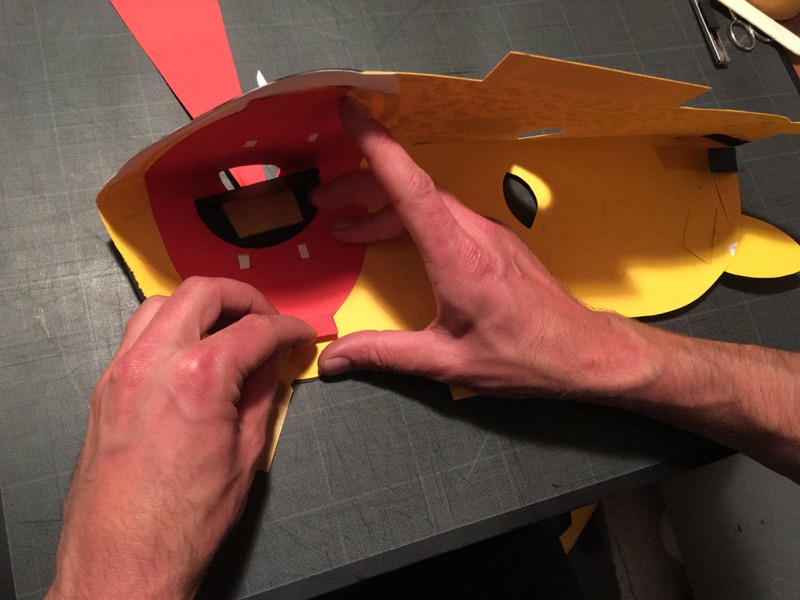
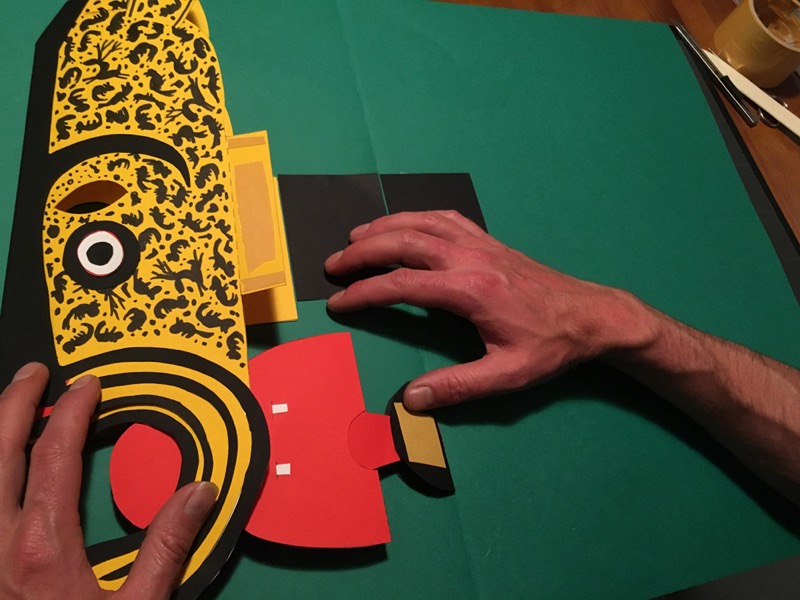
Follow this step by step guide to learn the tricks of the trade to create a 3D pop-up paper mask, inspired by the Mexican art collections at the Quai Branly museum in Paris. A fun way to bring tribal art into your home. 

Matériel

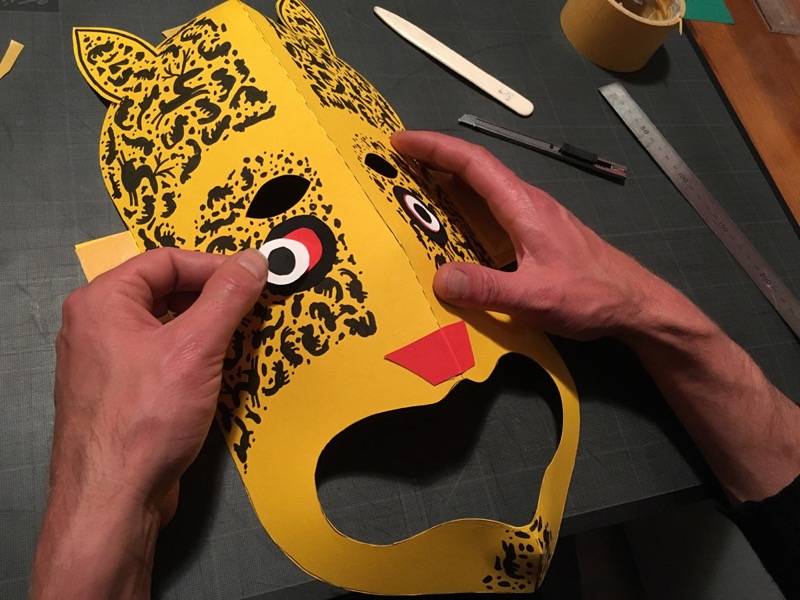
  • Papier : Canson®Colorline 220 gsm, 25 x 35 cm: Buttercup (for the head and the ears), red (for the mouth, tongue, eyes and nostrils), black (for the nose, whiskers and eyes), white (for the teeth and eyes) and Canson ®Colorline moss green, 220 gsm, 50 x 65 cm (for the background)
  • Pencil: a HB pencil
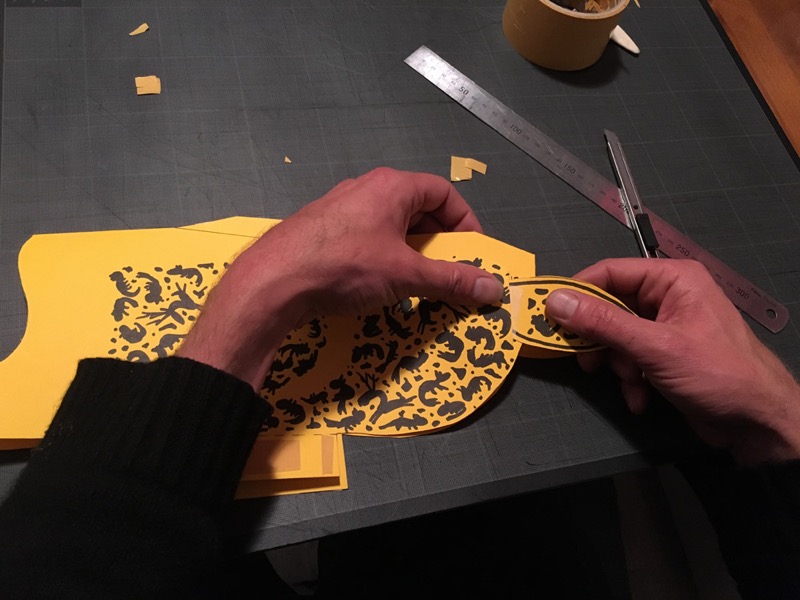
  • Accessories: a precision knife, a folder (pointed and preferably in bone), a ruler, a cutting mat, double-sided adhesive tape (a thin roll for carpet) and an eraser.

1. Drawing the model

Use the four downloadable mask plates as models, redraw them taking care to copy all the lines well, especially the dotted lines.

2. Cutting out

Cut out all the pieces using a precision knife, following the contours of the shapes (continuous lines).

Use a ruler to draw straight lines, leaning on your cutting mat.

Don't hesitate to change your blade frequently in order to make clear, accurate cuts.

3. Marking the folds and folding

Mark all the folds (indicated by the dotted lines) by pressing firmly with the bone folder along the edge of the ruler.

This will make it possible to turn back the parts to be folded and to create lovely regular folds.

Using the folder, flatten the folds so that they are clear and accurate.

4. Fixing

Place the pieces of double-sided tape on the tabs and the parts to be fixed, as in the photo (the tape must not protrude). The whiskers can be partially fixed using small pieces spaced approximately 2 cm apart.

N.B. the bottom of the snout must not be fixed.

For the three parts in yellow paper, place the tape on the side with the animal drawings. For the red, white and black parts, apply the tape on the side with the dotted lines.

5. Assembling the head

After removing the protective film from the tape, start assembling the top of the head by aligning the two tabs with the straight lines.

Make sure the corners hold together well.

6. Assembling the ears

Insert the ears into the notches at the top of the head, then tape them to the back of the head.
 
Press firmly with your folder held flat to remove any trapped air and tape firmly.

7. Assembling and fixing the eyes and nostrils

Fix the eyes by superimposing black, red and white ovals and finish off with the small black circles for the pupils of the eyes.
Fix the two oval eyes under the almond-shaped cut-out eyes, in the places without drawings.
Fix the red paper corresponding to the inside of the nostrils above the mouth.

8. Assembling the nose and the whiskers

Remove all the protective film from the double-sided tape, assemble the nose and whiskers by aligning the top of the nose on the forehead of the yellow mask.
Hold the folded mask as shown in the photo and apply it to the nose-whiskers assembly on a table. Fix the remaining part of the black assembly onto the yellow mask.

The whiskers must be applied around the mouth and on the chin.

The bottom of the nose, which had no adhesive tape, will be slightly higher than the nostrils in order to create the volume corresponding to the snout.

Fold back the black tabs at the top of the head, they will be concealed at the back of the mask.

9. Assembling the teeth

Slide the white teeth into the small slits in the mouth. Put the large teeth on the top and the small ones on the bottom.

The upper part of the mouth is easily recognisable as it forms a point, while the bottom part is round.

The teeth must be taped at the back, on the same side as the fold lines.

10. Assembling the tongue in the mouth

Put the tongue through the hole in the mouth from the outside towards the inside, then insert the tip of the tongue into the slit in the middle of the black circle folded in two.

Fix it with some tape.

11. Assembling the mouth on the mask

The mouth must be folded in the same direction as the mask so it fits into it.

Start by taping one of the tabs on one side of the mouth, then fix the second tab symmetrically.

Push the red mouth towards the inside.

The tongue must remain mobile and never be folded.

12. Assembling the mask on a green background

Fold the green background in two. Fix the two black rectangles to it, making sure they are in the centre. These rectangles will conceal the green background behind the almond-shaped eyes of the mask, making them look deep and dark.

To assemble the mask on the green background, start by fixing the black circle supporting the tongue, adjusted on the fold of the green background. Centre the mask well so that it does not protrude when the green background is closed.
Proceed to fix the side tabs of the mask; fixing the first beside the black rectangle. Remove the protective film from the adhesive tape on the second tab and fold back the green card on the mask, so the second tab will be positioned in the right place.