Time required: 2 hours
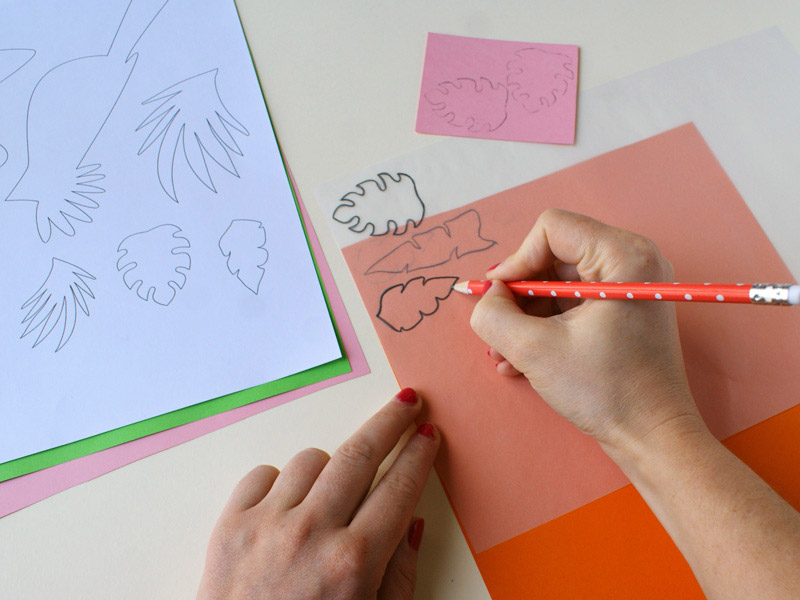
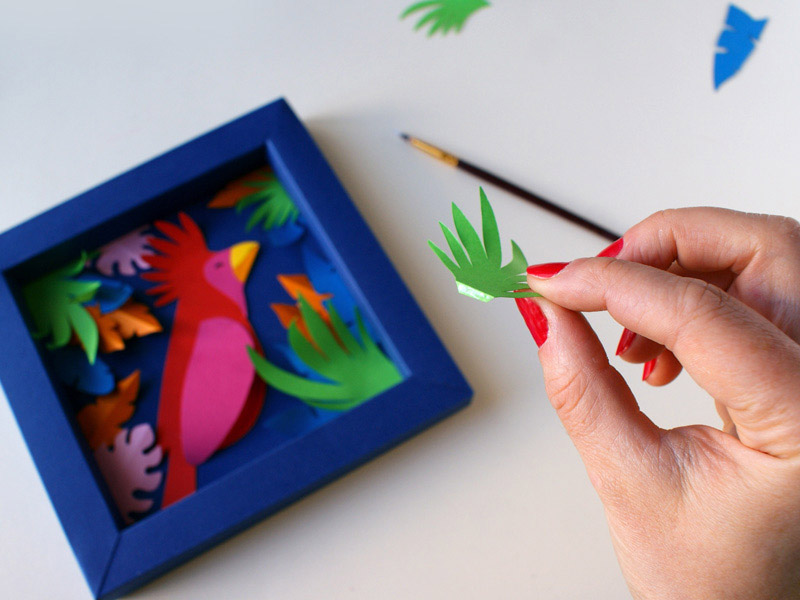
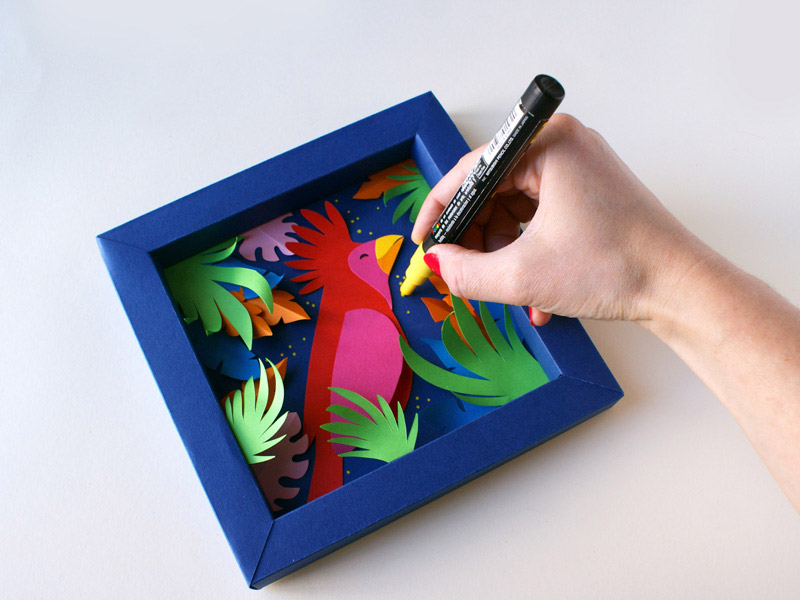
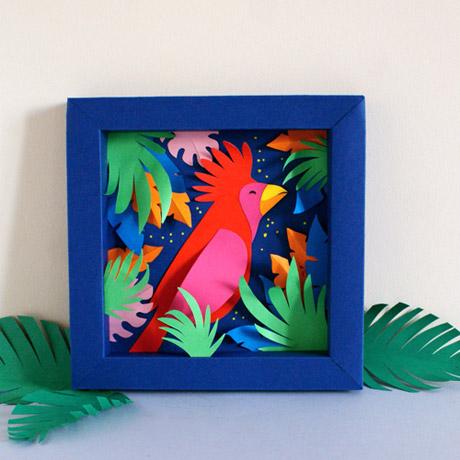
Create this tropical decoration in a 3D frame, entirely from paper, and brighten up your walls with this exotic, personalised decoration!
List of materials:
- Canson® Iris Vivaldi® 120 gsm A4 : Rose petal, Fuchsia, Buttercup, Clementine, Tomato, Azure blue, Bright green
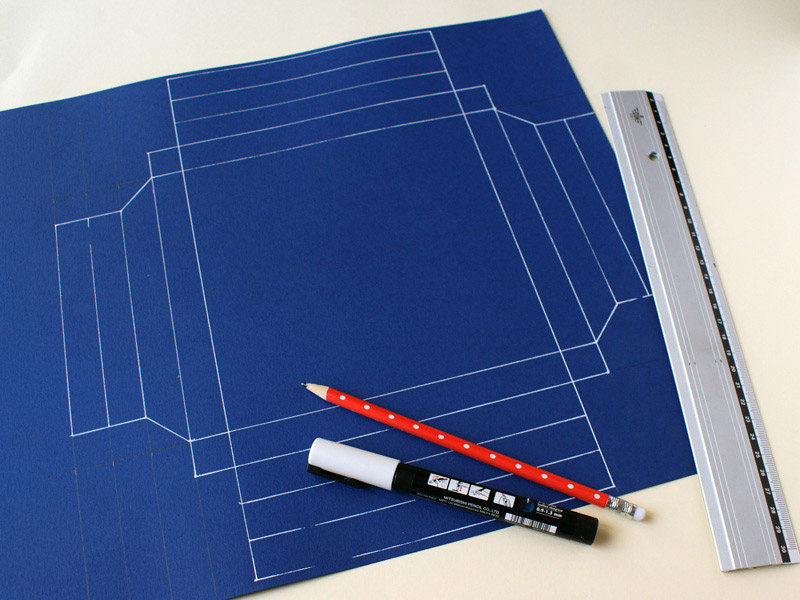
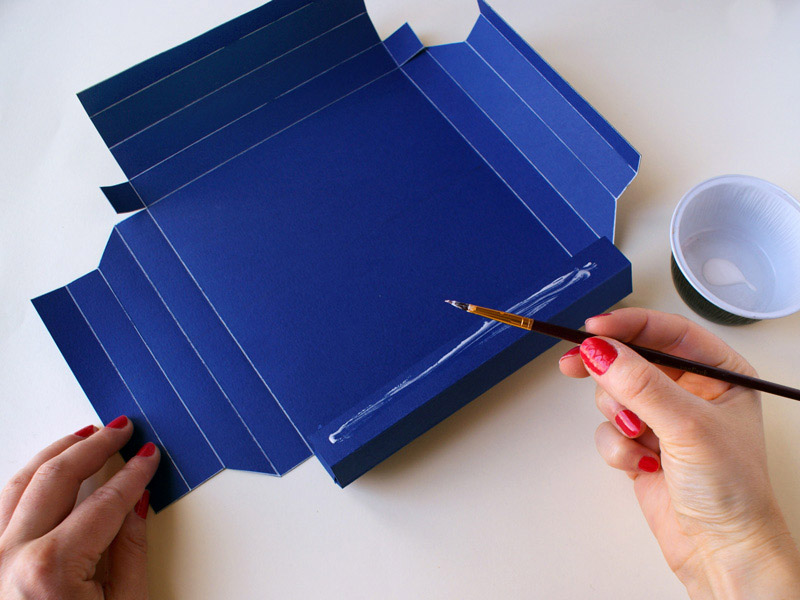
- Canson® Vivaldi 185 gsm A3 : Outremer
- Canson® Calque
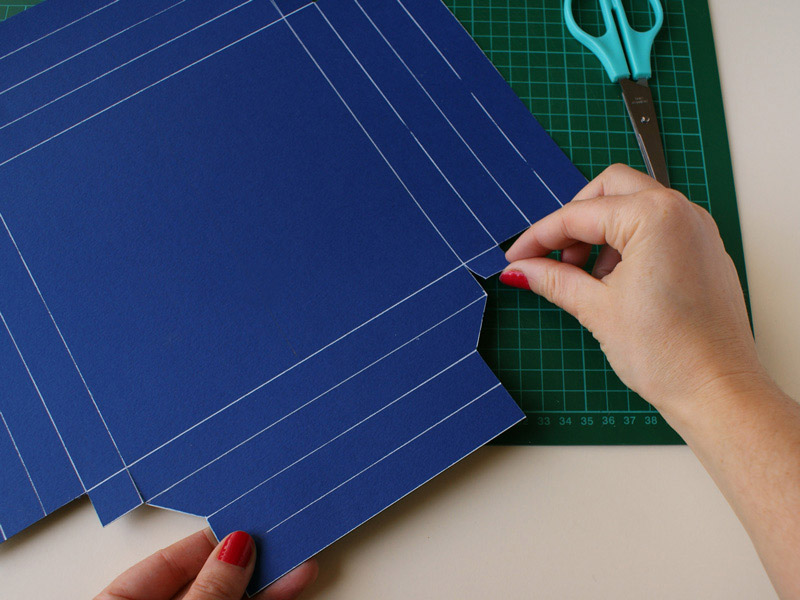
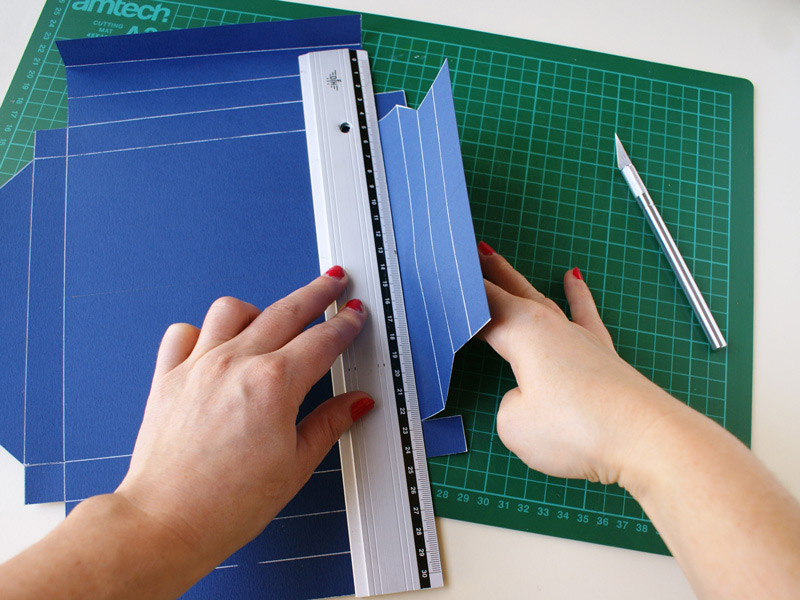
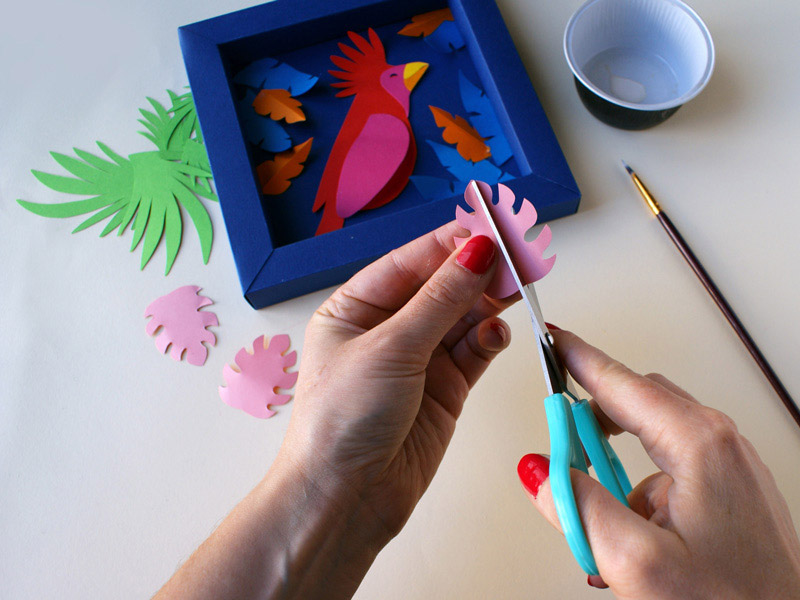
- Craft knife - scissors
- Paper glue
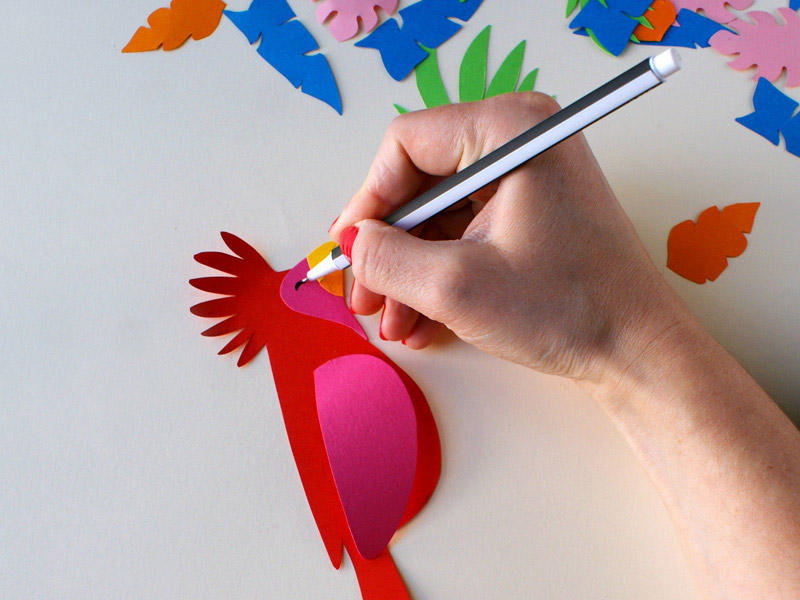
- Thin black felt pen
- Marker pens (POSCA markers or similar)
- Template: Tropical 3D frame