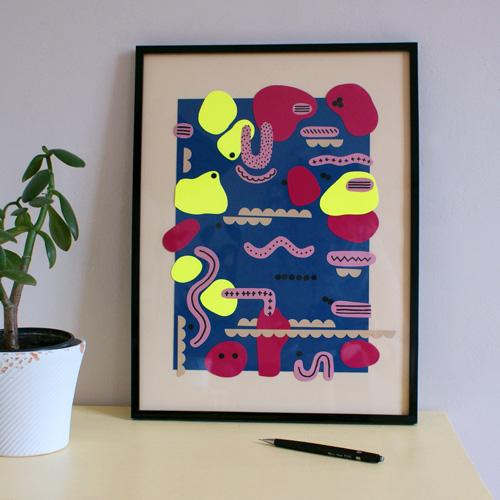
Create an abstract picture using paper

Rate this tutorial
Average: 4 (1 vote)

Time required: 1 hour

Let your imagination run wild and create a colourful abstract picture entirely out of paper!

List of materials:

Cutting out - step 1 of 3

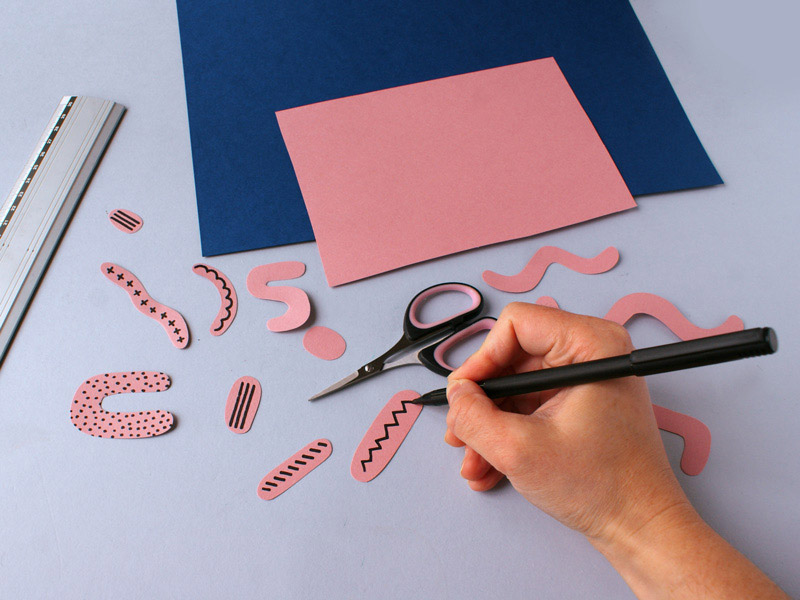
To create a varied picture make different shapes in each piece of paper.

For example, decide to stick to curved shapes for the pink paper.

Come up with a variety of shapes, then you can have fun drawing different graphics on them with black felt tip pen.

Cutting out - step 2 of 3

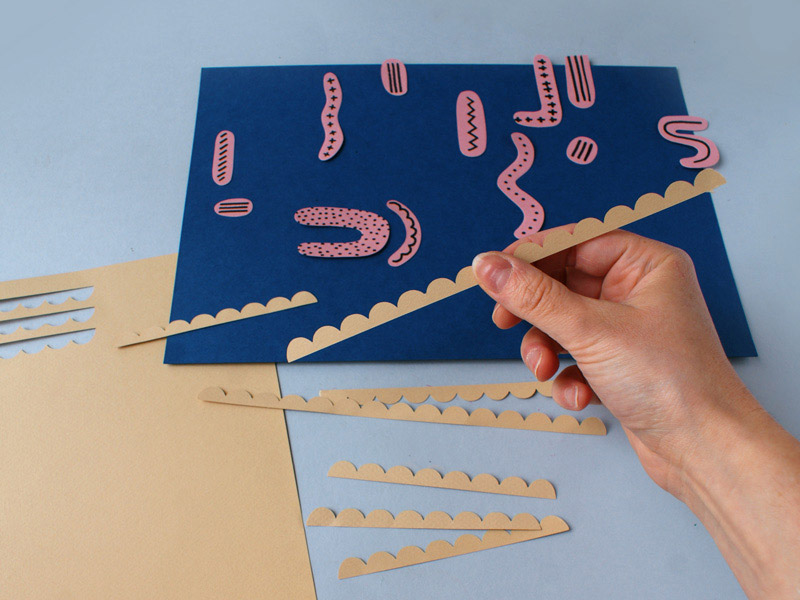
Using another colour paper, cut out more regular shapes so that there will be some recurring patterns in your work.

Cutting out - step 3 of 3

Finally, cut some random shapes across larger areas. They will bring structure to the "floating" parts of the picture as well as to the overall look.

Step 4: Gluing

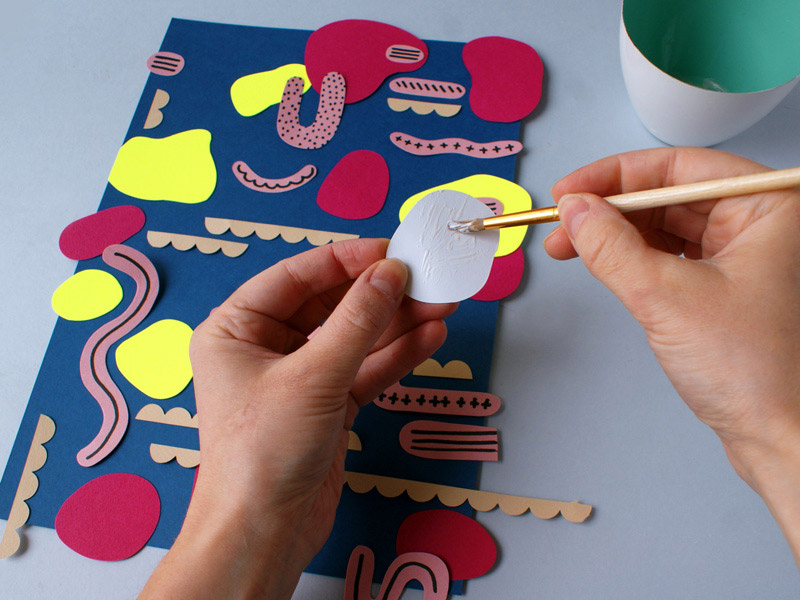
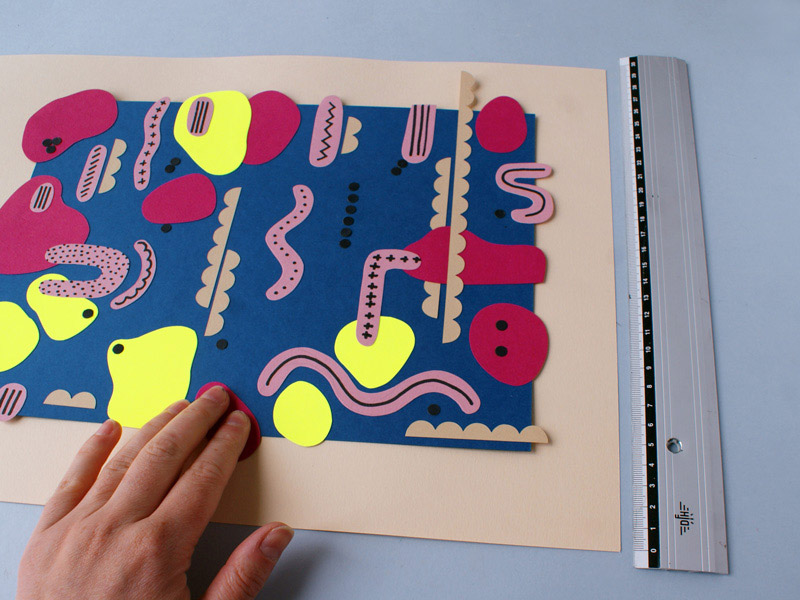
Arrange the different parts on the blue background. First glue the ovals and then the small shapes.

Step 5: Finishing touches

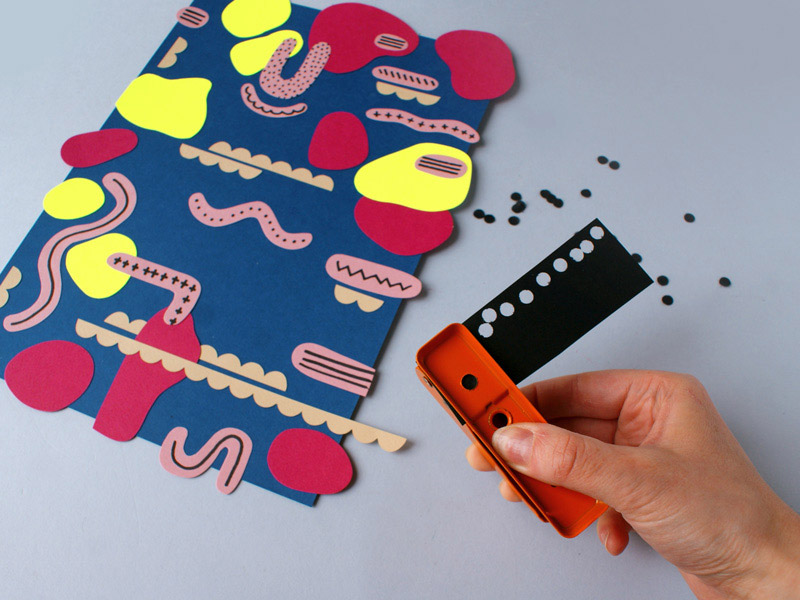
Using a hole punch, make some confetti out of black paper.

Randomly stick a few on your picture to enhance the blank areas and create contrast with the other colours.

Step 6: Base

If you'd like to frame your picture, glue it in the centre of a larger sheet of paper which will contrast with the blue background (ecru or beige, for instance).