Time required: 1 hr 30 mins
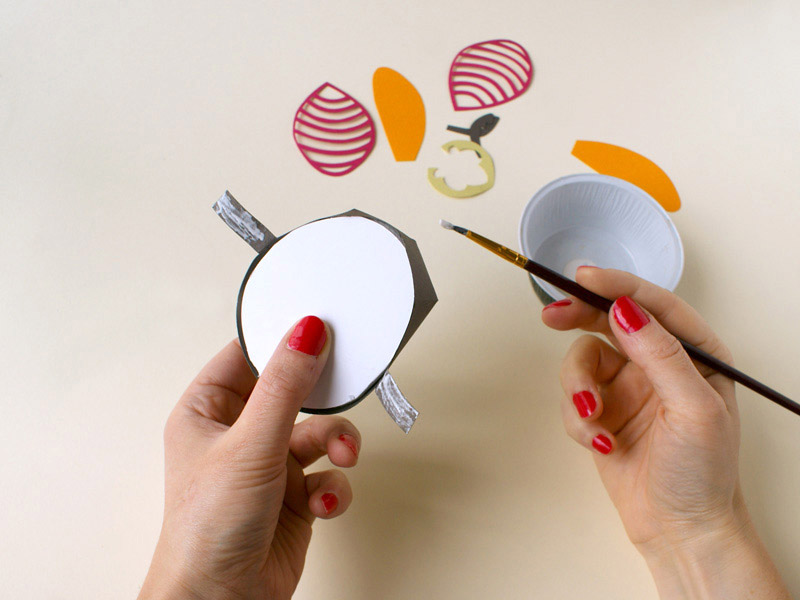
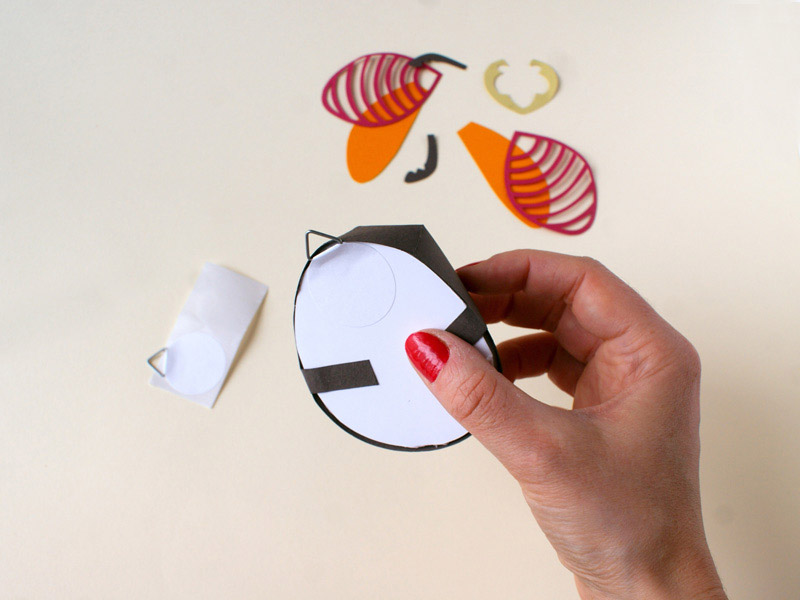
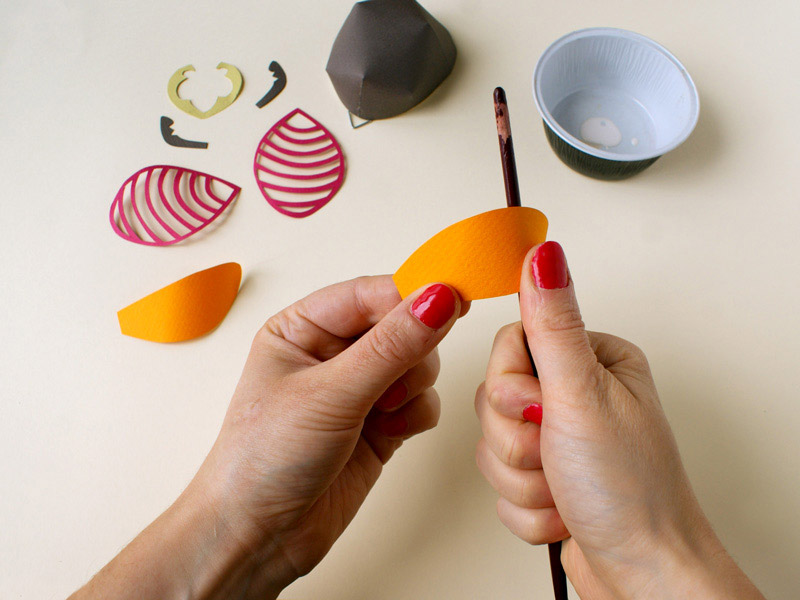
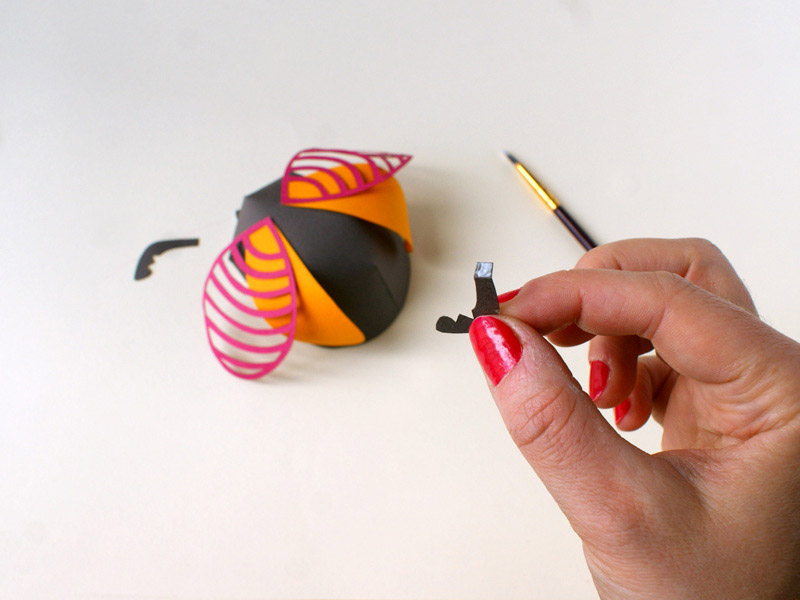
Create your own multicoloured paper insect. Follow this step-by-step guide to create the basic insect, then add your own personal touches.
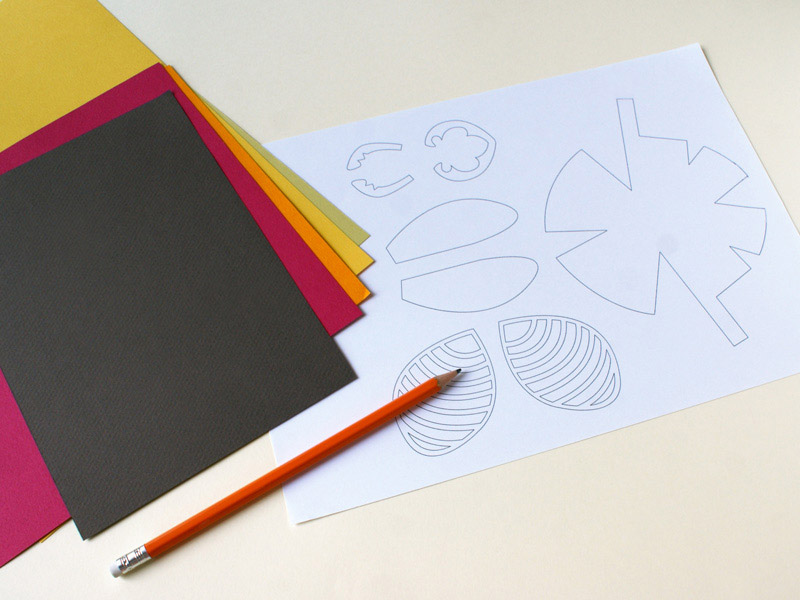
List of materials:
- Canson® Mi-teintes Anis, Canary, Raspberry, Dark Grey, Cadmium Yellow Deep
- Canson® Carton plume®
- Heart-shaped punch
- Hole punch
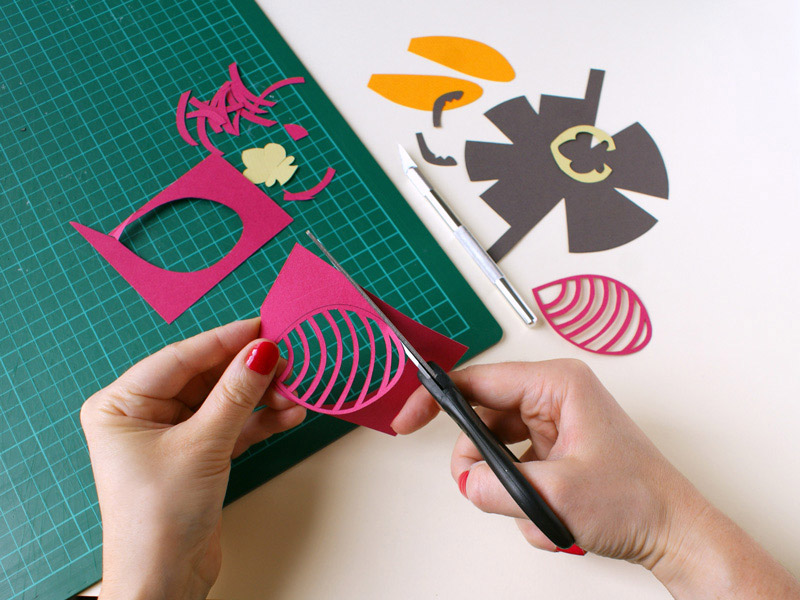
- Craft knife
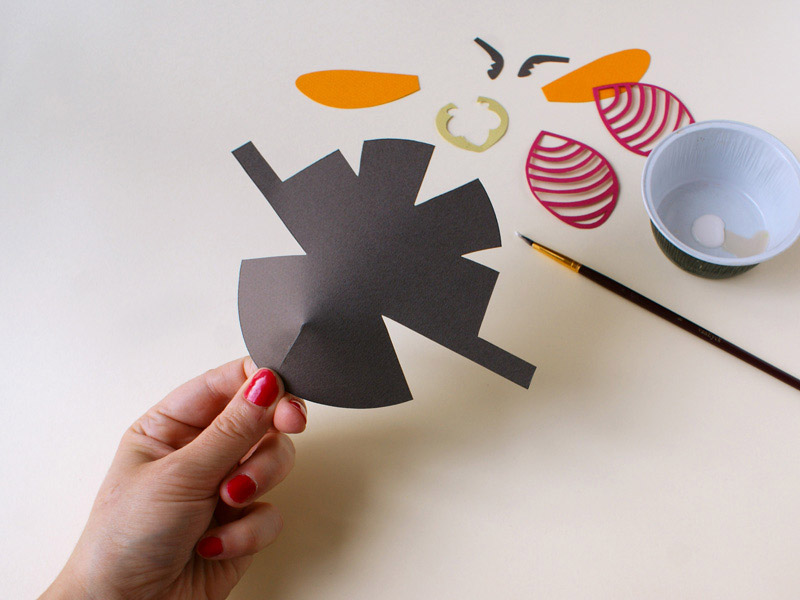
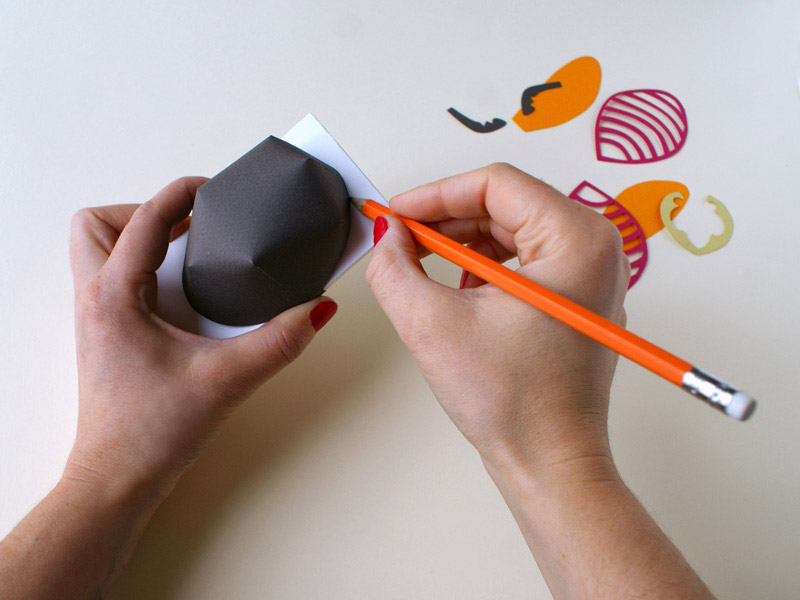
- Quick-setting paper glue (with brush applicator)
- Template: 3D Insect