
Create a geometric composition with paper

Rate this tutorial
Average: 3 (1 vote)

Time required:  2hours

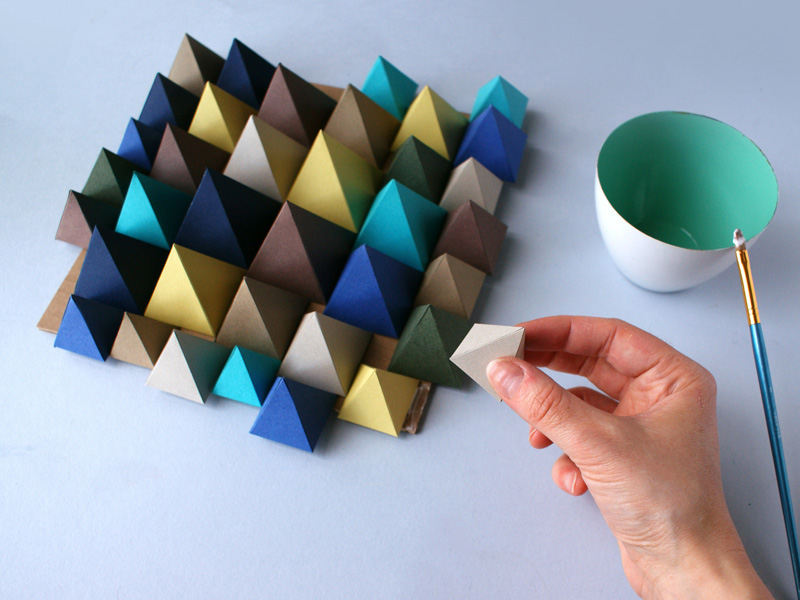
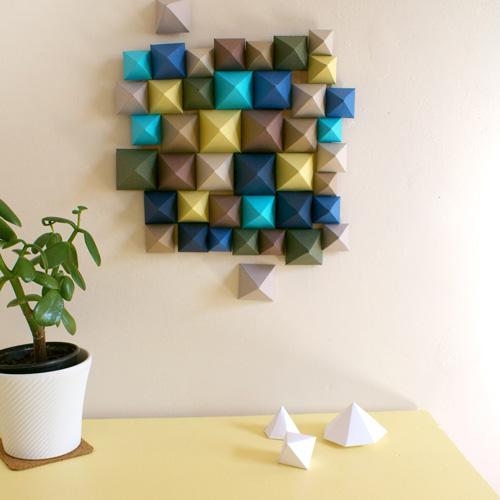
For a design-inspired decor... create a piece of wall art by piling up paper pyramids.

List of materials:

  • Canson® Mi-Teintes 160g/m2: Anis, Sand, Sepia, Southern seas, Ultramarine, Ivy, Pearl
  • Craft knife - scissors
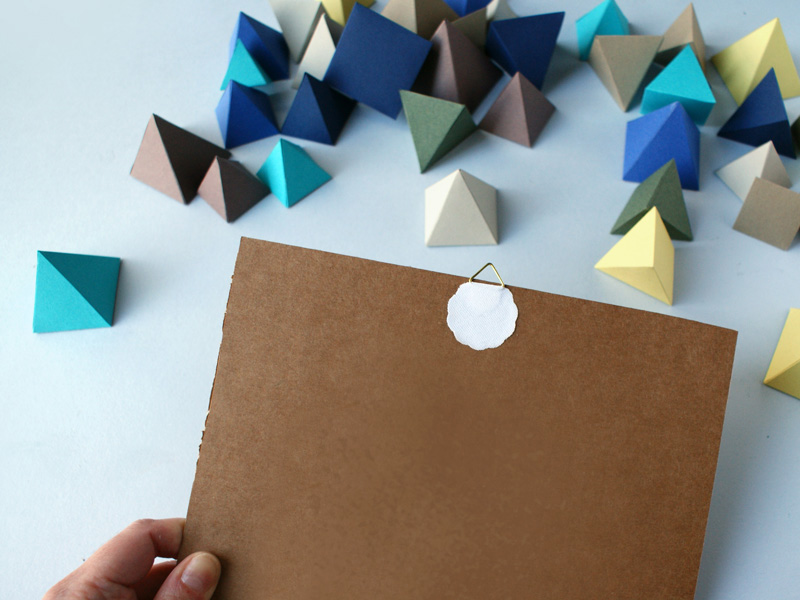
  • Cardboard
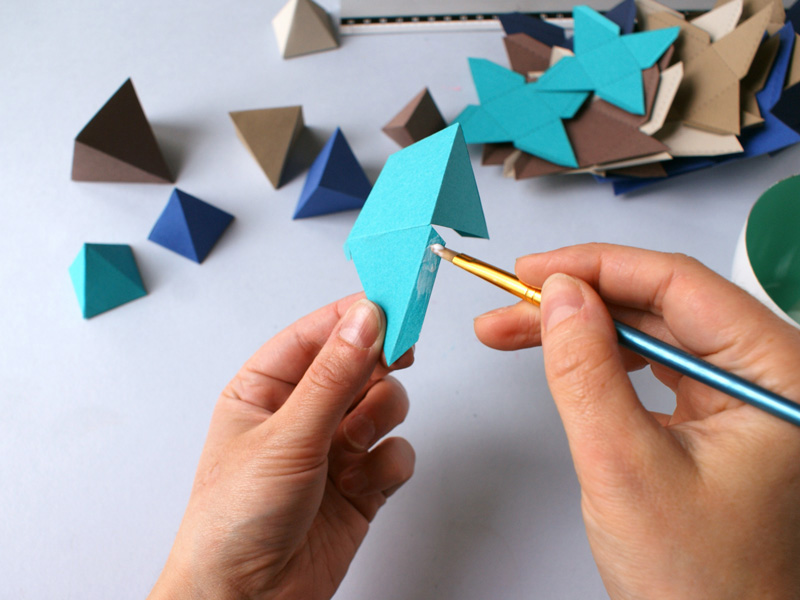
  • Paper glue (with brush applicator)
  • Self-adhesive hanger
  • Template: Pyramids

Step 1: Templates

Download and print out the pyramid patterns on papiers Canson® Mi-teintes, with at least one sheet of each colour. .

Step 2: Cutting out

Use scissors to cut out all the templates and then mark the folds using a ruler.

For aesthetic reasons, it's a good idea to mark the fold on the front of the paper (the un-printed side) to ensure crisp edges; use the cut-out templates to help you.

Step 3: Glueing

Assemble all your pyramids by glueing the tabs one by one.

Step 4: Base

Cut out a 22cm square from the cardboard and glue a self-adhesive hanger on the back, in the centre.

Step 5: Assembly

Glue your pyramids to the cardboard base, trying to alternate colours and optimising their layout to ensure that they're as close together as possible.

Step 6: Finishing touches

If there are any visible areas of cardboard, you can stick smaller pyramids on to fill these spaces.

Recommended product:
Mi-Teintes®