Time required: 1 hr 30 mins
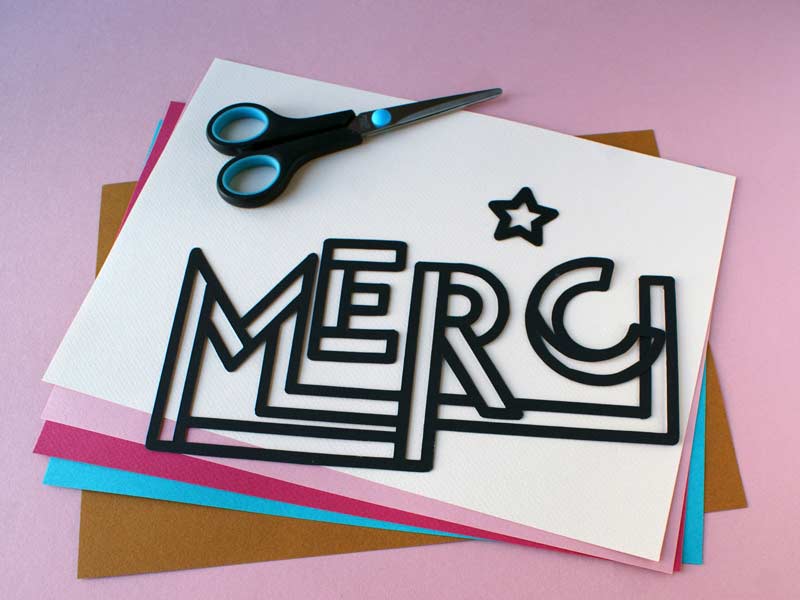
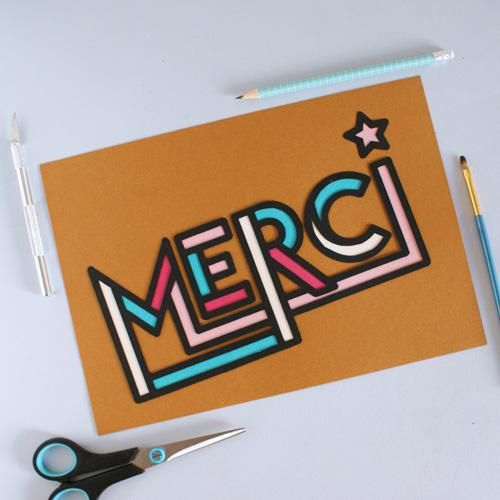
Say it with paper... Create a colourful typographic paper poster. With this tutoriel DIY papier, you can illustrate the word "Thanks".
List of materials:
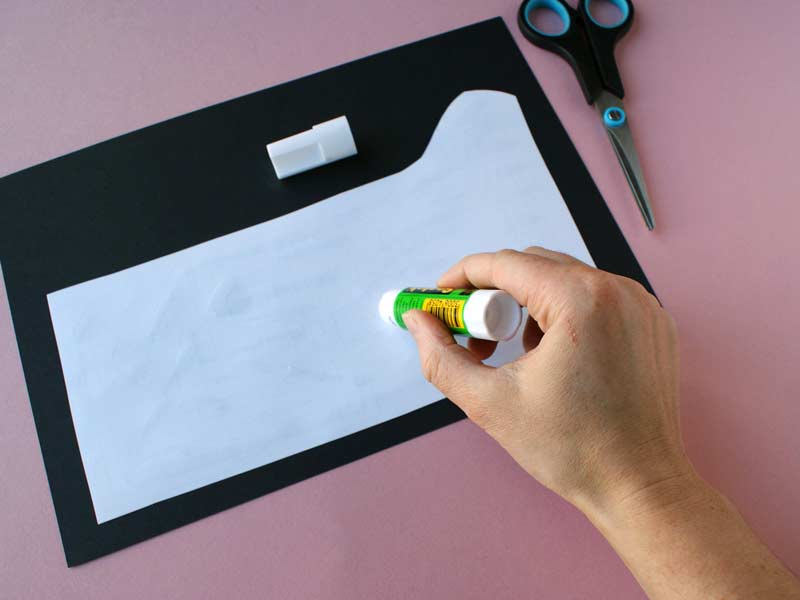
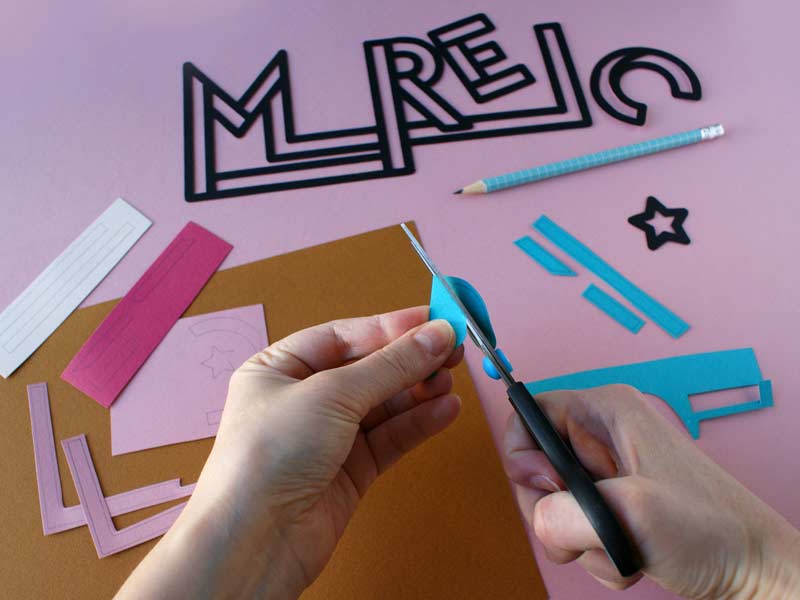
- Canson® Iris Vivaldi black 240 g/m2
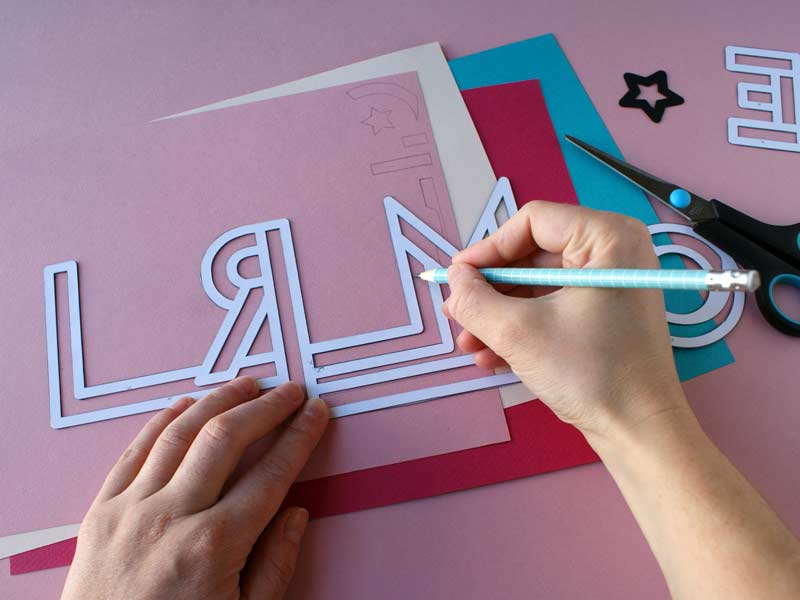
- Canson® Mi-Teintes 160 g/m2 : Havana clear, Raspberry, Orchid, Southern seas, Eggshell
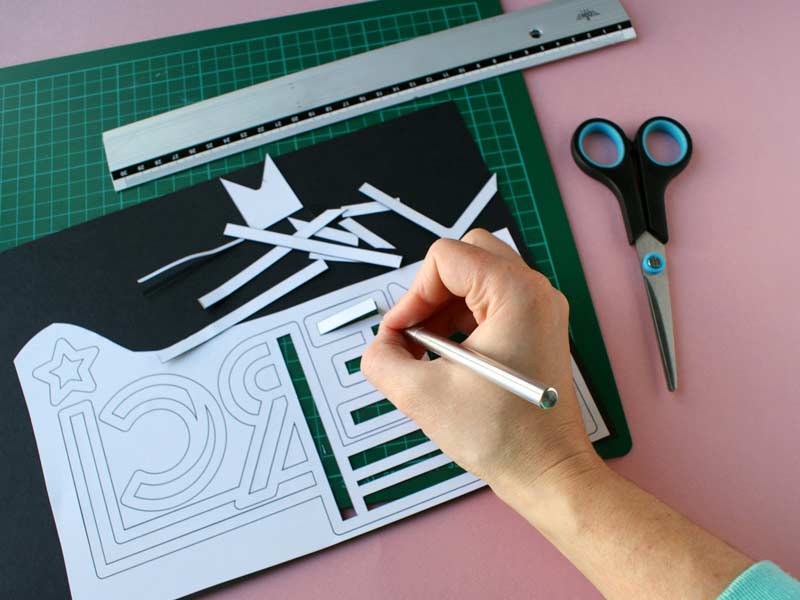
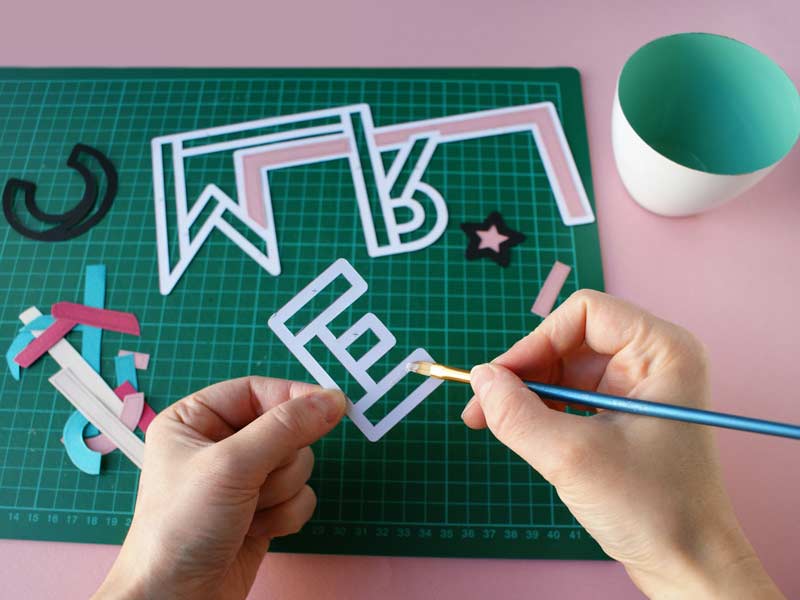
- Craft knife - scissors
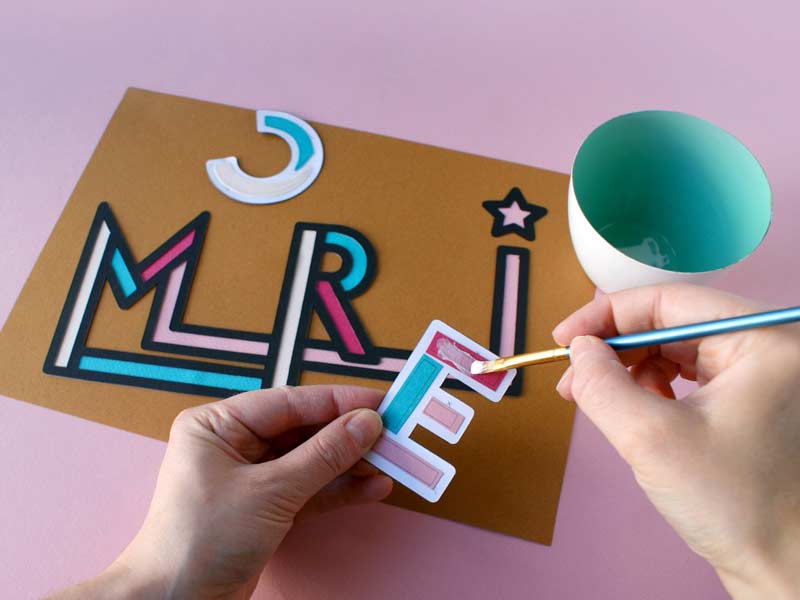
- Paper glue (with brush applicator)
- Pencil
- Template: Typography