
How to make pretty geometric cardboard trays

Rate this tutorial
Average: 5 (1 vote)

Level of difficulty: Intermediate

Author: Amandine Leprévost (from the blog Les yeux en amande)

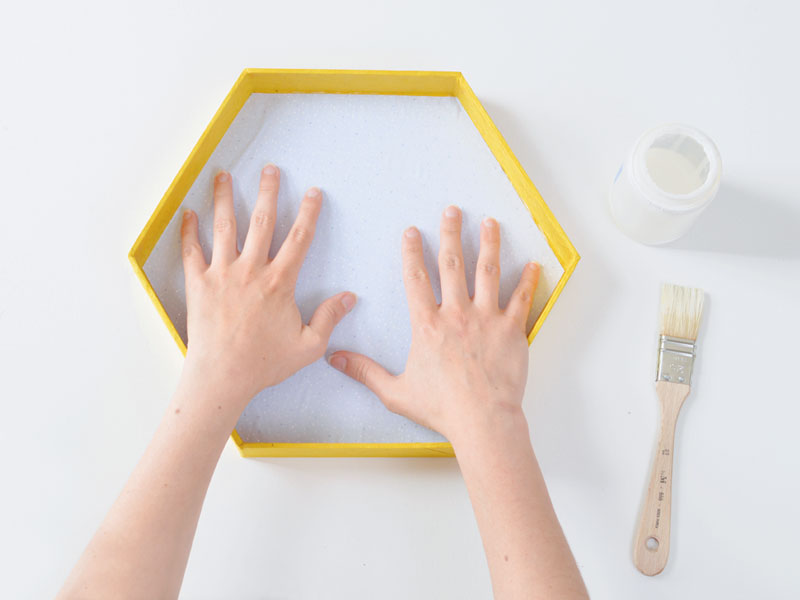
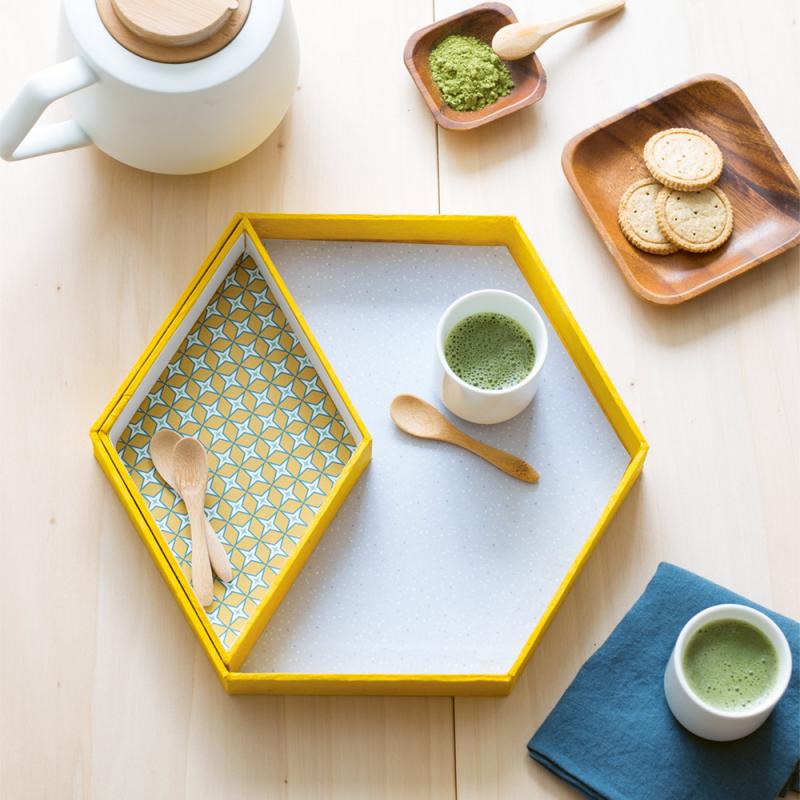
These fun practical trays are sure to find a place on your coffee table  and create a cool geometric detail.


Materials:

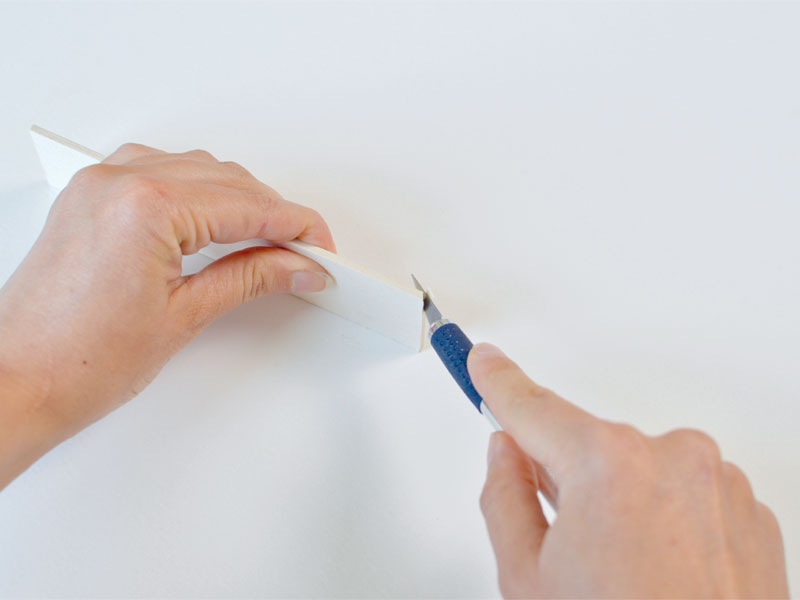
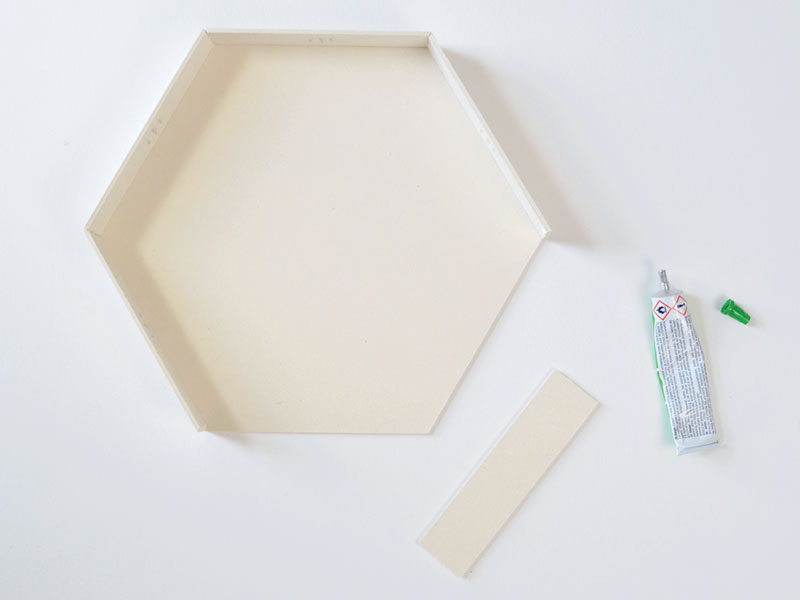
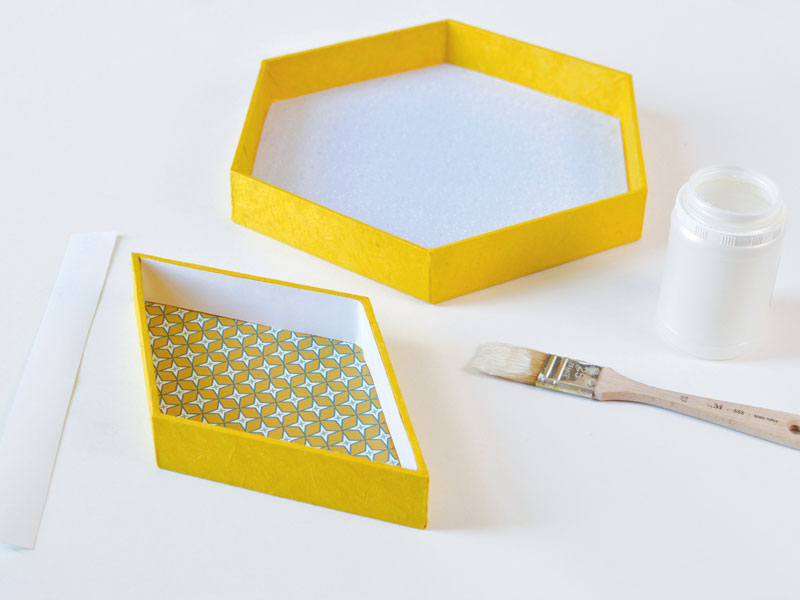
  •  A hexagonal piece of 3 mm wood pulp board measuring 15 cm on each side (Download the template)
  • 6 sides in 3 mm wood pulp board Canson® each measuring 14.7 x 3.5 cm
  • A diamond shape in 3 mm wood pulp board, measuring 14.5 on each side
  • 4 sides in 3 mm wood pulp board, each measuring 14.2 x 3.2 cm
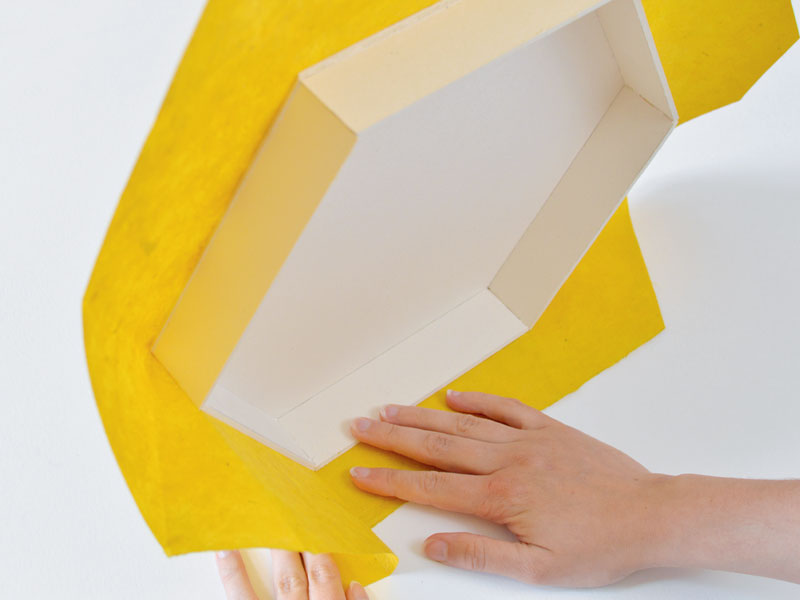
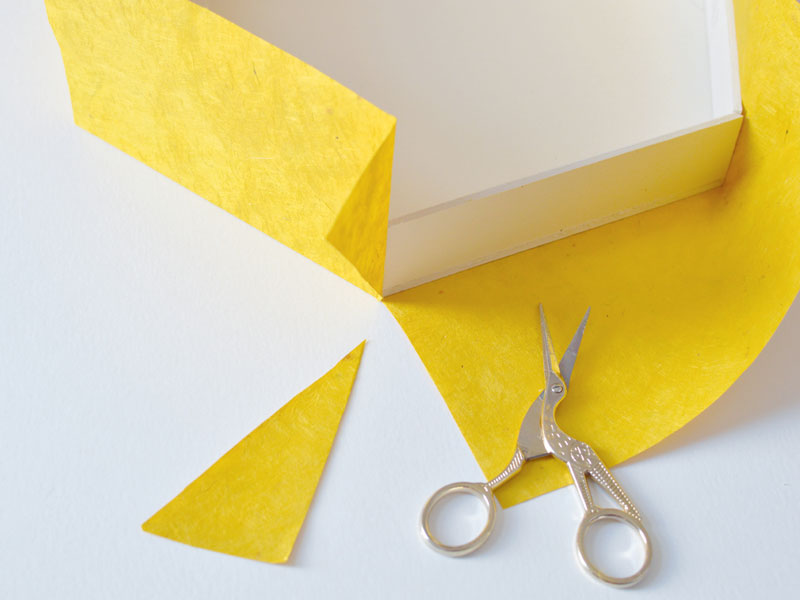
  • Mustard yellow paper
  • Paper with a geometric pattern
  • Matching plain paper


For more cardboard craft ideas, get "Papier déco: créations en carton pour la maison" from Mango Editions.


Step 1

Cut out the edges of the sides of trays at an angle of around 30°, so that they form neat corners when assembled.

Step 2


Glue them to the tray, holding them in place while the glue dries.

Step 3

Cut a hexagon from the yellow paper that is big enough to cover the entire outside of the tray.

Glue the underside of the tray to the paper.

Step 4

Apply glue to one of tray sides and attach it to the paper.

Continue one side at a time, ensuring that the folds are clean in the excess paper on each side.

Step 5

Trim off the excess paper as shown in the photo.

Step 6

Fold down and glue the triangle to the adjacent side.

Step 7

Fold down and glue the rest of the paper.

Continue until the tray has been glued on all sides.

Step 8

Cut notches in the paper at the corners.

Step 9

Fold down and glue the tabs towards the inside of the tray.

Step 10

Cut a hexagon of the same size as the inside of the tray from the plain or patterned paper. Glue it down.

Step 11

Repeat the process to form the diamond-shaped tray.

You can also cover the inner edges of the tray with strips of contrasting paper.