
Making a rabbit mask

Rate this tutorial
No votes yet

Estimated time:  1 hour and 30 minutes 

Level:  intermédiary

Artist: Paul Rouillac

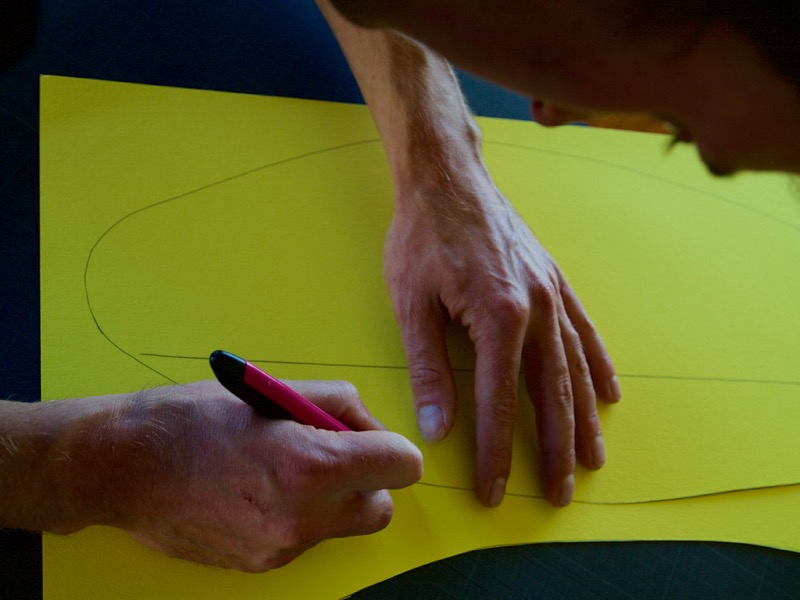
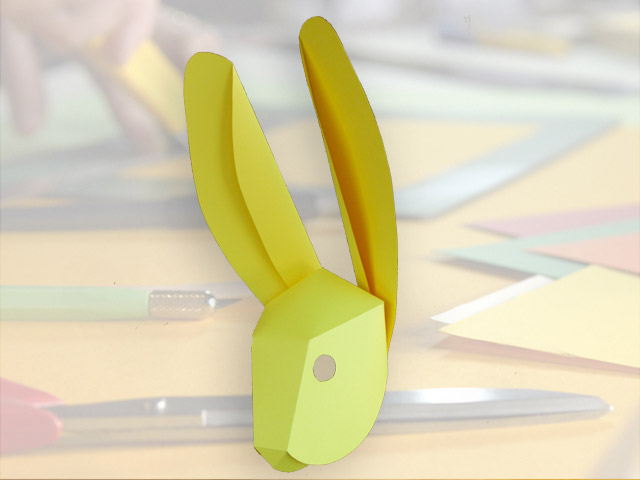
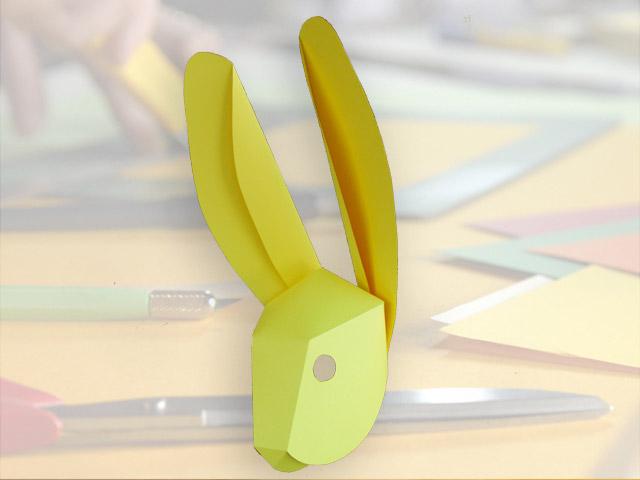
Learn how to make a rabbit mask that you can hang on a wall or wear!


Material

>Paper: Canson® Colorine® 50 x 65 cm en 220 gsm, in the colour of your choice 

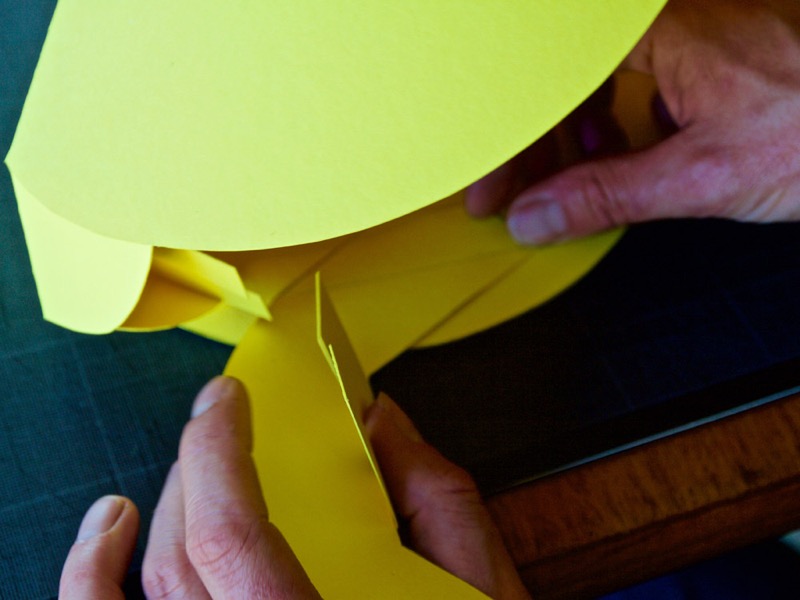
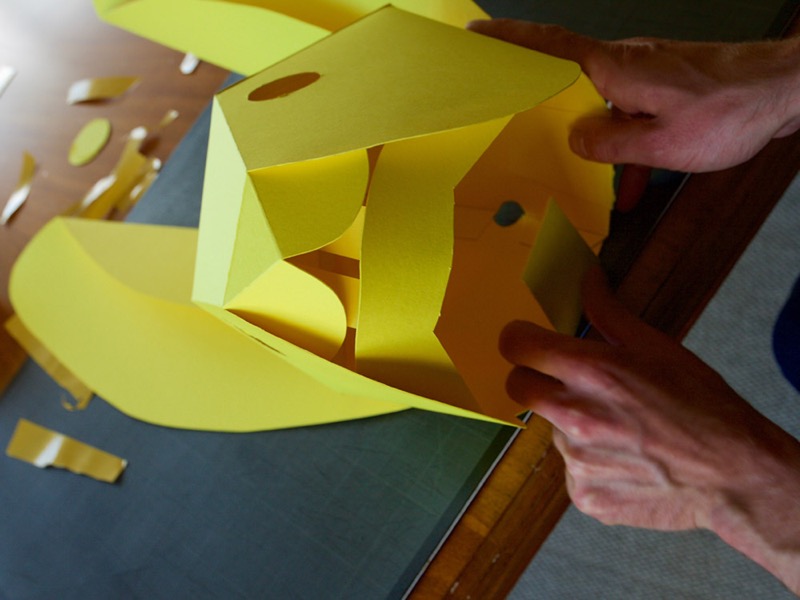
>Accessoires: a precision-knife, a bone folder, a ruler, a cutting mat, double-sided adhesive tape.

Gabarits: Rabbit headRabbit ear


Step 1: Cutting and folding

Print the two templates and cut the elements with the precision knife, leaning on the cutting mat.

Accurately follow the contour of the pieces. The fold lines are indicated by dotted lines and must not be cut.

Mark the folds indicated by the dotted lines well. You can use a folder and a ruler to do this so that the folds are regular.

Step 2: Applying the tape

Place some double-sided tape with a protective film at the level of the tabs, on the non-printed side for the head. The tape must not protrude from the parts to be assembled.

On the bottom of the ears, place some tape on both sides of the paper.

Step 3: Assembling the head

Remove the protective film from the tape and start assembling the head from the top down.

Align the tabs with the lines at the top of the mask. Press with your folder held flat to remove the air and fix firmly.

Step 4: Adding the teeth

Glue the top teeth to the inside of the head above the triangle for the nose and the whisker pads, tilting the nose slightly.

Glue the lower jaw, aligning the tabs with the marking inside the cheeks.

Step 5: The ears

Fold the ears inwards lengthwise to create a double thickness at their base.

Glue this base to the back of the head, folding the tips inwards and taping well. Always press down on a flat surface for even, firm gluing.

Step 6: the final result

You're finished! You can use it as a mask or transform it into a trophy you can hang from a nail.