
Watercolor: Doing a flat wash

Rate this tutorial
Average: 3.3 (4 votes)

Are you just getting started with watercolors? The wash is THE essential process to know and master!


What you need to know

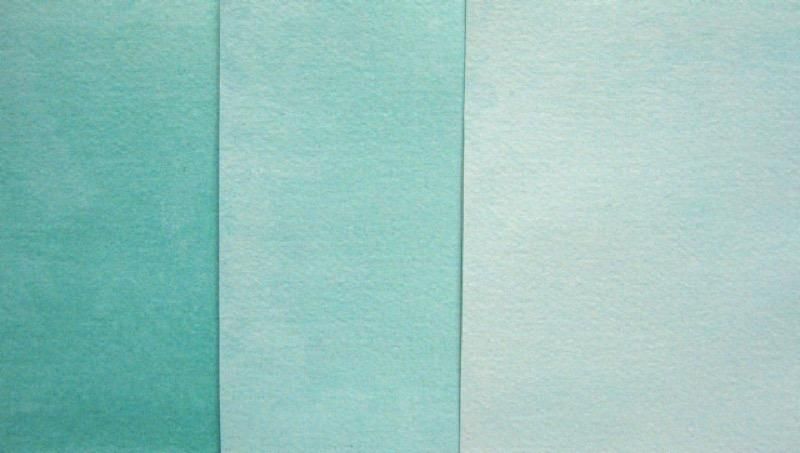
This is watercolor basics. To apply a flat wash, you need to dilute some color in water, then apply it uniformly to part of the composition (to paint a sky, for example) or to the whole sheet of paper (to create the background).

1. Mixing a wash

It just takes four steps!

  • Fill two containers with water: one for mixing colors, the other for rinsing the paintbrush.
  • Moisten your paintbrush and gently rub it on the surface of the cake of paint to pick up some color. 
  • Deposit the color in a small dish.
  • Mixing water into the color: the more water you add, the lighter the color will be (to darken it, add some straight color instead).

Trick of the trade:

Before starting to apply your wash, test its strength on a piece of scratch paper, because watercolors tend to get paler when dry!

2. Doing a successful flat wash

Reminder: prepare your paper the way you would for any wet on wet technique! Attach it to a backing and wet it with a sponge by sweeping from right to left and from top to bottom. Otherwise, use a fairly rigid pad glued on four sides. 


  • Use a large paintbrush with flexible bristles.
  • Apply the wash before the paper dries.
  • Sweep the surface horizontally, starting at the top: alternate between a right to left stripe and an underneath, left to right, one.
  • Make sure to go over the damp edge of the previous stripe, to make sure the wash is solidly uniform.


Note! Is the phone ringing? Is there someone knocking at the door? Too bad! Don’t stop applying your wash or you'll be stuck with a sharp edge that's very hard to touch up!