Do you ever doodle automatically on a piece of paper while you're phoning? That's the same principle as hatching: drawing parallel or spontaneous lines to create darker areas.
1. Parallel hatching
The basic principle is simple: draw lines parallel to one another to create shaded areas.
To tone down hatched areas, from darkest to lightest, you can:
- Use various pencils:
- with soft lead (2B, 3B) for dark, thick hatching
- with hard lead (2H, 3H) for lighter, fainter hatching.
- press down more or less forcefully while drawing.
- Varying the density when drawing lines closer together or farther apart: closer together for darker shading, farther apart for lighter shading.
- Darken the tone by adding cross-hatching: another series of parallel lines crisscrossing the first ones.
- Draw the parallel hatching freehand: using a ruler would look too constrained.
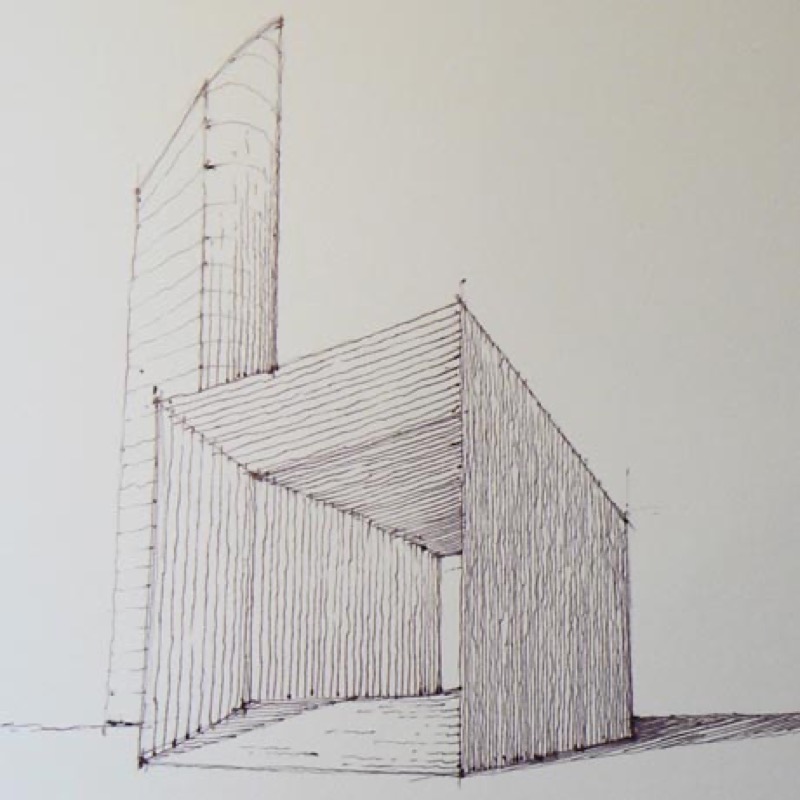
2. Randomized hatching
Freehand hatching: for a more luminous drawing.
- Continually change hatching direction by pivoting your wrist.
- Press down harder on the pencil and multiply your pencil strokes for dark values. Do the opposite for light values.
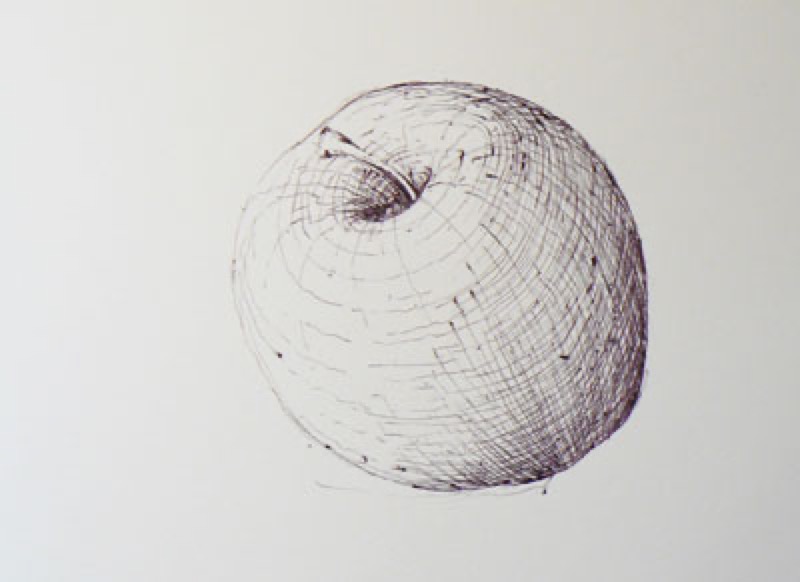
Curved hatching: ideal for adding volume to the drawing of a round object.
- Draw a series of hatching lines along the object's horizontal curves.
- Then draw a series of cross-hatching lines on top by following the object's vertical curves.
What you need to know
The closer together you draw the lines, the darker the overall shading will look. Conversely, the farther away you space your lines, the lighter the shading. Hatching allows you to shade your drawings.
Recommended product:
1557® 180g/m²
See also :
Drawing
Drawing: Stumping
Explore more tutorials on this technique
Drawing
The basics of good inking
Drawing
Drawing a Christmas Pin-Up
Drawing
The travel album
Drawing
Composing a still life
Drawing
Composing Landscapes
Drawing
Color Basics
Drawing
Paint and Draw Outdoors
Drawing
Drawing: Secrets of perspective
Drawing
Eraser drawing
Drawing
Drawing: Human proportions
Drawing
Drawing: Stumping
Drawing
Drawing a face
Drawing
Architectural drawing
Drawing
Drawing a line
Drawing
Drawing: Determining proportions
Drawing
Drawing: Selecting your material
Drawing
Preparing your Drawing material
Drawing
Choosing your drawing media
Drawing
Drawing: Create a sketchbook
Drawing
Drawing: shading and light
Drawing
Select your drawing paper
Drawing
The 6 essential steps in drawing