
Eraser drawing

Rate this tutorial
Average: 3 (4 votes)

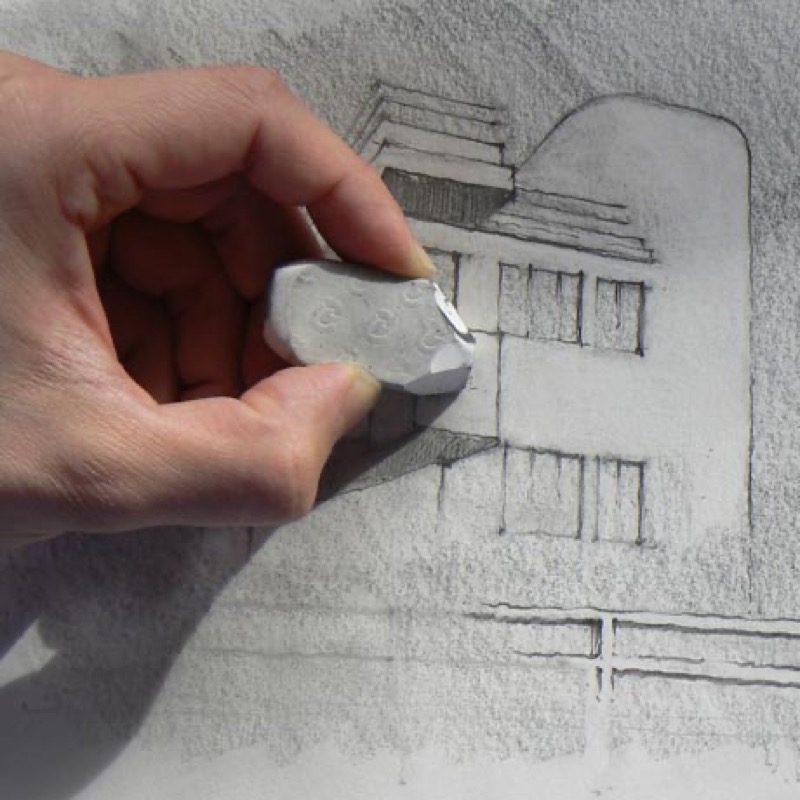
An eraser isn't just for erasing! It also allows you to draw in the negative. How it works You are going to open white areas in a grayed-over surface, that is, you are going to erase certain areas down to the white paper, creating areas of light. 


What you need to know:

A kneaded eraser is used with unstable media such as charcoal, chalk, and sanguine. The classical rubber eraser is better for graphite leads.

Kneaded erasers but for dabbing the area to be lightened, rather than for rubbing.

Knead it before using it to give it the right shape.

It's easy to clean: knead it until it completely absorbs all the pigment. 

1. Drawing in the negative with an eraser

You can work in charcoal or graphite.

Gray over the entire surface of your sheet of paper using the side of a charcoal stick or a graphite stick. make sure to apply consistent pressure on your tool, to obtain an even background.

Make your drawing with the tip of the charcoal or a corner of the graphite stick.

Remove the dark material from the light areas with your eraser 

Depending on how much pressure you apply to the eraser, you will obtain lighter or darker areas. 

Tip

Shape your eraser into a point to work on your details precisely.

2. Highlighting a shaded area with an eraser

Gray in the area you want to shade.

Go around it gently with your eraser.

Result: you will bring out the contours much more gently than outlining them with a pencil line.

3. What kind of eraser should you use?

You should definitely test various kinds of erasers: kneaded erasers, classical plastic erasers, rubber erasers and ink erasers. You will obtain a wide range of effects. For example, you can use:

-the edge of a kneaded eraser sharpened to a point to lighten borders.

-the end (the red part) of an ink eraser to bring out more important surfaces.

Result: you will bring out the contours much more gently than outlining them with a pencil line.

Recommended product:
1557® 180g/m²