You can learn how to draw! Not much equipment, a few technical concepts and lots of practice will allow you not only to master this discipline, but to gain real expertise as well. It is the basis for all the other artistic techniques.
1. Acquire a sure hand
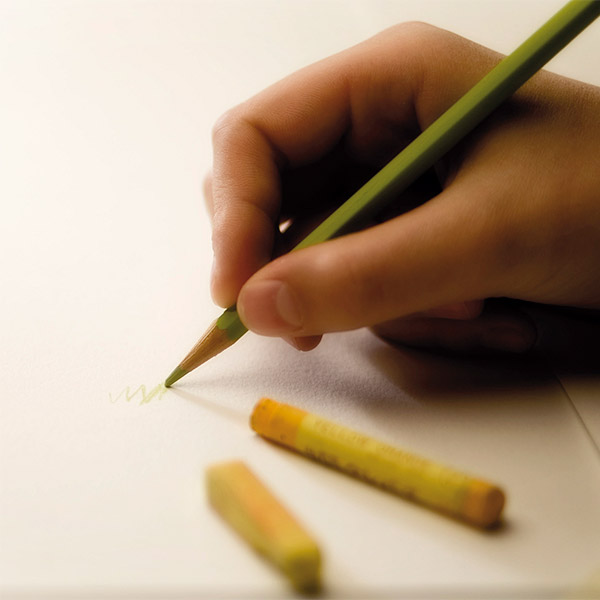
How you hold your tool (pencil, charcoal, etc.) is crucial, but nevertheless remains very personal.
What you need to know:
Your fingers, wrist, arms and whole body are part of your movement. The closer your fingers are to the paper, the more detailed your drawing.
Conversely, rough and detailed sketches are done holding your tool a little farther away, to develop sweeping motions.
2. Choose your subject
Start with simple subjects, such as still lifes, before undertaking more complex compositions (landscapes, portraits). To compose your subject, follow your intuition! Here are a few tricks to get you started:
Rule of thirds. Divide your medium, horizontally and vertically, into three equal rows, then position the important elements of the picture near those lines: a simple but effective technique!
Choosing the format. "Landscape" (horizontal rectangle:), creates the impression of space; "portrait" (vertical rectangle), gives the impression of intimacy; panorama (very wide rectangle), produces a panoramic view; square, draws the eye to the center of the picture.
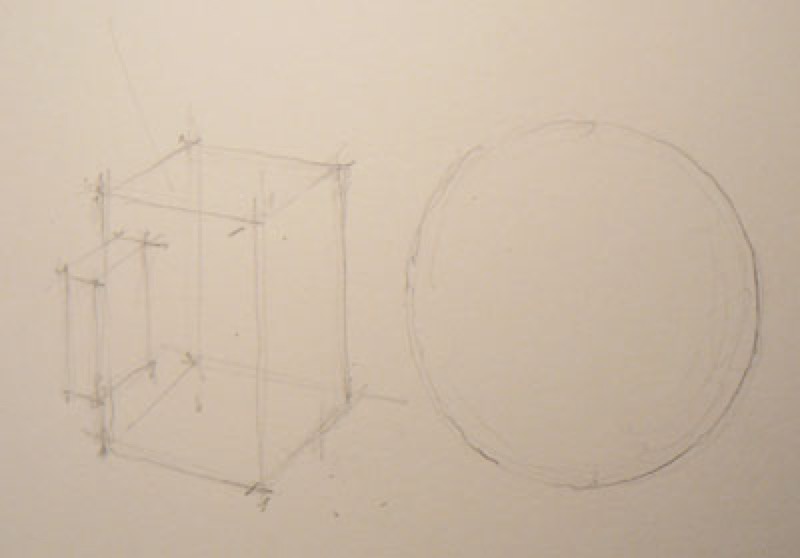
3. Learn how to diagram
Your eye has to do substantial analytical work. Once you have selected your subject, you need to study it from every angle.
Practice representing the selected subject diagrammatically, by taking the forms and geometric volumes as your basis.
We each have our own technique!
There are various methods for guiding you in structuring your drawing. You can:
- draw axes of symmetry
- break your subject down into several geometric forms
- create a grid on your paper
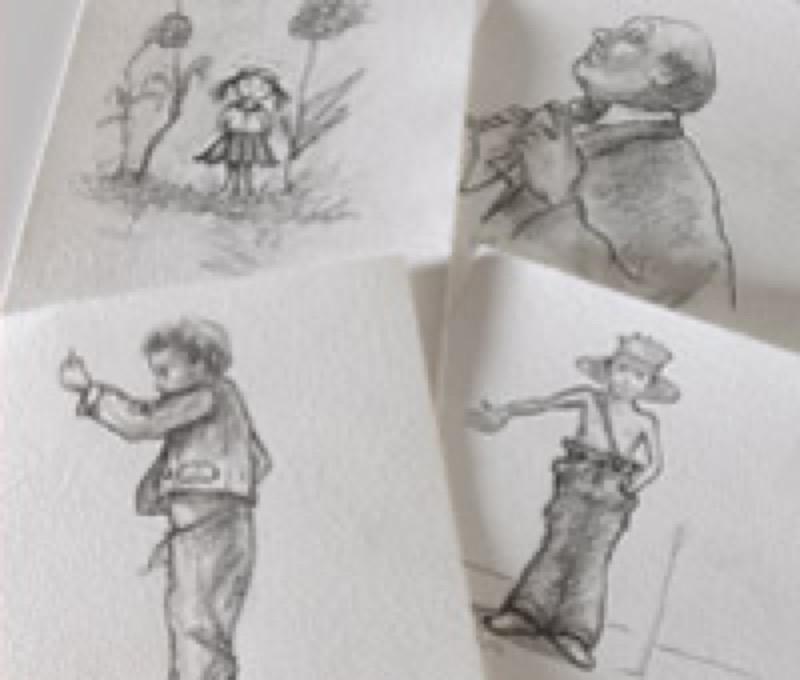
4. Sketching: take notes!
Draw snapshots of your subject from every angle, camera-style.
A static subject? Work on your rough sketch from various points of view, to work out volumes and changes in light.
A moving subject (human being, animal)? Learn how to observe movements and postures.
What you need to know: Scale is not important at this stage. Instead, start by doing your rough sketches in small formats, which are easier to master.
5. Detailed sketch: get your feet wet!
You now have all the information you need to start putting your drawing on paper. Choose the angle of view, lighting, movement, etc. sketch the first lines of your drawing with a light stroke.
6. Studies: your research lab
For detail work, don't hold back, multiply your preliminary exercises on rough paper. Test various gray tones, shade off, and use hatching… Go ahead and discover the many drawing techniques!
Recommended product:
C à grain® 180 & 224 g/m²
Explore more tutorials on this technique
Drawing
The basics of good inking
Drawing
Drawing a Christmas Pin-Up
Drawing
The travel album
Drawing
Composing a still life
Drawing
Composing Landscapes
Drawing
Paint and Draw Outdoors
Drawing
Drawing: Secrets of perspective
Drawing
Color Basics
Drawing
Eraser drawing
Drawing
Hatch drawing
Drawing
Drawing: Human proportions
Drawing
Drawing: Stumping
Drawing
Drawing a face
Drawing
Drawing: Determining proportions
Drawing
Architectural drawing
Drawing
Drawing a line
Drawing
Drawing: Selecting your material
Drawing
Preparing your Drawing material
Drawing
Choosing your drawing media
Drawing
Drawing: Create a sketchbook
Drawing
Drawing: shading and light
Drawing
Select your drawing paper