A clever way to recycle your paper scraps and create a personalized book, suited to your needs and desires.
1. Why make your own sketchbook?
For you, ready-to-use products are too standardized, and you dream of combining different papers, adapted to your preferred media: sketch paper, colored papers, tracing paper...
According to your taste or for a specific project: you want to work in a certain format or to combine sheets of differing dimensions within the same notebook.
You like to personalize your notebooks using an attractive cover, for example, a Japanese binding.
Techniques for binding sheets
Would you like to reorganize your sketches later? Choose a removable cover.
Collection held together by two artist clips.
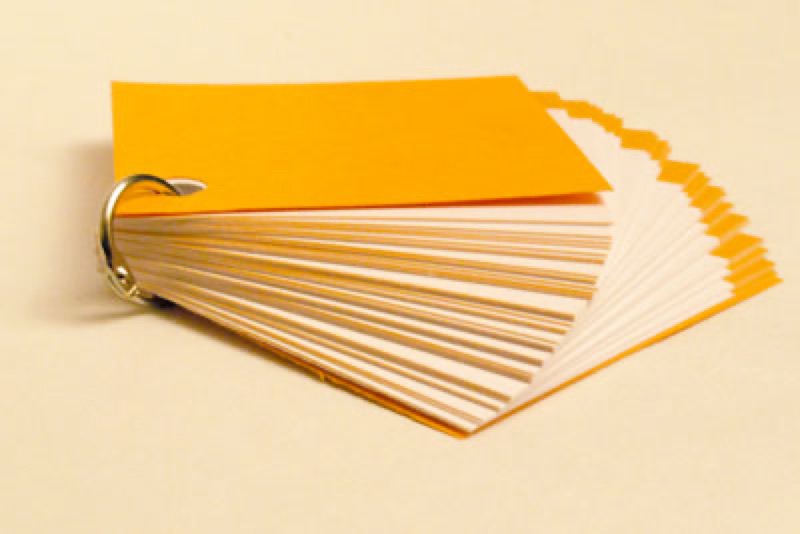
Punched sheets placed in a binder or held together with metal rings, ribbons, laces or bits of knotted string.
Would you like to create a true album? Various methods will allow you to bind the pages together.
A plastic spiral binding (some require no binding machinery).
Staples (some special staplers will bind up to 50 sheets) or paper fasteners (brads) inserted through all the documents (previously perforated) and folded behind the last page.
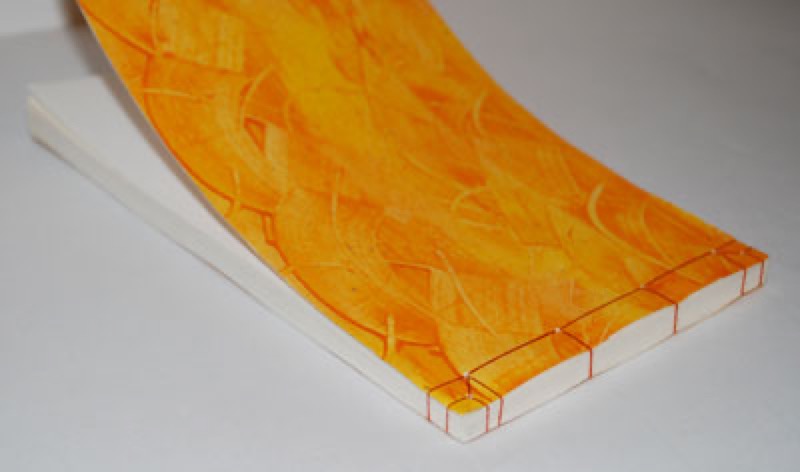
A binding stitched with linen thread, in the Japanese style.
Tip: For pages that are easy to turn
Depending on the chosen fastener (staples, for example) turning the pages of your book will not be as easy as with a spiral binding or a stitched bookbinding. In this case, you can easily make small folds on each sheet, about 1 cm wide: using a straight edge and a paper folder, scribe sheets of heavy paper very lightly, using a cutter, without cutting through them.
2. Materials
The paper: make your selection based on your taste and your needs. You can use just sketching paper, or include tracing papers, sheets of varying colors and textures...
The cover: the selected binding technique will govern your choice. The more rigid the collection, the more flexible the cover should be: colored or handmade paper, Bristol stock, etc. For a book-type binding or a binder, you can choose heavy card stock or a decorative laminated paper.
Backing board: for a book-style binding, preferably use the same material as the front cover. For other bindings, use a heavy Bristol stock, a conservation grade stock or even a single thickness of heavy card stock (as used in framing).
3. How to proceed?
Step 1: prepare papers and card stock
- Prepare your sheets by trimming to the desired dimensions, using a paper cutter.
- Cut the cover sections, preferably in the same size as the pages.
- Perforate as needed: using a punch for the spirals, rings and ribbons; using an awl to allow the passage of the needle for the stitching of a book-style or Japanese binding.
Step 2: attaching the pages and the cover
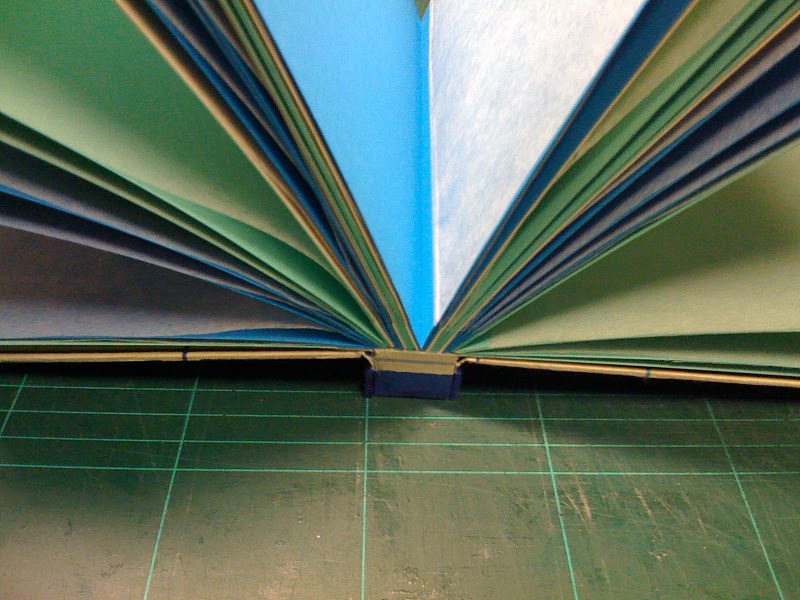
- Bookbinding Fold your pages in half, open them and then put them one on top of the other. Assemble them, using a lengthwise seam, with flat stitches, at the interior of the fold. You can also fold large pages several times: stitch each section on one side, then use a cutter to open the remaining 3 sides. This style, known as a copybook, rarely contains more than 15 sheets. Stitch the copybooks together, then attach the cover with glue. Note: This technique requires some experience!
- Japanese binding Easy to create, this method is very attractive and works especially well for sketch albums. Place the perforations at regular intervals, about 1 cm from the side edge of the work. Punch all parts, including the cover, using an awl if you plan to stitch with linen thread, or using a punch for a ribbon. Clamp everything together using artists clips. Estimate a length of thread equal to approximately 6 times the height of the work and use an upholstery needle. Pass the needle through the first hole (lower edge), in the front of the work (leave a free end of the thread about 10 cm long). Make a loop on the back, pass through the same hole, always to the front. Repeat the process, holding the thread: your needle will be behind the work. Move to the next hole, put your needle through. Make a loop on the back, bring the needle through the same hole: your needle will be behind the work. Move to the following hole, repeat in the same manner, until the last, on which you will make two loops: one around the back, one around the upper edge of the project. Visually, your stitching will have the appearance of a dotted line. Finish the work, moving in the same way in reverse, continuing to make a loop around each perforation. Firmly tie the two ends of the cord at the bottom, behind the work, and clip the excess.
Recommended product:
White drawing paper