Adding three-dimensional lines is a totally original technique, consisting of squeezing color onto the painting surface with an applicator tip. However, you need good control because it is not easy to correct mistakes.
What you need to know
This is the same process used by potters to create designs on clay plates and by confectioners to decorate their cakes! Three-dimensional lines allow you to:
- to make the contours of painted shapes or objects stand out
- to add texture to color blocks by drawing parallel lines, circles, grids, etc.
1. Preparing your material
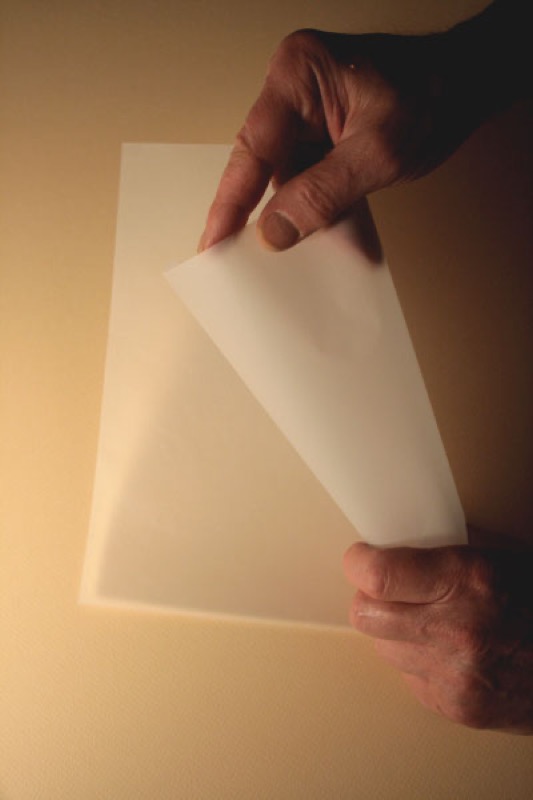
a. How to make an applicator tip:
- Use tracing paper.
- Cut a 15 cm wide strip of paper.
- Form a cone with a closed tip.
You can also use disposable pastry bags. Their wide tips allow you to draw thick lines.
You will need a tip for each color used.
b. Preparing the paint:
- Mix the color with a modeling paste type of medium.
Note: because acrylic paint dries very fast, you need to prepare your colors after making your applicators!
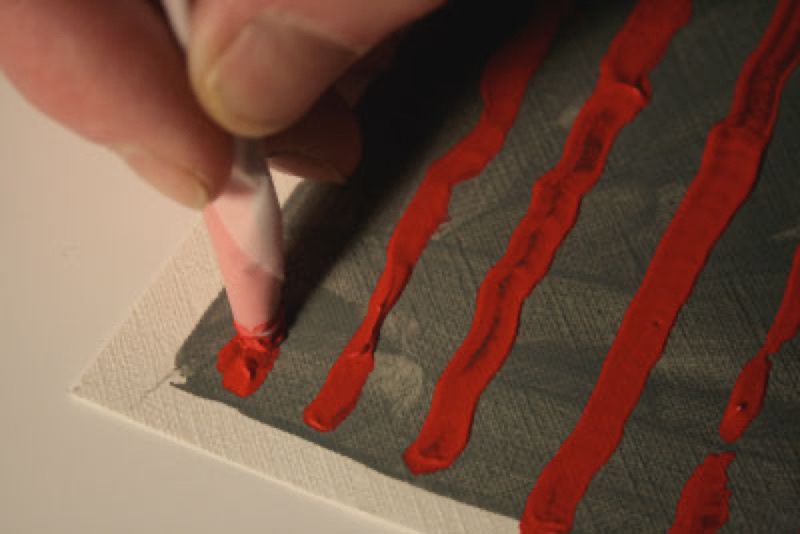
2. Applying three-dimensional lines
- Fill the applicator with paint.
- Cut off the tip of the cone.
- Press down lightly on the middle of the applicator to push the paint out.
- Draw your lines.
Recommended product:
Graduate Oil and Acrylic