
Acrylic: Plate of silver fish

Rate this tutorial
Average: 5 (2 votes)

Preparing the paper: ½ hour  Time of execution: 3 and a half hours   Drying between steps: 3 hours Level: Intermediate

Auteur : A. Porteu


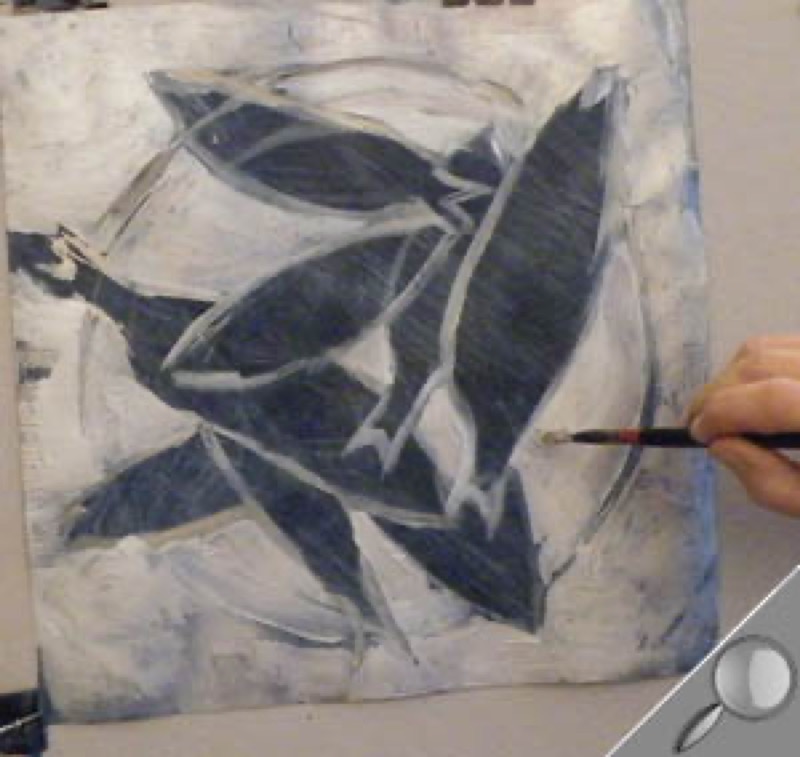
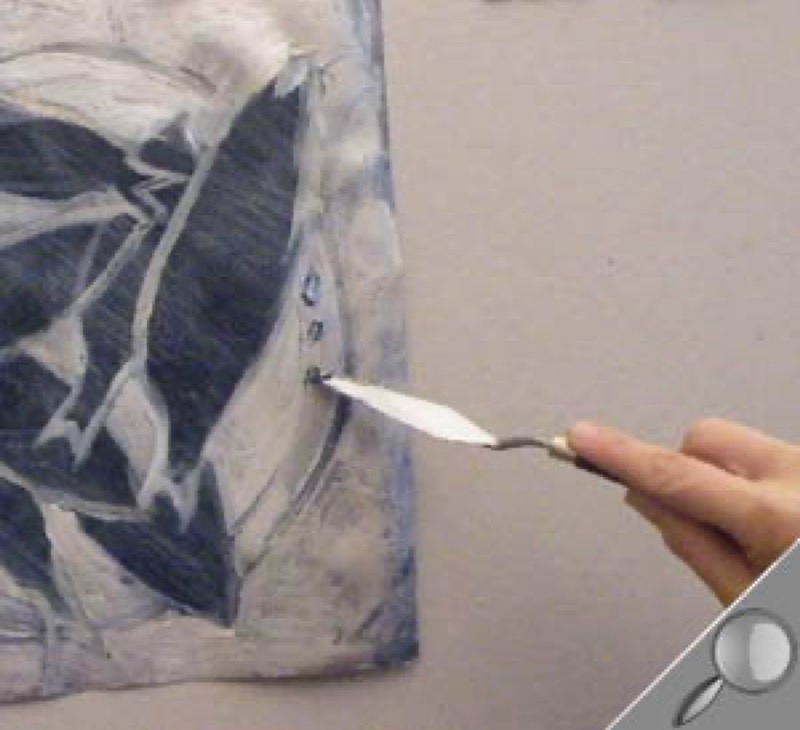
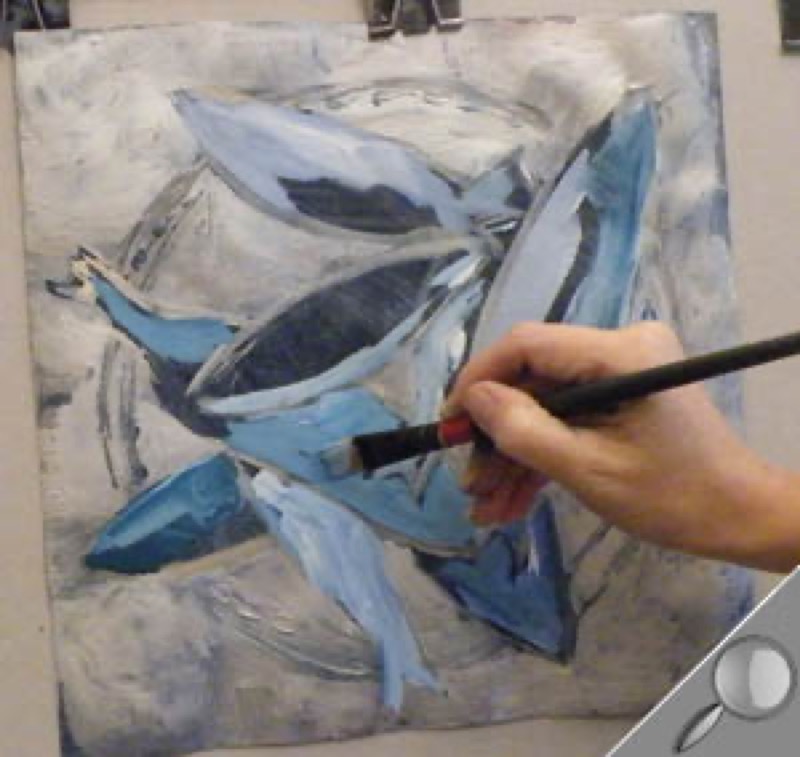
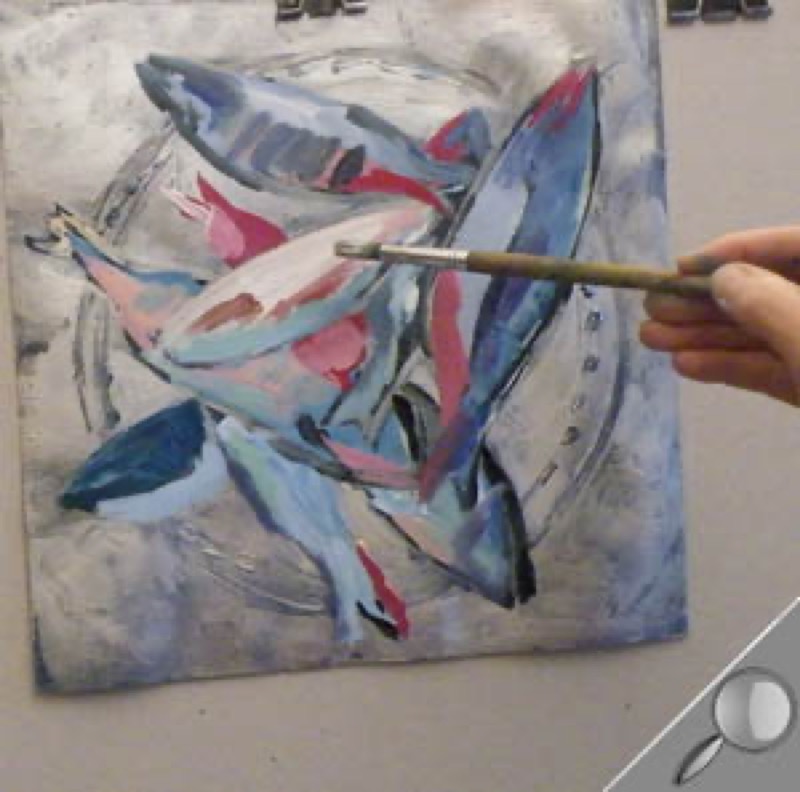
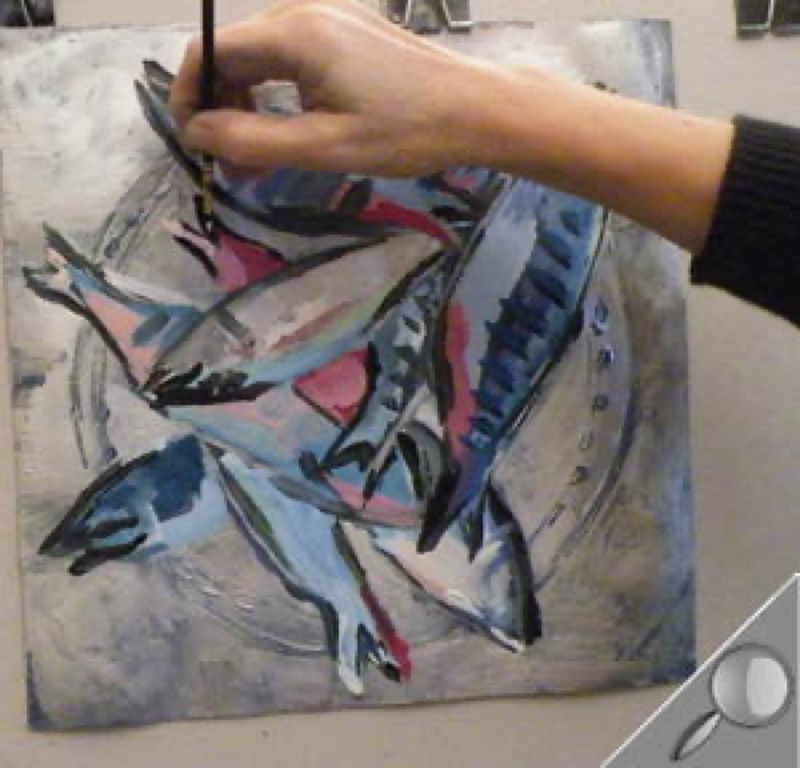
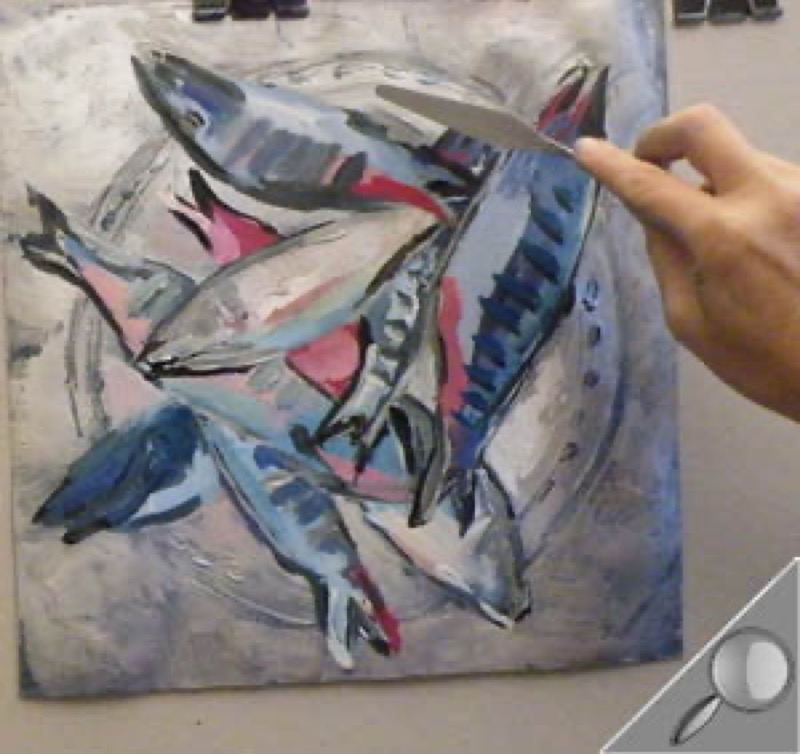
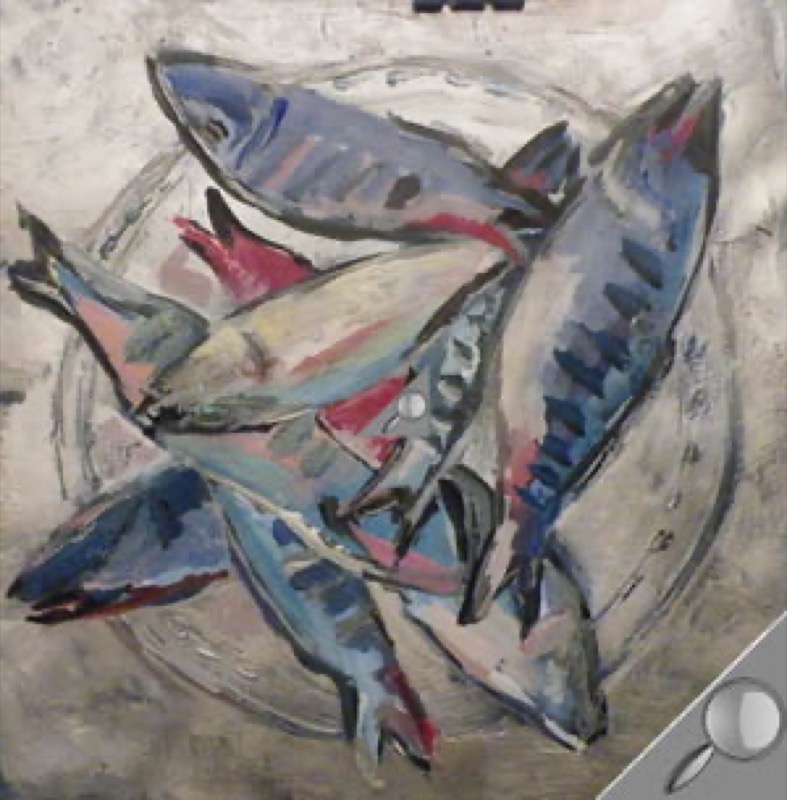
What are the characteristics of acrylic paint? It has an ability to dry quickly and is amazingly workable: these two properties allow you to play around with material and light effects ad infinitum. The following very thorough exercise allows you to explore both color mixtures and changing textures: from satin finish to impasto.


Material

  • Paper : Canson® Figueras® 290 g/m2
  • Acrylic colors: black, white, warm gray, ultramarine blue, primary blue, phthalo blue, primary yellow, Naples yellow, primary red, Bordeaux red, brown, silver
  • Knives, brushes and paintbrushes: 1 medium knife, 1 approx. 5 cm wide flat brush, 1 medium flat brush, 1 medium round brush, 1 medium flat brush, 1 flat paintbrush, 1 fine pointed paintbrush
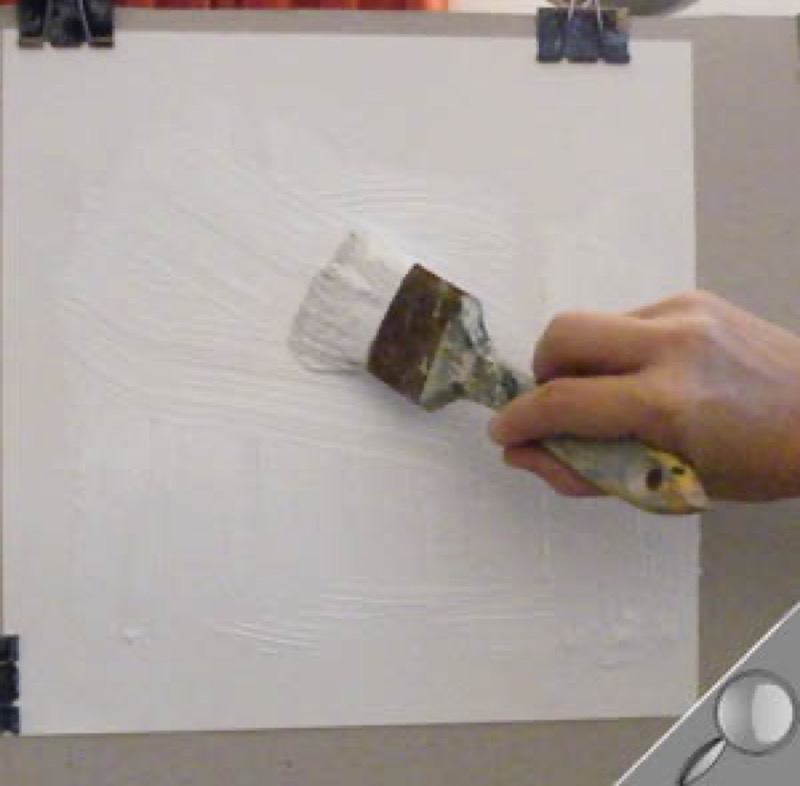
  • Accessories: acrylic gesso, 1 utility knife, 6 plastic plates, 1 sponge, 1 rag cloth, 1 wood board, 4 drawing clips, 1 jar water

Step 1

Preparing the paper.


- Use a utility knife to cut your sheet of paper to 30x30 cm. Attach it to the drawing board with clips.

- Use the large flat brush to coat it with a layer of gesso. Do it in two steps: first vertically, left to right, then horizontally.

- Allow to dry for 2 and a half hours.

Step 2

Creating the under-layer.

- Mix the same amounts of black and ultramarine blue on a dish. Add a hint of white to lighten it: this will yield an even, dark bluish color with a creamy consistency. Do not use too much paint: acrylics dry fast and you are working on a small surface.

- Use the large flat brush to add a uniform under-layer. Do it in two steps: first vertically, left to right, then horizontally. If the result is not perfectly even: Don't panic: this will add even more of depth to your work.

- Allow to dry for 1 hour.

Step 3

Drawing the subject with white acrylic.

Place a small amount of white in a dish. use the flat paintbrush to quickly draw an outline of the composition without adding details. To draw the contour of the plate, lay a real plate on the paper. Your drawing does not need to be perfect.

Trick of the trade: when you use acrylics, you can erase your mistakes! Remove them with a moist, well wrung out sponge. Rework the cleaned area immediately.

Step 4

Applying the background color around the plate of fish.

- Put some silver onto a new plastic plate, then add a little less than half that amount of warm gray. Mix well until you have an even, creamy color. 

- Apply rather thick layers around the subject with the flat paintbrush. Start with the bottom and sides; you can add a dash of silver to the mixture to do the top: this will add luminosity to the composition.

Step 5

Painting the plate of fish.

On another plastic plate, mix some silver, 1/3 of that amount of white and 1/3 of warm gray. This should yield an even, creamy preparation.   

1) The background for the plate

Use the fine flat paintbrush to paint fairly thick layers. Rinse your paintbrush and dry completely. 

2) The contour of the plate

Go back to your step 4 palette  (background color): add a dash of brown. Mix together well, then apply to your preliminary drawing, still using the fine flat paint brush. This will highlight your plate of fish. 

Step 6

Creating material effects with a palette knife. 

Use the medium knife to smooth any areas you want in the background of the plate of fish: this will make it brighter. Be careful not to make it too smooth because that would take away from its texture and brightness.

Decorate the right edge of the plate: use the tip of the same knife, after cleaning and drying it, to form small impastos with the same mixture you used to enhance the contour of the plate (Step 5). 

Step 7

Adding blue areas.

Place some primary yellow, white, primary blue, phthalo blue and brown separately around the edges of a new plastic plate. Mix your colors in the center of the plate: you want to achieve various tones of blue (remember: primary blue + brown = dark blue;  phtalo blue + primary yellow + white = turquoise blue). You can also use pure phtalo blue. There's just one rule: try out various combinations and have fun!

Paint each color quickly with the medium flat brush: you can use 2 to 3 blues for each fish. Remember to leave some dark blue areas. Allow to dry 5 to 10 minutes. 

Step 8

Poser les masses de rouges.

Place some primary red, Naples yellow, Bordeaux red, brown, black and white separately around the edges of a new plastic plate. Mix your colors with the medium round brush: you want to achieve various tones ranging from light pink to dark violet. 

Remember that by mixing your reds with a little Naples yellow, you are making them more luminous; and by mixing in a hint of blue (from step 7), you get violet.

Quickly dip your paintbrush in your mixes and apply in thick layers. Remember to leave some of the blue areas you created previously. 

Step 9

Adding volume and livening up the fish.

- Reuse your dish of white (Step 3) and add a hint of brown, stirring well: use the fine, flat paint brush to lightly add horizontal dabs of color to the abdomens of a few of the fish. You now have subjects that are luminous and shiny, with depth!

- Mix equal amounts of black and phtalo blue in a new plastic plate. Use the fine pointed paint brush to redraw the fish (contours and parallel scales), without totally defining them: they will stand out from the composition.

Step 10

Add your finishing touches.

Use the knife to rework and smooth the fresh paint in places, leaving impastos in other areas.


Allow 24 hours for the painting to dry and tighten… Once dry, frame your work! 

Reminder

- Never work with a paintbrush that is too wet: when you want to change colors, clean it and dry it with a clean, dry rag before loading it with another color.

- Did you make a mistake? Nothing is beyond repair with acrylics! Moisten your sponge and wipe your work with it (without squeezing it too hard) until you're back to the previous step. Allow to dry before going back to your work.