Hatching and stippling: these two techniques allow you to create strikingly gradated, very "pro" effects!
Did you know?
- Hatching: this involves hundreds of little, crisscrossing lines. The more an area is hatched, the denser the tone becomes.
- Stippling: this involves adding contrasting color dots and varying their concentration to create shading.
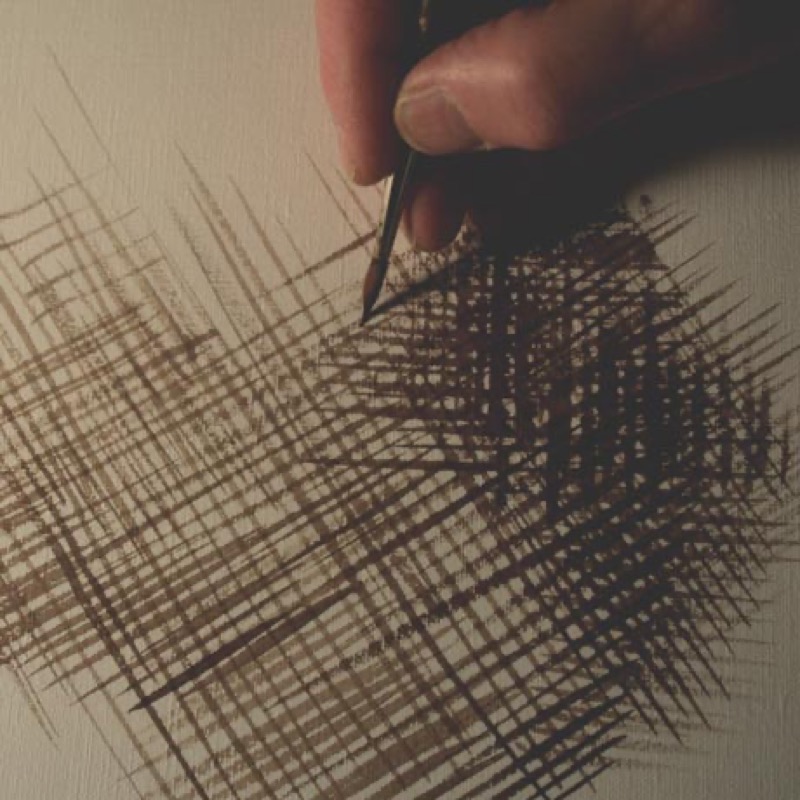
1. Hatching
- Take a very fine sable brush.
- Use fine paint (transparent or opaque) in a darker tone than the under-layer of your work.
- Draw lines vigorously and self-confidently. Your brush strokes should be consistent. They can be short or long, narrow or wide.
- Apply your first color, let it dry, then add the second one.
Note: Hatching with acrylic paint is a delicate method that requires a lot of precision: be patient and keep practicing... Your efforts will be rewarded!
That little extra
For an easy way to create fine, parallel lines in color, use an old toothbrush with long, stiff bristles instead of your paintbrush.
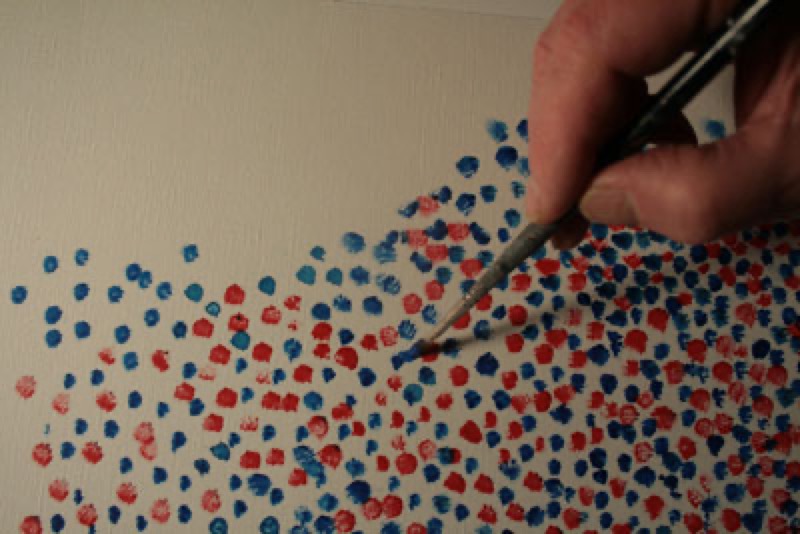
2. Stippling
Note: this technique can damage your paintbrush.
- Take a fine sable brush.
- Choose contrasting colors (such as two complementary colors).
- Dilute the colors with water. Make sure your washes are of the same intensity (a very bright color can overwhelm a pastel color).
- Dip your paintbrush in the mixture, then hold it perpendicular to the painted surface. Touch the tip of the paintbrush to the surface. Repeat several times.
- Apply your first color, let it dry, then add the second one.
That little extra
Painting just with dots really can be done! Go ahead and soak up some inspiration from the works of Georges Seurat, one of pointillism's great masters.
Recommended product:
Acrylic