
Acrylic: Using the masking technique

Rate this tutorial
Average: 4 (2 votes)

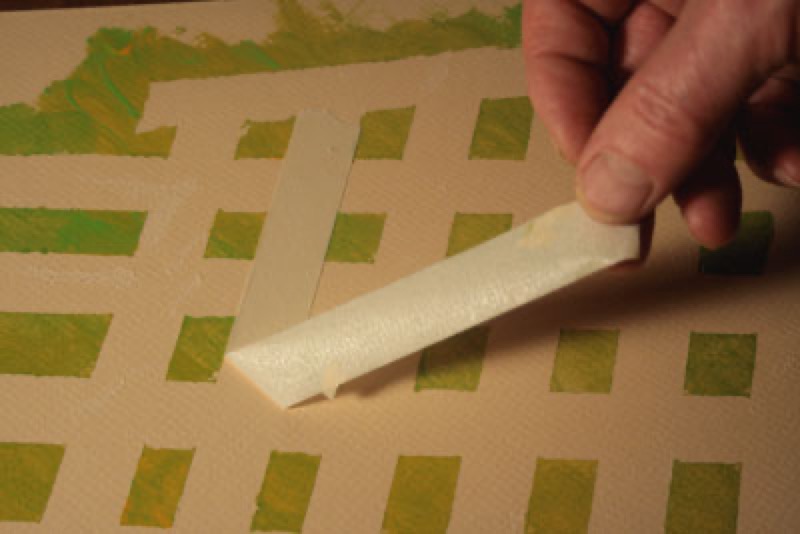
Place it where it is needed. Whether you need to leave some white spaces, draw irregular edges, or on the contrary, straight ones… Masking is a solution that will make your life easier in a lot of situations!


What you need to know

What accessory can't you live without? Masking tape. It's not very sticky so it doesn't damage the medium when you remove it.

1. Tape masking

Step 1: attaching the tape.

  • If you have already painted, make sure the surface is perfectly dry before applying.
  • Placez-le à l’endroit souhaité.

Step 2: paint your design . Make sure your paint overlaps with the tape, for a perfectly straight edge once the tape is removed.

Step 3: wait a few seconds, then gently remove the tape, without forcing it, before the paint is fully dry.

Note: A thin film will form on the surface of the acrylic paint once it is dry: if you remove the tape too late, you may tear off the film, too.

2. Some designs

For example, you can: 

  • tear the tape to get irregular edges once it is removed.
  • using tape to leave some white spaces. 

Example: to represent a white fence in a field, create a masking tape grid, apply a green wash, then remove the tape.

  • creating stencils by cutting forms out of tape. Lay a form on the sheet, paint around it, then remove it.

Did you run out of tape?

Don't panic! You can also use a plain piece of paper. It won't be as practical because it isn't sticky, but it works just as well!​