Transparency, luminosity, material effects, meticulous detail work… With oils, your options are endless … Six key steps to guide you in creating an oil painting.
1. Choosing a subject
- Are you just getting started? Develop your hand on simple subjects, such as still lifes. You can tackle more complex themes, such as portraits and landscapes, later on.
- Use a photograph so you can work without having to watch the clock and, if you don't know how to draw, for tracing your model onto the medium.
2. Composition of painting
- Find a leading thread tying the various aspects of a scene (lines, shapes, colors, light) into a consistent whole. Use your intuition, it's your best ally!
- Unusual angles will add to the interest of the painting. Observe your subject, focusing on a detail or taking in the whole scene.To do so, use a window cut out of cardboard or form a frame with your hands. If you are working from a photo, use strips of paper to reframe it.
- Try out your ideas on paper: do as many studies as you need, switching around the framing and interplay of shadow and light.
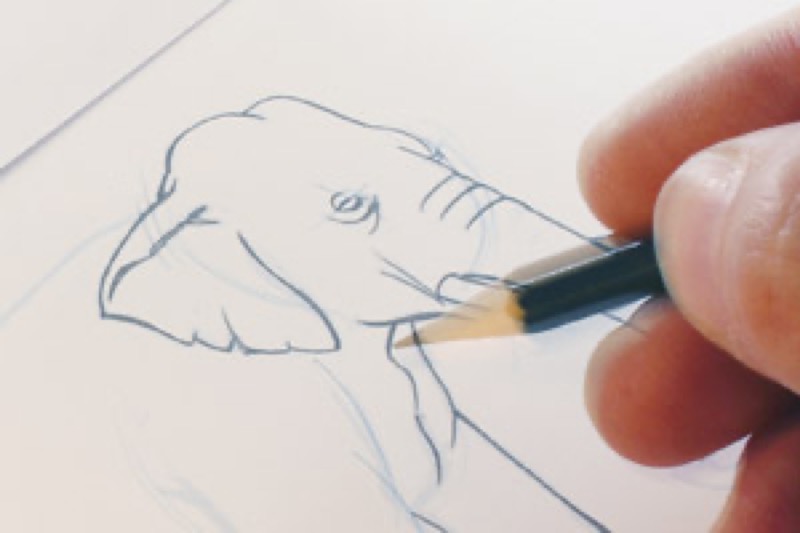
3. Preliminary drawing
This is more a "framing guide" than an exhaustive drawing. This is not a required step, but can prove quite useful when you're ready to start painting.
- Sketch your subject on the medium with charcoal (don’t forget to spray on a fixative) to keep your paint clean; or very lightly with a pencil, so it doesn't show through the paint; or with oils or acrylics, in a very neutral, diluted color.
- Are you feeling unsure of your pencil stroke? If you are working from a photo, draw the major lines of the model using the grid technique or tracing paper.
- Use sweeping lines to record the basic elements: don't try to faithfully replicate the scene down to the smallest details or you'll overload your painting unnecessarily.
Trick of the trade
Observe the subject with your eyes half closed, so all you see are spots of color and blurry masses. This helps you overlook superfluous details and simplify the forms composing it.
4. Preliminary layer
For paint to adhere well and dry without cracking, you need to thinly apply a background.
- White or colored? a white background brightens shades, and is ideal for richly colored subjects. a colored background provides an underlying tone to unify the painting: choose the color on the basis of the final tone you want the painting to have (hot, cold, light, dark…).
- Use well-diluted paint and wait for it to dry before moving on to the next steps.
You can also use acrylic paint, which dries faster.
Trick of the trade
To check whether the background is dry, lightly run your index finger over several spots: if it doesn't pick up any paint – even if the surface seems sticky – you can add the next layer.
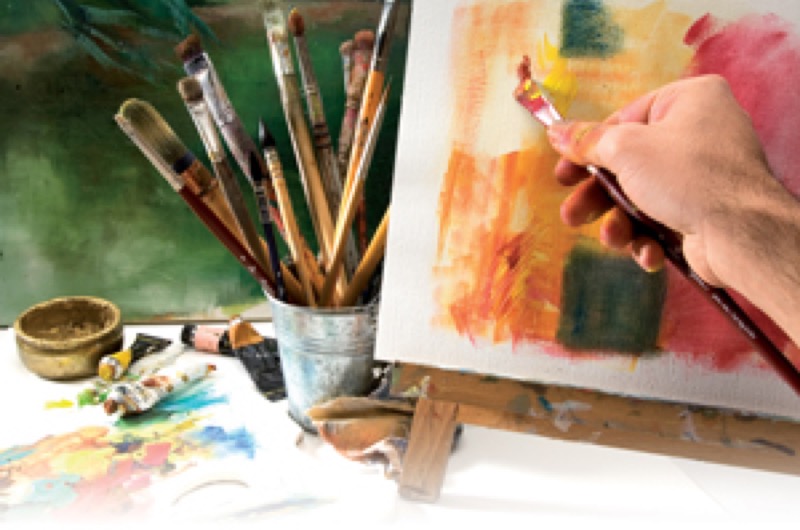
5. Applying layers of paint
Coloring a painting is done by superimposing layers. Start by adding areas of shadow and light, fill in large areas with color, then work patiently, laying on more and more intense layers of color.
- You need to follow the golden rule of oil painting: painting "thick on thin" . Each succeeding layer should be slightly "thicker," that is, contain more oil, than the previous one. To achieve this, highly dilute the first layers, with the following ones less and less diluted. Otherwise, you run the risk of having your painting flake over time.
- Second basic rule: wait for the coat of paint to be thoroughly dry before applying the next one.
There is another, faster technique, for use by experienced painters: “alla prima” painting. This technique is used outdoors or to capture the spontaneity of a scene; it allows you to finish your painting in a single session, because each layer of color is applied over the previous one while still fresh.
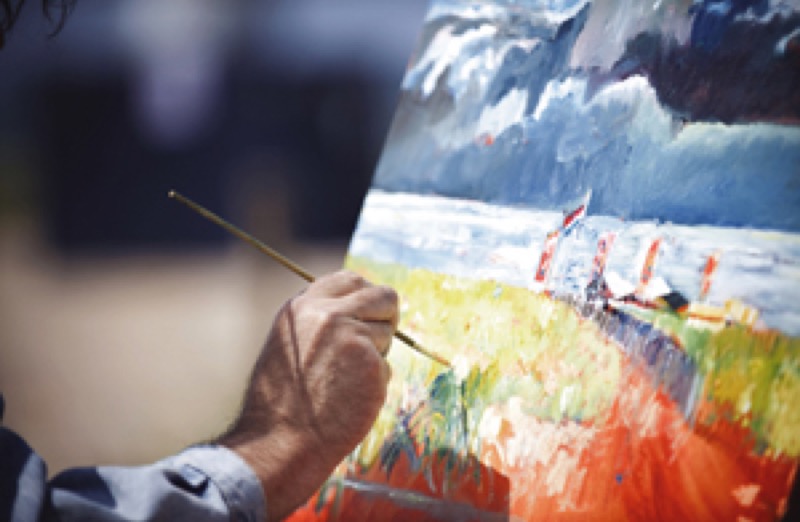
6. Final layers and touching up
This is where a painter’s real work is done. This involves light strokes instead of slapping on the paint. This is called "making the canvas sing"! It's the final harmonizing of tones.
- Use undiluted paint, straight out of the tube.
- Stand back frequently from your piece to evaluate it. Be your first viewer!
- Don’t hurry! Fine-tune your piece gradually, add lights, work on the shadows, and refine the details. At this stage, any major change in color involves changing all the shades in the painting. Know when to stop… Now sign your work!
Recommended product:
Figueras®