Painting with your fingers isn’t just for kids! Leonardo da Vinci did not shy away from using his to create his famous sfumato. Have a go at this sensual, yet subtle, technique.
What you need to know
The finger is without a doubt the painter's the most manageable tool. Its sensitivity allows you to control the creation of the most subtle effects (softened contours and highlights) as well as the thickness of colors.
1. Applying color
Load the end of your finger with paint and apply to the support as you would with a paintbrush. It's a snap!
What are its advantages?
- Paint, when slightly diluted, will better penetrate canvas threads. So don't shy away from using your fingers to create color blocks!
- Your fingers are the perfect tools for creating soft, rounded shapes. It works well for portraits and figures.
2. Working with color
This technique involves putting colors together without leaving perceptible demarcations between them. This is what happens with gradations.
- Use a paintbrush to juxtapose colors (in fairly close shades) on the support.
- Move your fingers in a gentle zigzag motion in the area where the colors meet. They will blend into a perfect gradation
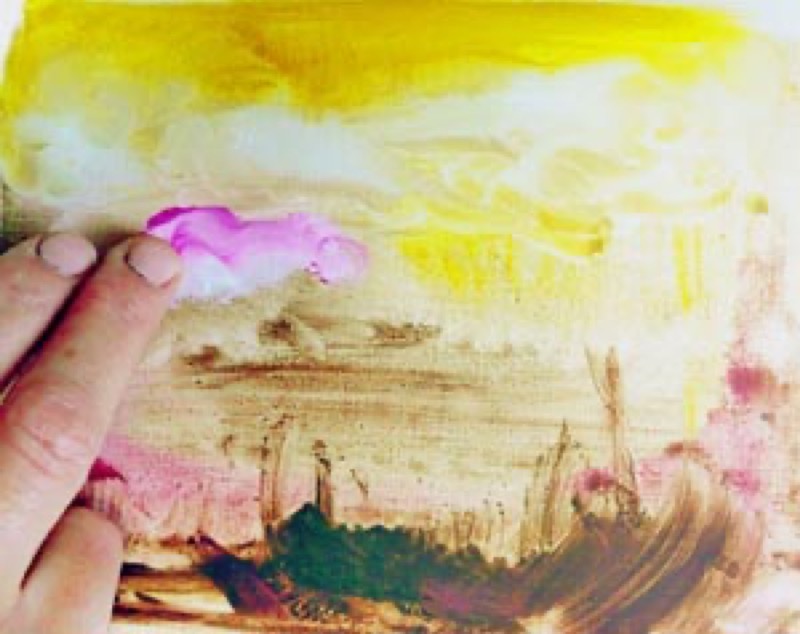
… and rubbing with your fingers
This involves applying a thin, irregular layer of paint over an existing layer. The perfect way to represent the downiness of clouds.
- When the under-layer is dry, gently rub on a little color with your finger.
Caution! Some pigments are toxic: make sure you wash your hands carefully after each painting session or protect your fingers with a piece of cloth.
Recommended product:
XL® Oil and Acrylic
See also :
Oil painting
Oil: Painting with a pad
Explore more tutorials on this technique
Oil painting
Learn how to paint a parasol pine at sunset
Oil painting
Making Watercolor Paint, Oil Paint, and Gouache
Oil painting
Color Basics
Oil painting
Paint and Draw Outdoors
Oil painting
Drawing: Secrets of perspective
Oil painting
Oil portrait for A. Karin / Part 2
Oil painting
Oil portrait for A. Karin / Part 1
Oil painting
A street in the Mediterranean - oil painting
Oil painting
Oil: Doing collages
Oil painting
Oil: Touching up
Oil painting
Oil: Working with different textures
Oil painting
Oil: Painting with a pad
Oil painting
Oil: Sgraffito or how to carve oil paints
Oil painting
Oil: Preparing a support
Oil painting
Oil: Glaze painting
Oil painting
Oil: Creating impastos
Oil painting
Oil: Still life, coffee mug
Oil painting
Oil: Palette knife seascape
Oil painting
Oils: Manufacturing secret
Oil painting
Oil: Cleaning and maintaining your materials
Oil painting
Choosing oil painting accessories
Oil painting
Preparing your material for painting with oils
Oil painting
Choosing colours for oil painting
Oil painting
Selecting a support for painting with oils
Oil painting
Basic concepts for painting with oils
Oil painting
Oil painting: preparing colors
Oil painting
6 steps to learn how to do oil painting