
Framing: French bevel

Rate this tutorial
Average: 5 (2 votes)

Time of execution: 3 h  Level: difficult  Artist : Christine Dublanchy


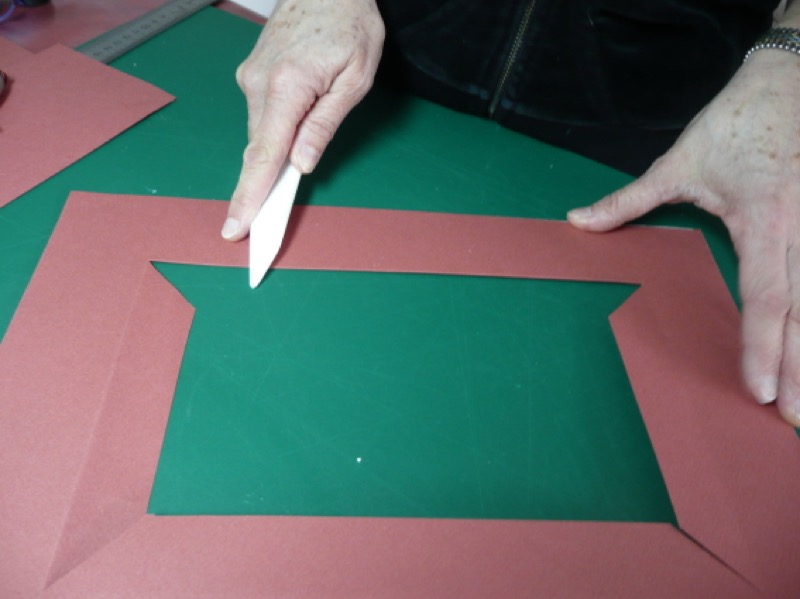
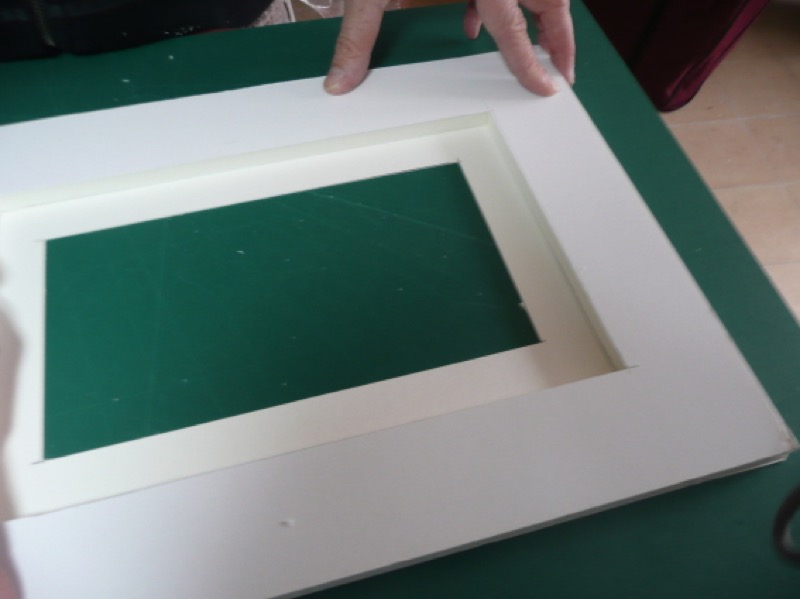
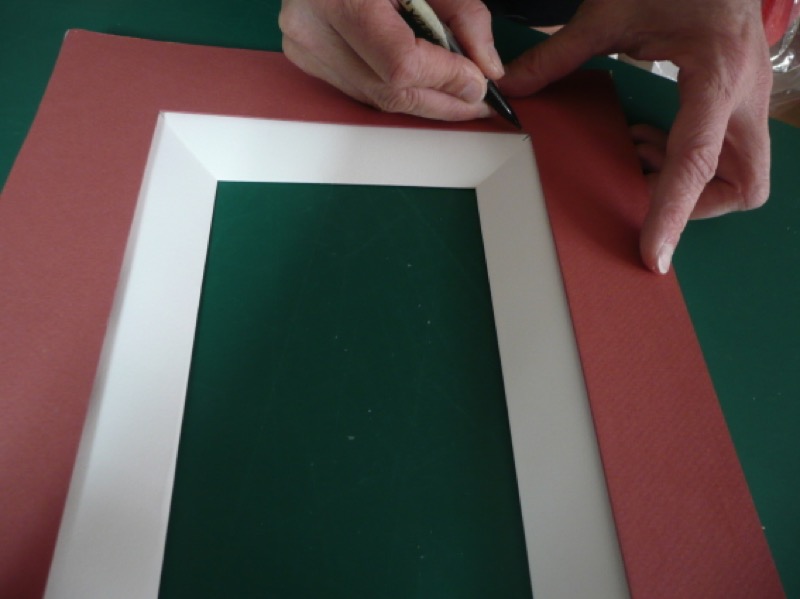
The French bevel is very refined, and not easy to achieve. It requires framing experience. It displays old engravings, sepia photos, drawings and watercolors to best advantage.


Materials

Papers

  • Covering mat: Canson 160 g earth
  • Bevels: Canson 160 g white; heavy paper for covering (at least 160 g)

Cardboard

  • Backing board: 1 2.5 mm cardboard stock
  • Bevel backing: 1 mm paperboard; 1 1 cm foam board
  • Mat: 1 mm paperboard
  •  

Accessories

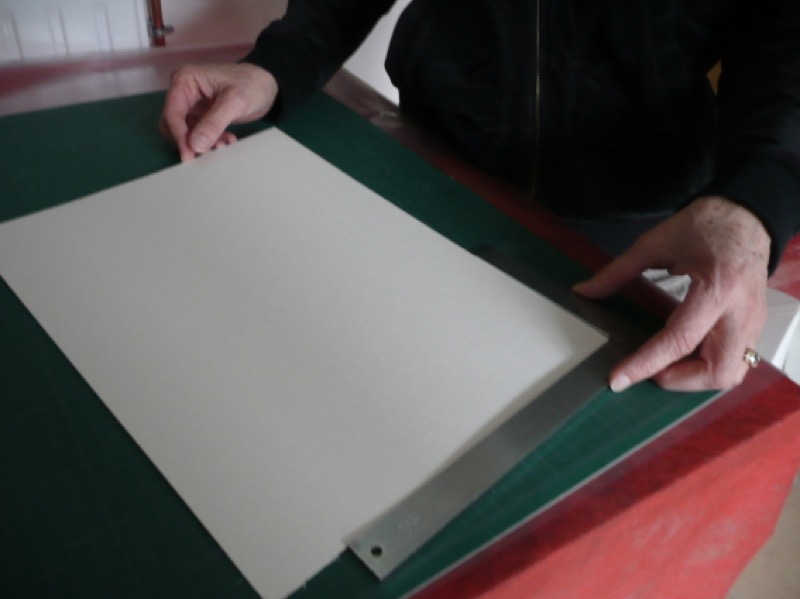
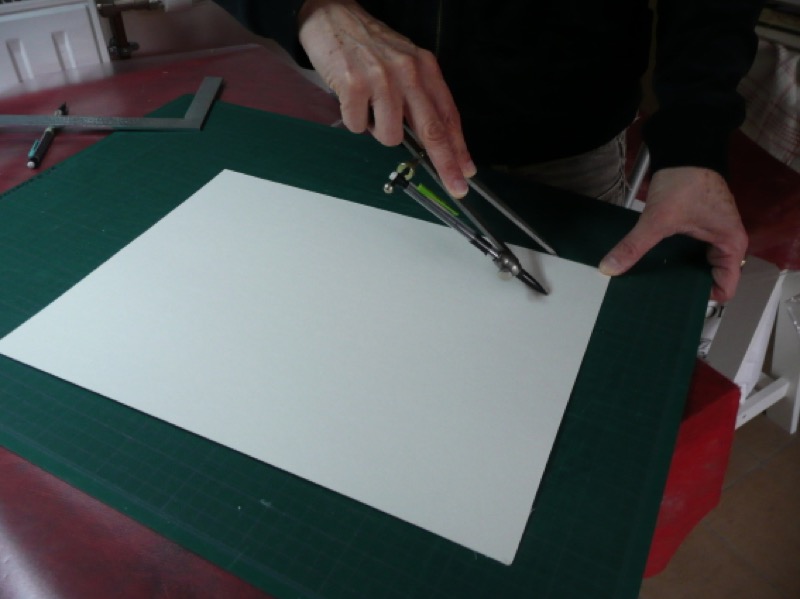
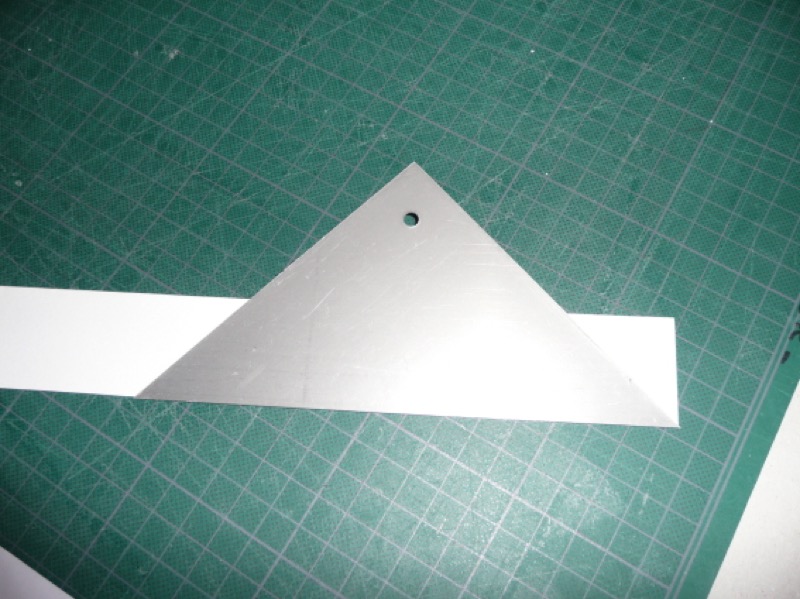
1 cutting cardboard (to protect your worktable), 1 compass, 1 utility knife, 1 steel rule , 1 heavy-duty ruler, 1 T-square, 1 angle jig , 1 mechanical pencil, 4 pins, 4 drawing clips, doubled-side tape, 1 roll of Kraft tape, white glue, 2 blotters, 1 press

Step 1

Calculate frame dimensions and cut cardboard.

1) Measure width and length of your document (here: 20 cm x 30 cm). Add the margin width of the mat (6 cm), and French bevel (2.5 cm).

Total height of matting bundle = (mat margin x 2) + document height + (French bevel x 2))

(2 x 6) + 30 cm + (2 x 2.5) = 47  cm

- Total matting bundle width = (mat margin x 2) + document height  + (French bevel x 2)

(2 x 6) + 20 cm + (2 x 2.5) = 37 cm 

Exterior dimensions = 47 cm x 37 cm

2) Draw cutting lines on each piece of cardboard and cut: Use the heavy-duty ruler to guide you. Start with backing board: first score lightly, then score again several times. Square the angles. Use this template for cutting the rest of the cardboard. Stack them in the order you will be assembling them.

Tip: Change your cutter blade regularly. Your cuts should always be clean!

Step 2

Opening the mat.

Draw 6 cm mat margins on the back of the paperboard: use a compass. Open mat with heavy-duty ruler and cutter: cut all 4 sides. Check squaring.

Step 3

Covering mat

Here, using earth Canson® Mi-Teintes® color paper

1) Place mat on table, with back facing you. Cover with glue. Place cover paper on top. Turn it all over, smooth with your hand, then with a bone folder, to make sure all air bubbles are gone. Cut off excess paper surrounding mat with cutter. Place between two blotters and use press for 30 minutes.

2) On back of mat: cut window for picture, leaving a 2 cm margin on sides, top and bottom. Use the jig to cut 45° angles. Score flaps with bone folder and glue to back of mat. Press for 20 minutes.

Step 4

Preparing bevel support.

1) Attach mat to foam board: stick a pin in each corner 2 mm from edge. Use pencil to trace mat opening onto foam board. Open foam board with ruler and craft knife.

2) Trace mat opening onto paperboard being used as beveled edge support. Move sides, top and bottom inward by 2.5 cm. Open with craft knife, then fasten foam board on top with double-sided tape.

Step 5

Covering French bevel.
 

The bevel is made with white, 160 g Canson® Mi-Teintes® paper glued onto beveled edge support (step 5).

1) Cut 4 strips of paper with the following dimensions:

- Width: bevel width + 3 cm = 5.5 cm

- Length: length of bevel + 6 cm = 41 cm for long sides and 31 cm for short ones.
 

2) Use bone folder to fold the 4 strips of paper 1.5 cm from edge. This part is the turn-in, to be glued under the paperboard.


3) Gluing strips on long sides

- Cut an end of the strip at a 45° angle with jig. Place strip on paperboard opening of bevel support (step 5) to determine exact length. Mark length with pencil, position angle jig on mark and cut. Prepare second tape the same way. Stick double-sided tape on bevel support, at edge of foam board opening and under paperboard. Attach each bevel strip: start by gluing turn-in to back of bevel support paperboard. Glue on the rest, bowing the paper.

4) Do short sides

Prepare two strips for short sides the same way. Place them on bevel support.  Check strip bevel angle fit against mat angles.

Step 6

Assembling mat and French bevel.

Glue bevel together, except white cover paper. Place mat on top, positioning correctly. Press 20 min. Center and attach document to back of assembly with white Kraft tape. 


Now you just need to put it all together!