
Framing: Cutting successfully

Rate this tutorial
Average: 4 (1 vote)

A successful framing project depends on a perfect cut of each of the elements within it. These how-to secrets will help you with this delicate task!

  • Before cutting, square the cardboards and make reference marks in pencil. To mark right angles: use a square; also for 45° angles.
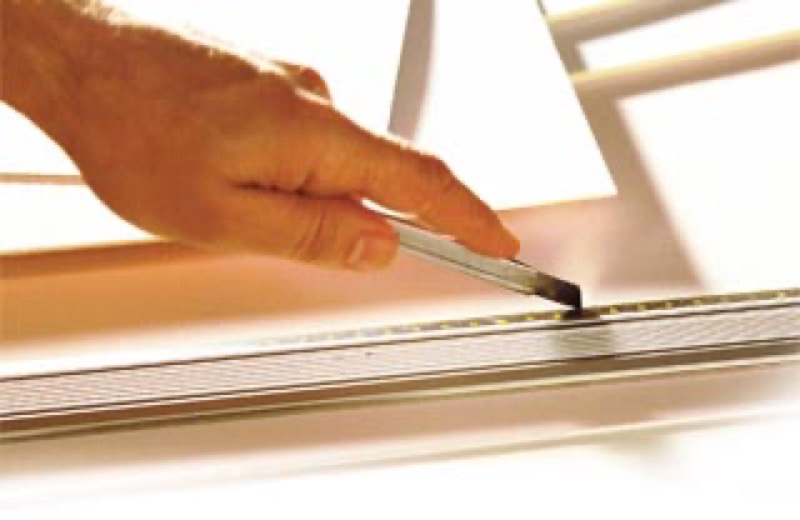
  • Position a heavy straight edge on the marks then use the utility knife.
  • For cuts at 45°: make an angle template in a scrap of heavy cardboard.
  • To make a good cut, the blade must be sharp. Change it regularly.

Cutting cardboard

Work from a standing position and always position your work to cut on the perpendicular to the edge of the table (or slightly oblique), beginning at the farthest edge and pulling the blade of the utility knife toward you.

- Position the heavy straight edge along your cutting marks. Assure that it stays in place, using clamps if needed.
- Make a first light pass with the utility knife, to mark the cut, then cut again as many times as necessary.
- Turn your work for the next cut.

Careful: the heavy straight edge must be perfectly horizontal. If needed, stabilize it by slipping some cardboard scraps beneath it.

Tip

See the big picture, be prepared to make concessions! Select stock larger than needed, so that you can trim on all four sides. In this way, you will avoid waste!