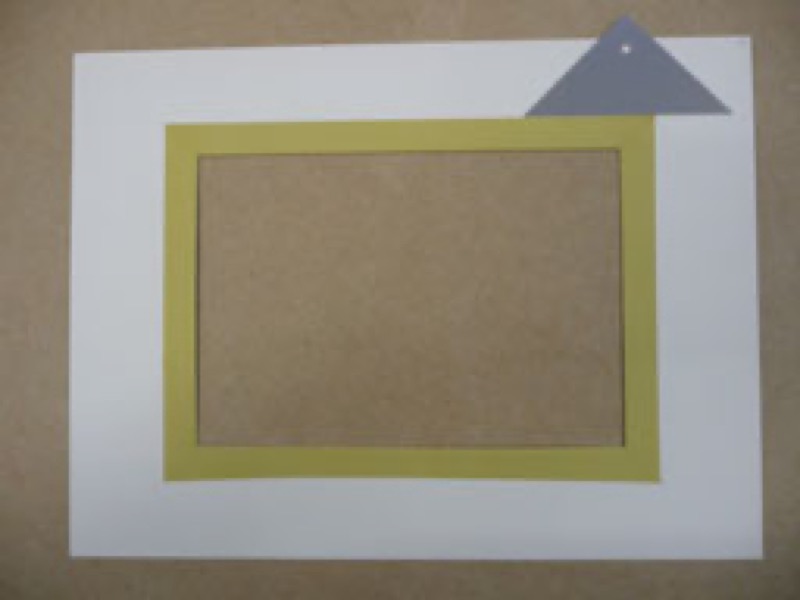
Created from four strips of paper laminate or colored paperboard, the undermat is a second mat which shows beyond the first. What effect is created? A narrow border around the mat opening that enlivens and enlarges the subject!
Good to know
- Of a visible width less than 3 mm, you cut it directly in colored card stock.
- Of a greater width, it is better to create from a neutral stock (white, ivory...): you will then cover it in your choice of material (lightweight papers, fabrics etc).
Make a simple undermat
Preparation: Cut four strips of paper laminate or paperboard to the following dimensions:
- Width = what will be visible + 3 cm
- Length = of the mat opening + 2 cm at each end.
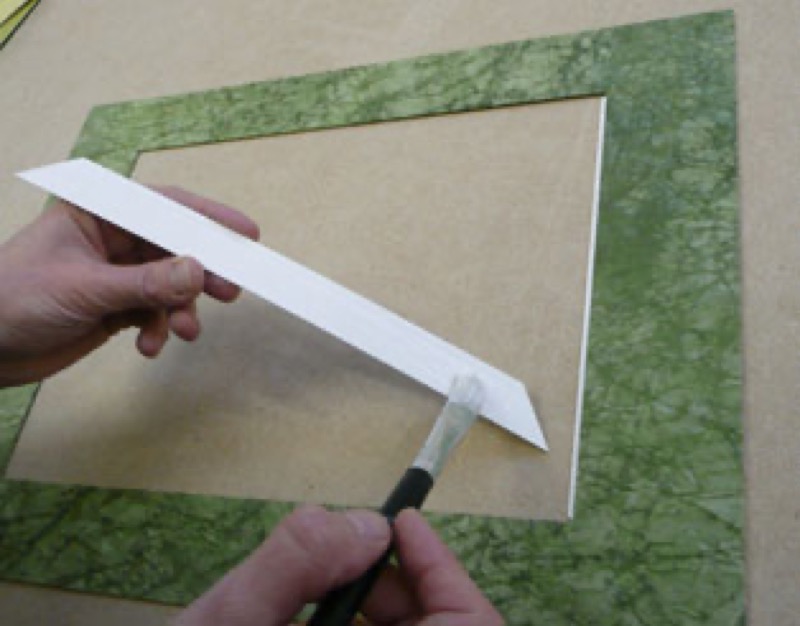
- Cut the ends of two bands to be placed together at 45°. If you use strips of paperboard: you must cover them with paper. For this step: cut strips of paper of the larger dimensions, glue them on the paperboard strips and turn them in.
- Glue and position the bands under the first mat.
- Repeat for the two bands on the ends.
- Smooth with a blotter and put under pressure for 15 minutes.
Create an undermat with a lightweight covering
If the trim material is very lightweight (Japanese paper, tissue paper etc.), make an undermat in a single piece from paperboard, then cover it by strip.
The dimensions will be:
- the outer dimensions will be those of the framing package,
- the inner dimensions will be those of the mat opening, increased by the desired visible width of the undermat.
Recommended product:
Kraft paper