The main characteristic of a good framer is a sense of organization. Well thought out preparation will help you remember everything… and will greatly reduce your risk of using the wrong boards in the heat of the action!
Before starting to work
Preparing your work area: A must do!
- Place your tools (rulers, T-squares, utility knife, bone folder, etc.) within reach of your cutting surface.
- Remove all glues from the immediate area: work surface (plexiglas or glass), glazing surface, blotters, rollers, paintbrushes… and glue.
- Prepare your press ahead of time: two smooth panels (or more if you plan on doing several jobs simultaneously), weights and clamps for extra pressure.
- Determine your measurements before cutting anything at all. One word of advice: visualize! Keep a master list specifying the dimensions for each section or, even better, create an actual size sample pattern.
- Gather up the necessary boards and cardboard, and arrange them by order of use.
- Consider work sessions planned around one activity: if you cut, glue, paint washes and draw filigree lines all at the same time… you increase your chances of making a mistake!
Take care of the the work to be framed: on a case by case basis
While not a true restoration, there are a few simple actions you can do to freshen up antique or damaged documents.
- Smoothing out creases: never iron a piece of art! Moisten the back with a sponge and press the document between two white blotters. An alternate method: dab the back with diluted tylose. Put it in the press for two hours while damp, interweaving a thickness of non-woven cloth between the blotter and the back of the document.
- Cleaning an engraving: gently roll, using your finger or a cloth, eraser shavings over your engraving.
- Lining a damaged document or repairing a hole: Use diluted tylose to glue the back of the document, patching the hole with a piece of Japan paper. Gently glue the patch onto the original document, removing air bubbles with a blotter. Press for three hours between two thicknesses of non-woven cloth or blotter paper.
- Age an engraving or a photo: Use rotted soil (terre pourrie, a type of very fine natural tripoli powder) or, if not available, use Siena powder mixed with two pinches of talc. Sprinkle it on the document, even it over the surface, then gently blow off the extra.
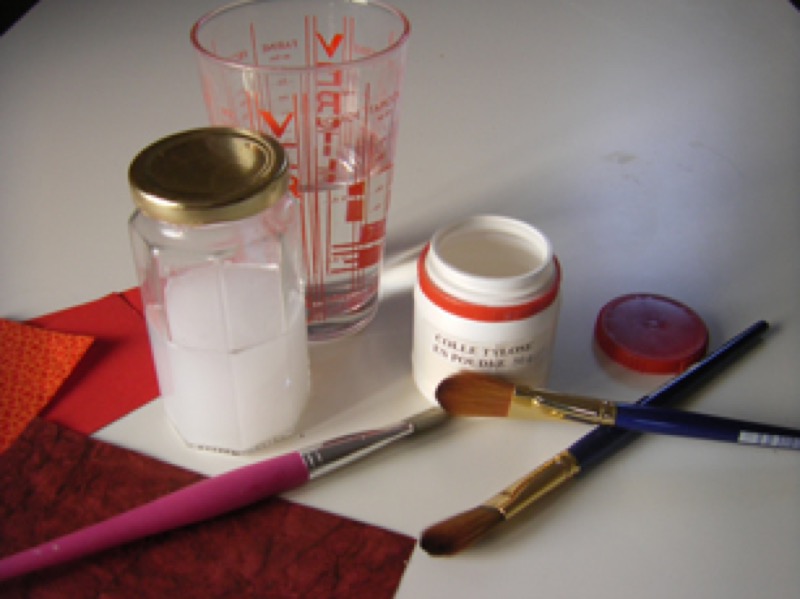
Preparing tylose glue
Integral to framing, tylose is available in powder form and is used mixed with water. Depending on the degree of dilution, you will obtain:
A gel (for applying to artwork): mix 1/3 part glue with 1/3 part very hot water (70° C minimum), add 1/3 part cold water and whisk;
Diluted (for soaking): add cold water to a portion of gel and stir vigorously until you obtain a liquid.
Getting it right: A 100% hand-crafted organic glue!
Mix your own glue, it's less expensive! It's simple: use wheat flour! Put 1 cup of flour into a saucepan.
- Add 1 tbsp sugar and mix.
- Add 1 cup water.
- Stir gently, over low heat, until you have a smooth dough with no lumps.
- You should be able to easily spread the glue with a blender brush: add water if the mixture is too thick. Allow to cool.
- Store refrigerated for 2 to 3 days.
It can easily be used instead of vinyl glue. But please note: it will turn yellow over time and is susceptible to mold.
During a work session
Even if your framing project is very small and your work space is very large, keep only the cardboard that you are currently using on your table. Nobody is immune from an unfortunate slip of the utility knife, put away items you are not working on.
Place scraps from cutting off to the side (if not they could cause your measurements to be inaccurate). Do not throw them away: they are almost always re-useable, for making mat liners… or spacers!
Clean your work surfaces on a regular basis. If you use a miter saw to cut your molding lengths (a tool which allows you to make of perfect right angle or 45° cuts), don't forget to dispose of the sawdust.
Protect the artwork and glass as much as possible until assembling the final package.
Recommended product:
Backing Boards
See also :
Framing
Framing: Maintaining your equipment