
Framing: English bevel

Rate this tutorial
No votes yet

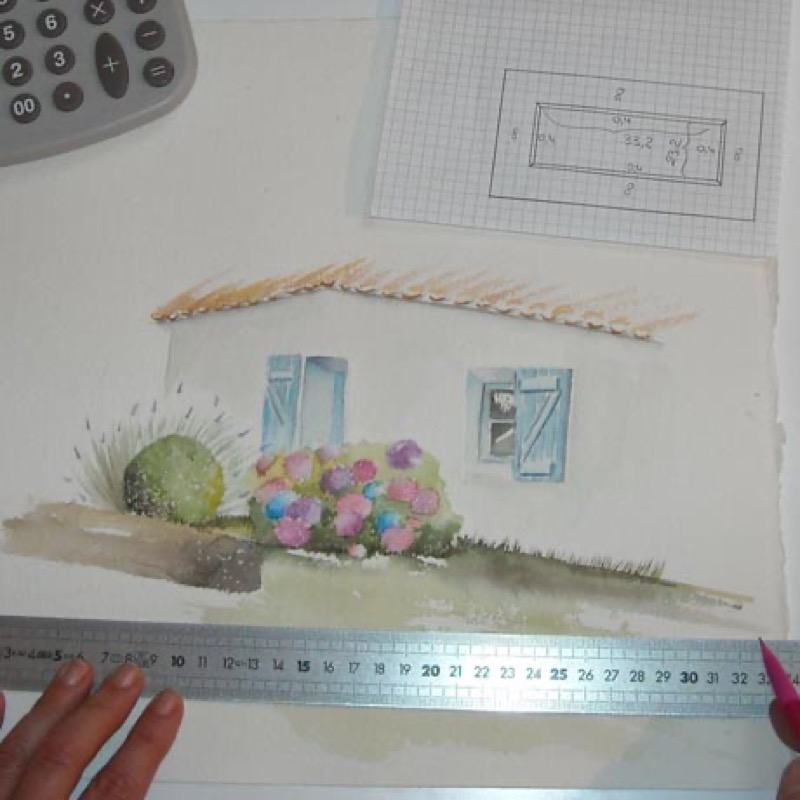
Time of execution: 4 h Level: beginner  Author: Anne Marlangeon


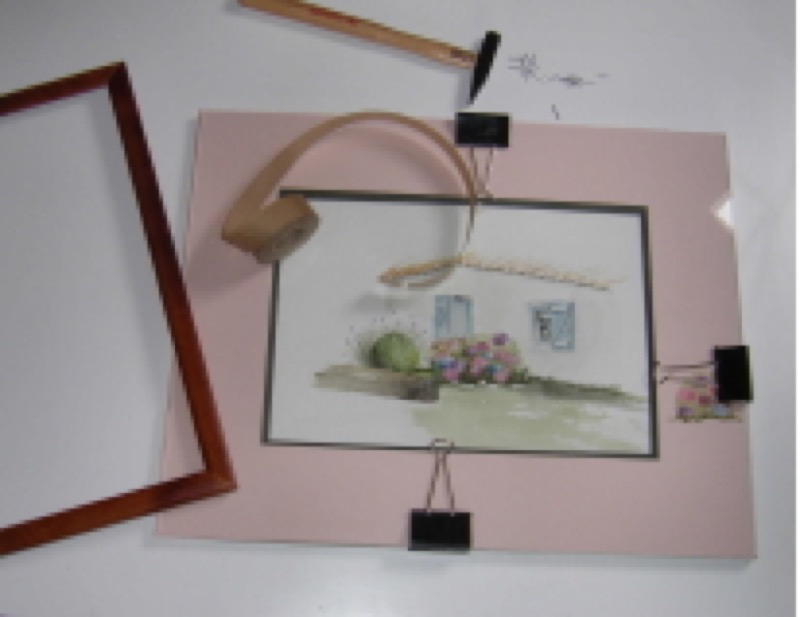
The English bevel, a traditional framing technique, is easy to do. This bevel, also called a 45° bevel, is suitable for all types of images. It will add classical, elegant charm to your decor. A sure bet: photos, drawings, watercolors and other items will be displayed to advantage!

Materials

  • Canson papers and cardboard: 1 Canson 3 mm (Ph neutral) backing board, 1 3.5 mm thick mat board, 1 0.8 mm thick paperboard, 2 sheets of color paper (50x 65 cm format) 
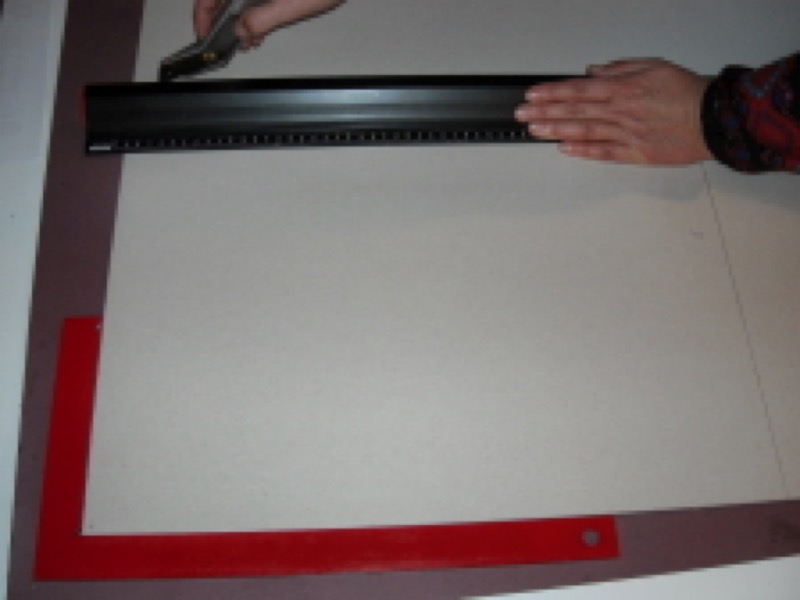
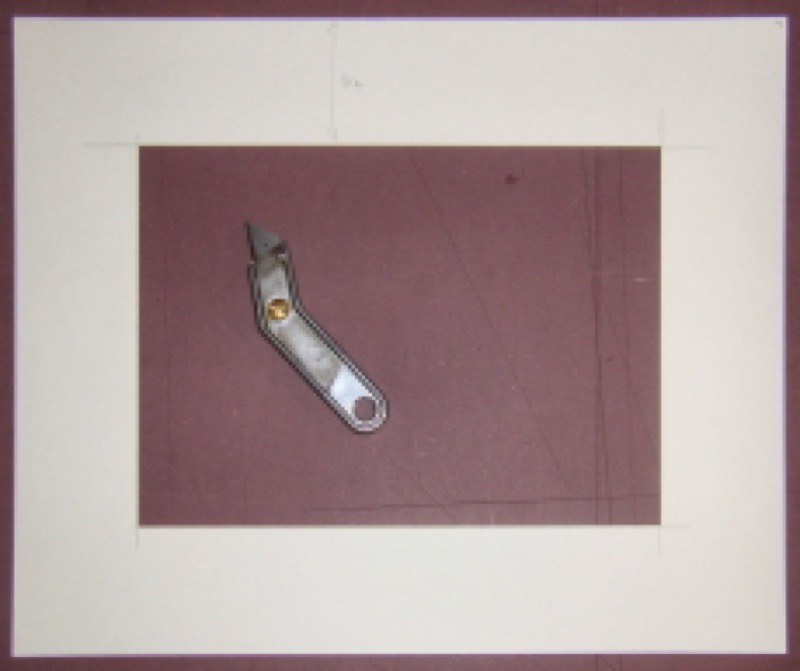
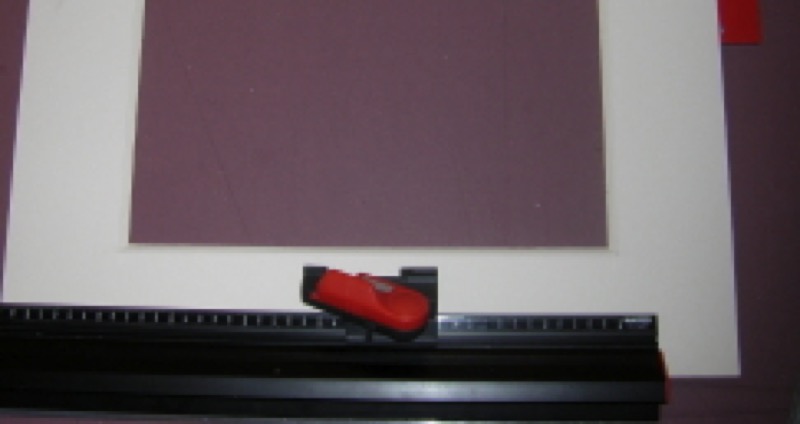
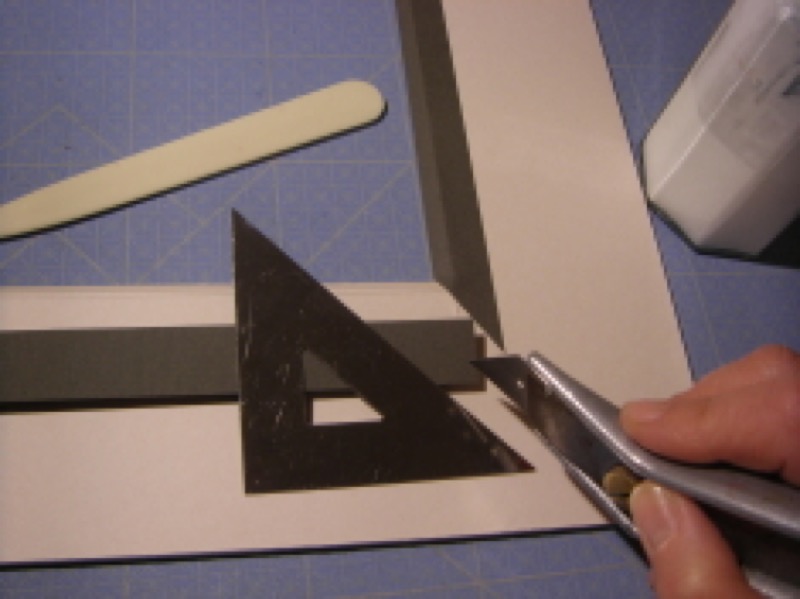
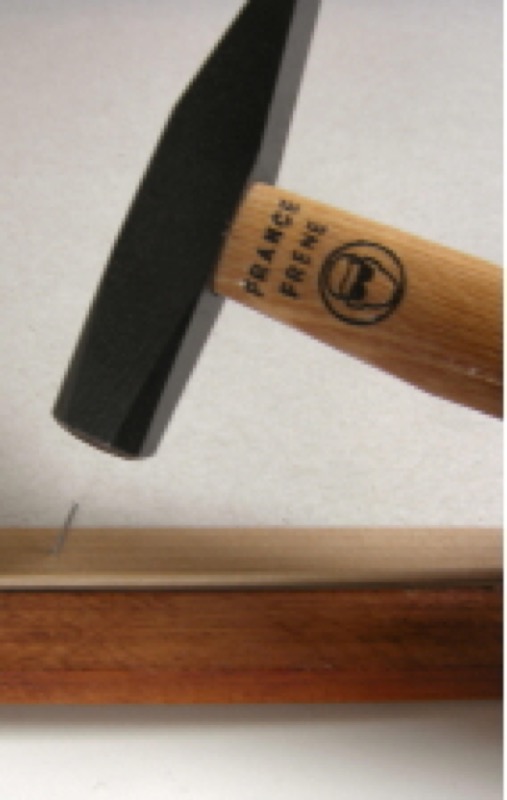
  • Tools: 1 mechanical pencil, 1 angled cutter, 1 heavy-duty T-square, 1 steel rule, 1 45° mat cutter, 1 bone folder, 4 clips, 20 brads
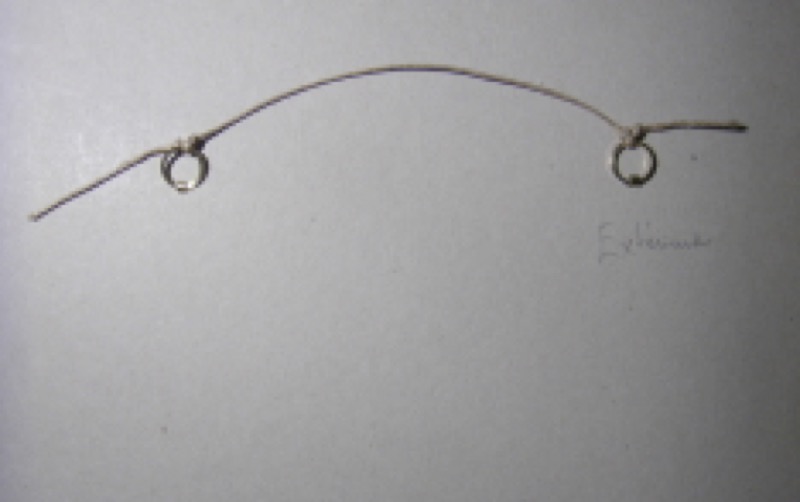
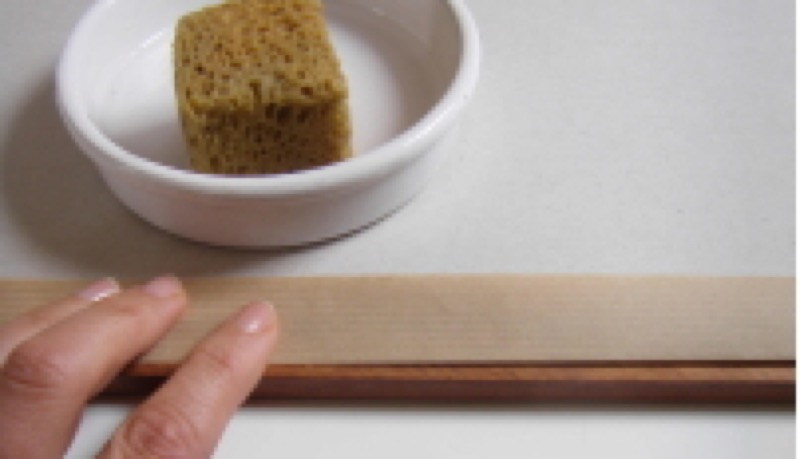
  • Assembling: 2 rings and 2 narrow metal strips, 1 roll of thin cord, 1 strip of adhesive Kraft paper, 1 strip of Ph neutral adhesive Kraft paper, 1 assembled molding, 1 pane glass, vinyl adhesive, 1 glue brush
  • Accessories: 1 cutting cardboard to protect your work surface; 1 board, some blotters and cast iron weights (or some sufficiently heavy manuals…), to use as a press

Step 1

Taking measurements.

You need to determine the dimensions of each piece of cardboard and paper. Measure image length and width, less a few millimeters. Calculate bevel dimensions: 4 mm on all 4 sides. Calculate final mat margins, which should not be too narrow (8 cm, in this case). Here:

- Original document: 35 x 25 cm
- Trimmed document: 33.2 x 23.2 cm
- Total framed length (final frame without molding): 33.2 + 8  +  8 + 0.4 + 0.4 = 50 cm
- Total matting bundle length (final frame without molding): 23.2 + 8  +  8 + 0.4 + 0.4 = 40 cm.

Note: The glass and molding will be adapted to the size of the matting bundle.

Step 2

Cutting sheets of cardboard.

1) Check right angles of cardboard with heavy-duty T-square. Copy matting bundle measurements (40 cm x 50 cm) onto backing board. Check measurements and cut backing board with angled cutter and heavy-duty ruler. This backing board will serve as a template cutting the rest of the cardboard.

2) Use pencil to copy contours from backing board onto mat board and paperboard. Cut them to framing size. Stack sheets of cardboard on top of each other to make sure they are exactly the same size. Trim cuts to fit.

Tip: Work standing up, with the side to be cut placed vertically in front of you: it will afford you more precision.

Step 3

Opening the mat.

On paperboard: Draw margins with pencil (8 cm). For the time being, do not take the 4 mm bevel into account.

Hollow out image window with craft knife  and heavy-duty ruler.

Step 4

Covering mat and turning covering under.
1) Select cover paper colors for your frame to show your subject to advantage: one color for mat and one or several colors for bevel.

2) Glue surface of mat evenly.

3) Glue paper onto mat, smoothing carefully from center to sides with bone folder to remove air bubbles. Press 15 minutes.

4)  Work on back of mat. Cut paper lengthwise along exterior edges. For interior edges, allow for a 1 cm margin. Cut 45° angles from edge of paper and fold onto mat, gluing edge of paper onto mat. Press 15 minutes.

Step 5

Open English bevel in mat board.

Place mat on mat board. Use pencil to trace mat opening onto foam board. Position blade at lower left angle (it must be aligned with your line), and slide to other end. Slide again several times to make sure cut is perfect. Repeat process on other three sides.


Tip: For flawless angles, you can extend each cut by a few millimeters.

Step 6

Covering English bevel.

1) Cut 4 strips of paper in selected colors:

- 2  3 x 36 cm strips

- 2  3 x 26 cm strips

2) Fold strips 1 cm from edge. Adjust length of strip to bevel length and cut ends of paper strips at a 45° angle. Adjust angles well.

3) Fasten strips with glue to mat board: First the two long sides, then the two short ones. Smooth with bone folder.


Tip: Work on back of cardboard bevel to adjust length of strips. This will allow you to be more precise and keep the slope from getting in your way.

Step 7

Placing rings on backing board.

1) Assemble 2 rings and 2 metal strips.

2) Mark two points on back of backing board at ¼ height and ¼ width. Open backing board horizontally at those points with mat cutter.

3) Push 1 metal strip into each hole. Fasten rings on by sticking a strip of Kraft tape (pre-moistened) onto back of backing board.

4) Join the two rings with a piece of thin cord: Attach by double knotting onto each ring.

Step 8

Assembling.

1) Daub entire mat board with glue, except green cover paper. Place mat on top, carefully positioning interior window angles. Press 15 minutes.

2) Center document on mat board and fasten with Ph neutral Kraft tape.

3) Clean glass.

4) Assemble matting bundle in this order:
- Backing board with rings placed directly on table.
- Document.
- Mat/bevel mounting.
- Glass

5) Fasten everything together with clips. Enclose matting bundle with 4 strips of Kraft tape.

Step 9

Nailing matting bundle to molding.

Set molding upside down on table. Place matting bundle upside down in molding. Attaching matting bundle to molding: hammer nails into matting bundle approx. every 10 cm, pointing towards molding.


Tip: Make sure not to drive nails in vertically: keep them away from the glass.

Step 10

Finish off carefully.

Glue a strip of Kraft tape all around back of molding to hide both the nails and the junction of matting bundle with molding.