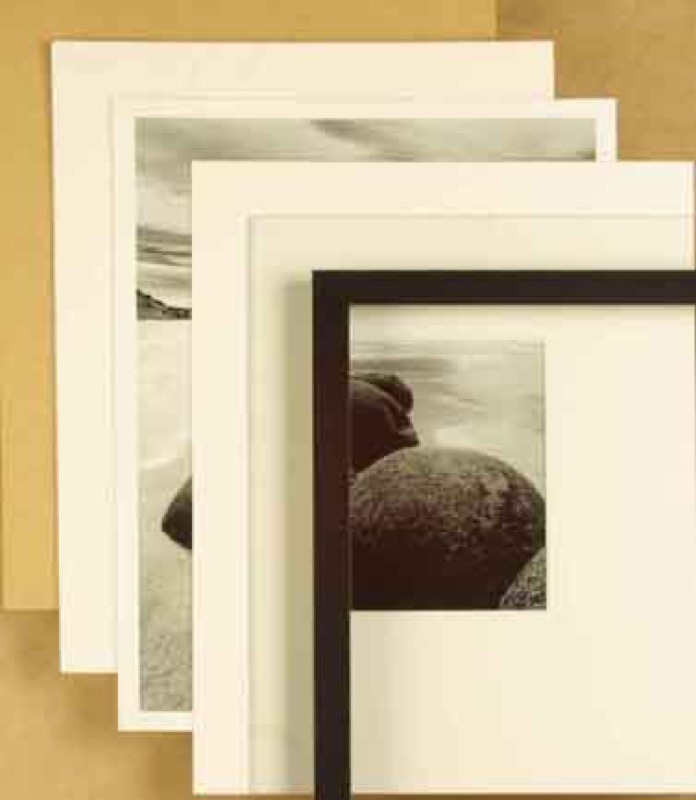
Framing in 7 steps

Rate this tutorial
Average: 2.7 (6 votes)

Successful framing is achieved by following a sequence of precise steps… if not, you risk running into a few problems when you arrive at the final stage! 


In addition to knowing the correct method, you also need to understand a few terms. There is a whole special language to learn if you want to speak framing! If you haven't yet mastered the language of framing, here is some advice: start by reading Basic concepts, where you will find a wealth of essential information.

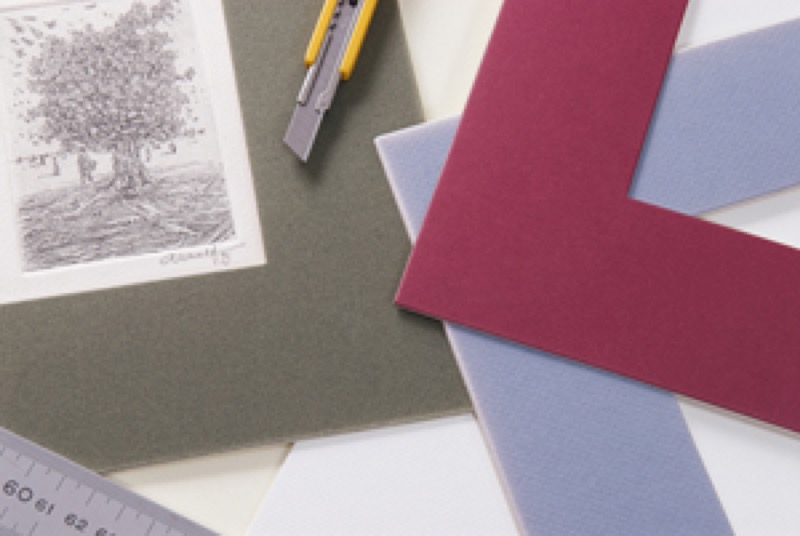
1) Determine the dimensions of the mat opening

The mat opening is equal to the visible part of the picture once it has been framed. The frame and mat should conceal any margins and cover the work with a border of at least 2 mm.

Maximum width of the mat opening = width of the artwork – 2 x 2 mm

Maximum height of the mat opening = height of the artwork – 2 x 2 mm.

If the artwork is numbered and signed in the margin, measure the surface area which should remain visible on the bottom and adjust the three other sides so that they are equal or slightly smaller than the bottom border.

2) Calculate the outside dimensions of the package

Place a sheet of plain paper on your artwork once you have removed the area of the mat opening. Determine the dimension of the margins that you would like to have. If you are doing a simple framing, these will be the dimensions of the mat.

  • Plan on a height identical to the width, unless you would like to emphasize, for instance, the horizontal aspect of a rectangular artwork.
  • Rarely less than 6 cm, the most commonly used margins vary between 6 and 10 cm.


Next, determine the exterior dimensions of the package:

Width = width of the mat opening + 2 times x the horizontal margin.

Height = height of the mat opening + 2 x the vertical margin.

Tip: Plan ahead! Prepare the bevels and mat liners

Even if they are a modest width, they to be staggered, above the mat window, like staircase steps. Their width should be added to the width of the mat to determine the measurements of the package. If you don't, bevels and mat liners will crowd in on the artwork…

3) Prepare mats and boards

With the exception of mat liners and the art to be framed, the elements constituting the package, including the glass, all have the same exterior dimensions.

  • Cut all of your boards, after verifying your measurements and squaring your angles.
  • Order your glass.

4) Cutting the window opening in the mat

  • Draw your margins onto the place on the board where the mat will be.
  • Cut out the center of the board using a utility knife, and a ruler to guide you. If you are using a decorated mat board, slightly angle the blade of the utility knife towards the inside to hide the inner core of the board.

5) Covering the mat

Two methods are available to you:

  • Direct application (directly on the backing): place the mat on a sheet of decorative paper or a fabric whose exterior dimensions are at least 2 cm larger, for folding.
  • Covering with strips:  this technique, which involves adding four decorative strips one by one, is more complex and uses less material.

All coverings require using a press: on average, 15 minutes.

Close-up: Glazing

Permeable materials, such as light-weight fabrics as well as certain fine papers (such as Japan paper), may let traces of  glue showthrough. glazing is the process of allowing paper to be in contact with a surface to which glue has been applied, then allowed to dry. Now more rigid and impermeable, they are ready to be used.

6) Center the artwork and the hanging hardware

  •  Attach artwork onto the mounting board: use the direct application method for artwork which is not fragile and is of no special value. For other artwork, use the pressure method:using strips of white kraft paper.
  • Attach hanging hardware to the backing board: most framed pieces are lightweight enough to allow the insertion of a ring into a strip of linen tape. For heavy or very large pieces, attach two hanging rings.

7) Finish framing

  • Stack in order all of the components of the package, from the backing board to the glass.
     
  • Keep the whole package in place with metal clips, then strengthen successively each side using strips of moistened kraft paper: they should cover the glass only 2 to 3 mm (in order to remain hidden within the frame), but they may extend further on the backing board.
     
  • Nail the package into the frame's moulding, adding your own custom moulding strips.
     
  • Cover the nails with adhesive kraft tape. Cut two strips of kraft tape equal to the length and and two strips equal to the width of the frame and affix them to the back. Hang it on the wall… and admire your handiwork!