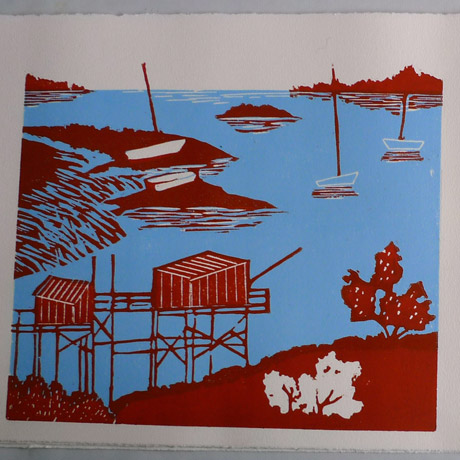
Wood engraving: markers for engraving a second wood block

Rate this tutorial
Average: 5 (4 votes)

Author : Julia Chausson


Good to know: With wood engraving, it is necessary to engrave a wood block for each colour, which restricts the artist to a limited number of colours. But this constraint is also an advantage: it means the artist must simplify the drawing and compose the image differently. 
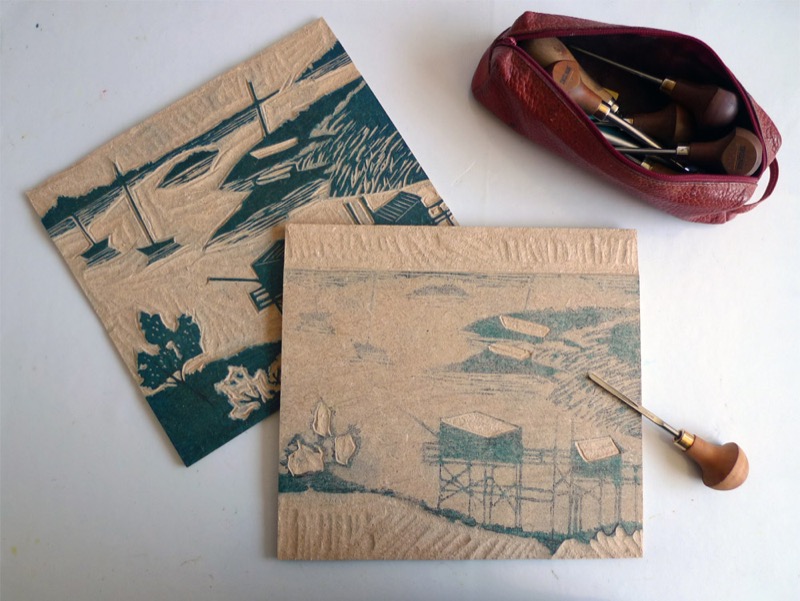
1. Placing markers

Once the first block is engraved, place markers for engraving the second wood block. Use a wood block that has the same format as the first one.

Ink the first engraved wood block and print it on a draft paper. Accurately set the blank wood block on the freshly printed sheet.

Turn over and rub the paper using the back of a small spoon or a Japanese baren. This process enables you to transfer the image from the first block onto the second.

2. Placing the second colour

A vous de déterminer où vous souhaitez placer la seconde couleur.

Decide where you want to place the second colour.

For this coastal landscape, I used this second block to colour the expanse of water, create white spaces, and highlight the shrubs in the foreground, the boats and the reflections on the water.

Tip

To place the second colour, you can use charcoal to draw directly on the second wood block. But remember to fix it with a fixative. Then engrave around your charcoal drawing.