
Setting the press for engraving.

Rate this tutorial
Average: 4.3 (4 votes)

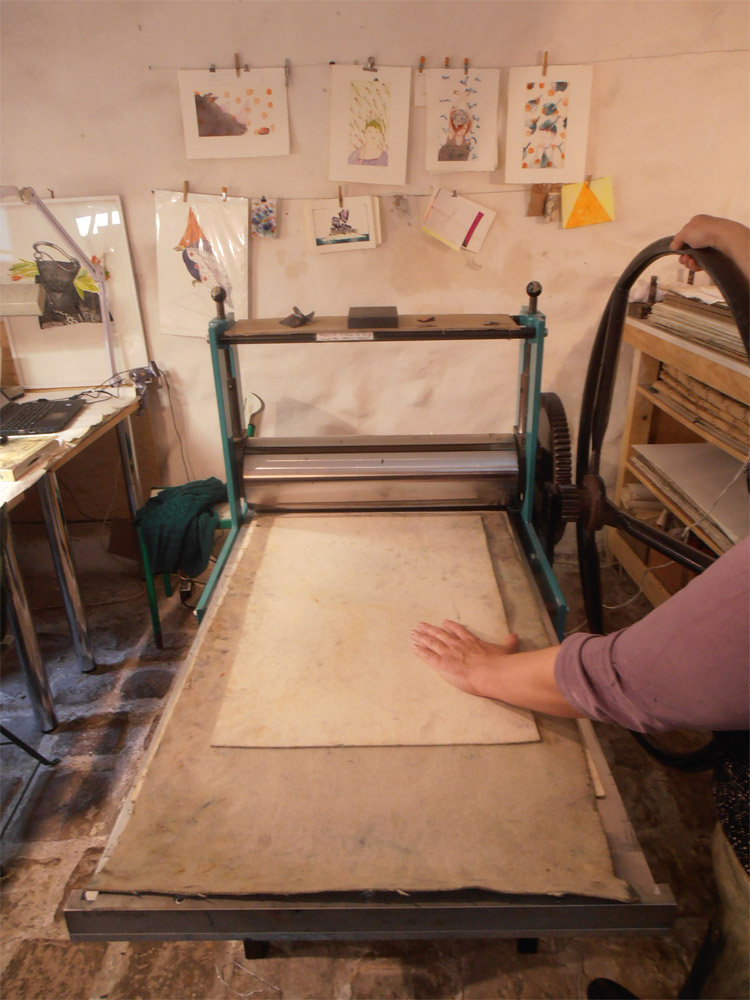
Artist: Charlotte Reine

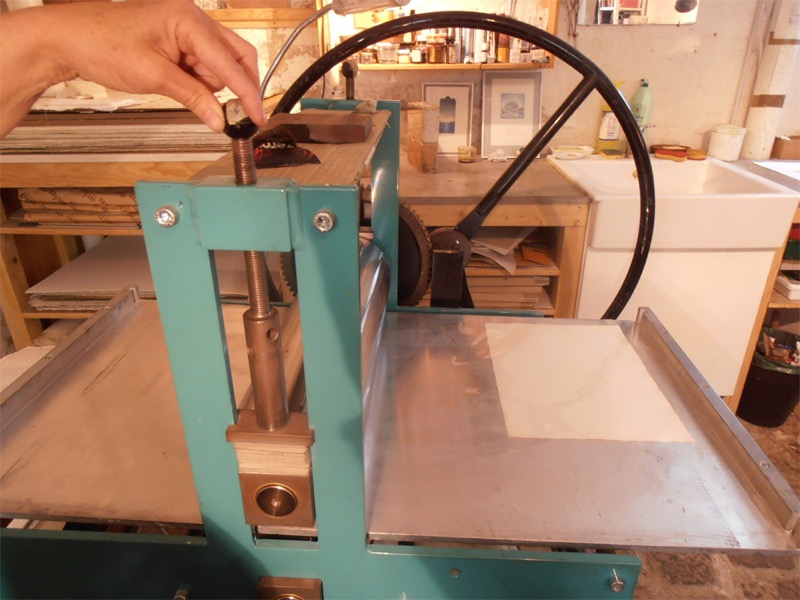
Setting the press is a crucial step in preparing to print.

The quality of the prints will also depend on the pressure setting of the intaglio printing machine.

Sufficient, equal pressure and good condition felts will make it possible to enhance the finesse of your engraving.

1. Setting the pressure

According to models, you will find various systems for setting the pressure on the sides of the frame, on either side of the roll.

First of all, pull back the printing felts and turn the press screws by hand in the direction to tighten until they are blocked, but do not force them.

The pressure is exerted on the top roll; it is important that the pressure be equal on both sides of the press.

2. Putting the felts in place

Turn the wheel to put the plate of the press on one side.

Place the felts down flat (2 or 3, depending on thickness), placing each one a few centimetres away from the other in order to facilitate lifting the roll when setting the pressure.

3. Framing the sheet of paper

On a sheet of paper larger than the format of the print, draw the contour of the latter and of the plate in the place you wish the print to appear; place this paper under a rhodoid sheet to protect it.

Tip

If you want to make several prints, place a weight on the widest margin so that the framing remains in place.

Peel back the paper and replace the plate from the first print with the inked plate for the second print. Put the paper back in place and remove the weight, pull the felts down gently and pass the print through the press again.