
Engraving a character on Tetra Pak ® and printing it on paper

Rate this tutorial
Average: 4.8 (22 votes)

Estimated time: approximately 1 hour and 30 minutes

Level: beginner

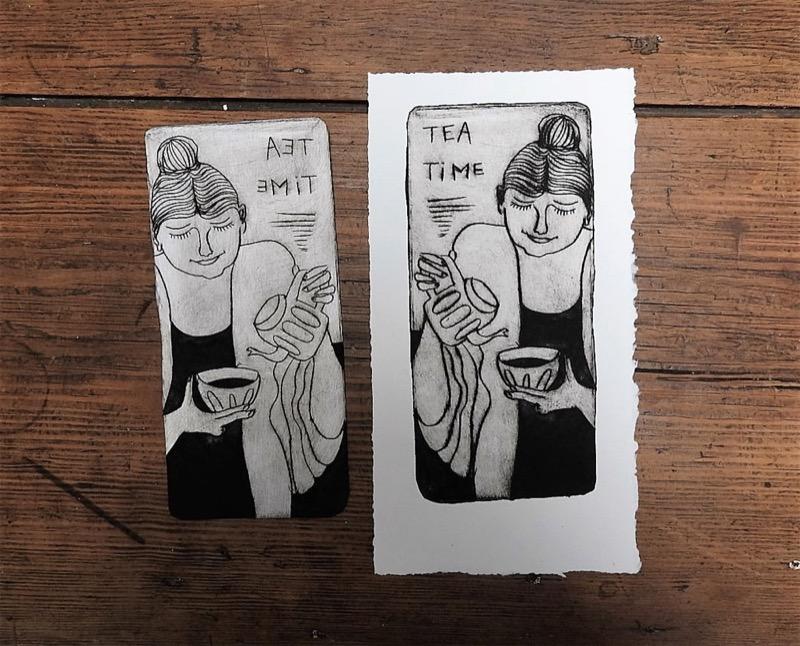
Artist: Isabelle Biquet

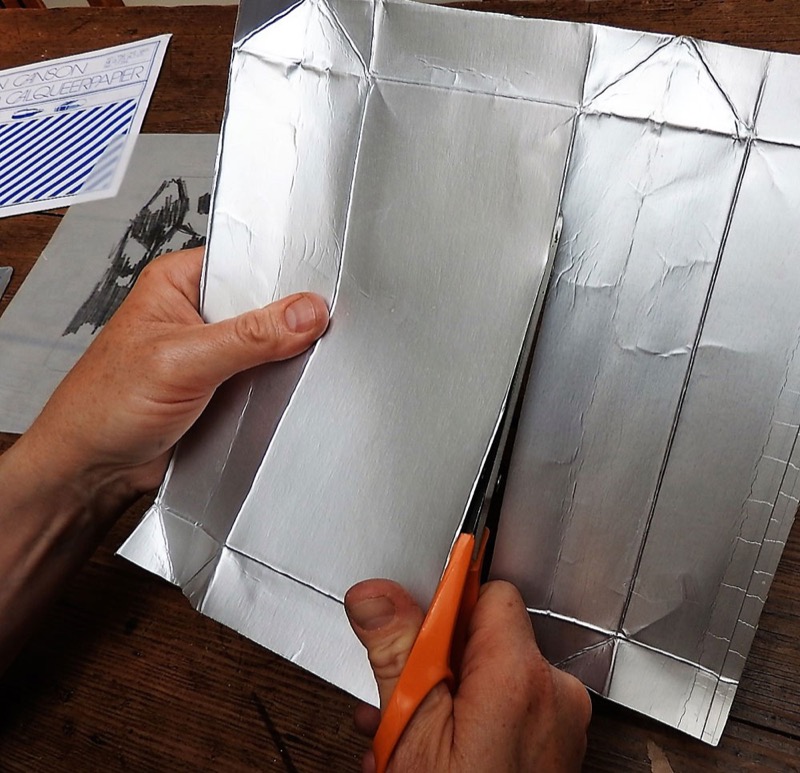
Engraving on Tetra Pak® has the same requirements as traditional drypoint engraving, except that the material engraved on is recycled, accessible to everyone and practically ready for use, unlike copper or zinc

plates, which require a relatively long preparation phase. This gain in time and money will allow you to work freely and spontaneously, without worrying about “ruining a plate”, and Tetra Pak® is perfectly suitable for making limited series of prints.


Material :

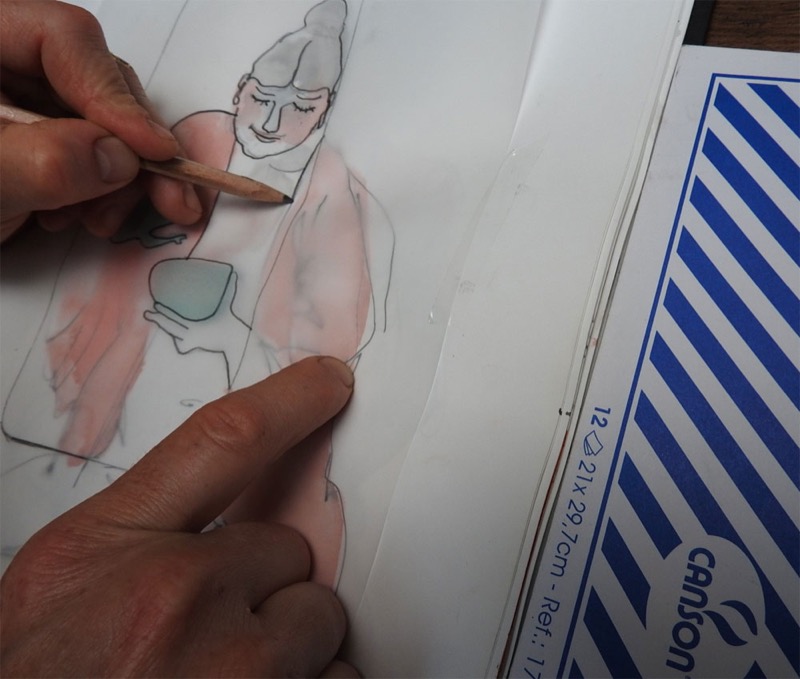
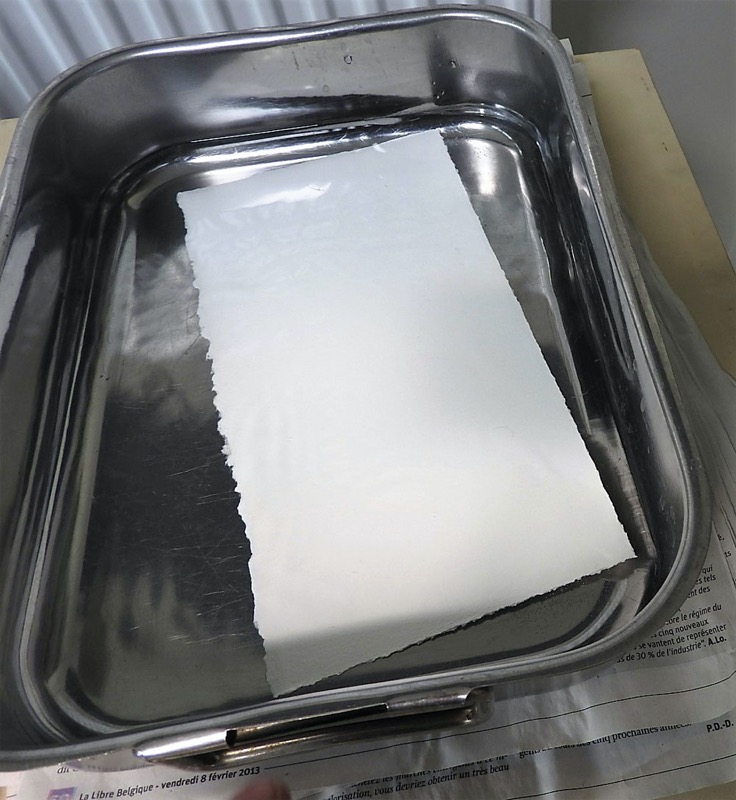
  • Paper : Canson®; Edition 320 gsm extra white and Tracing paper
  • Pencil: a 3B pencil
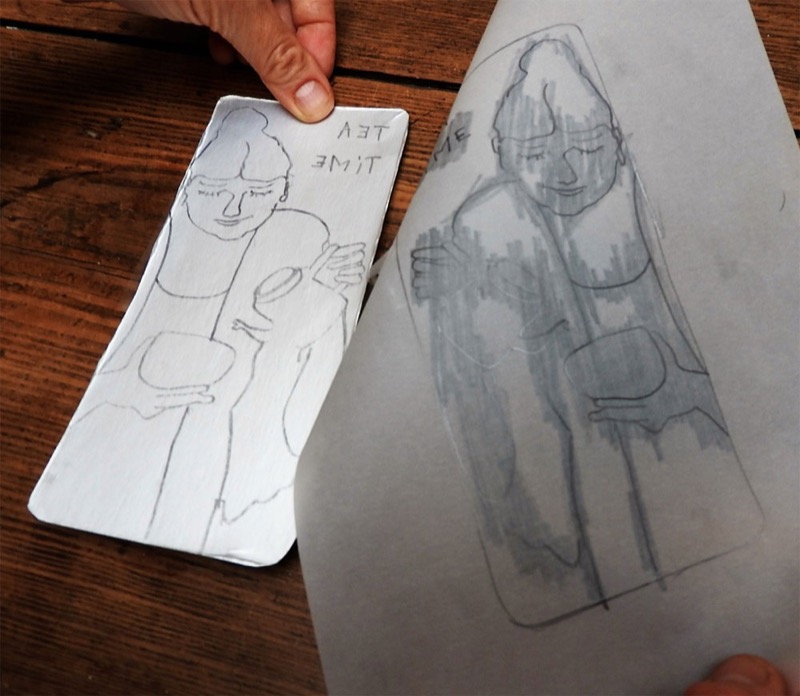
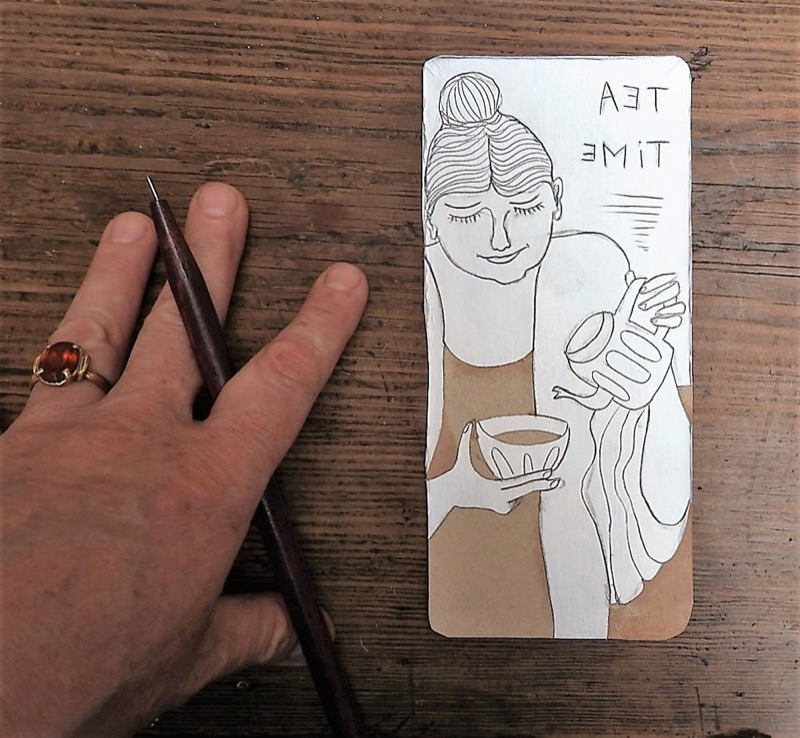
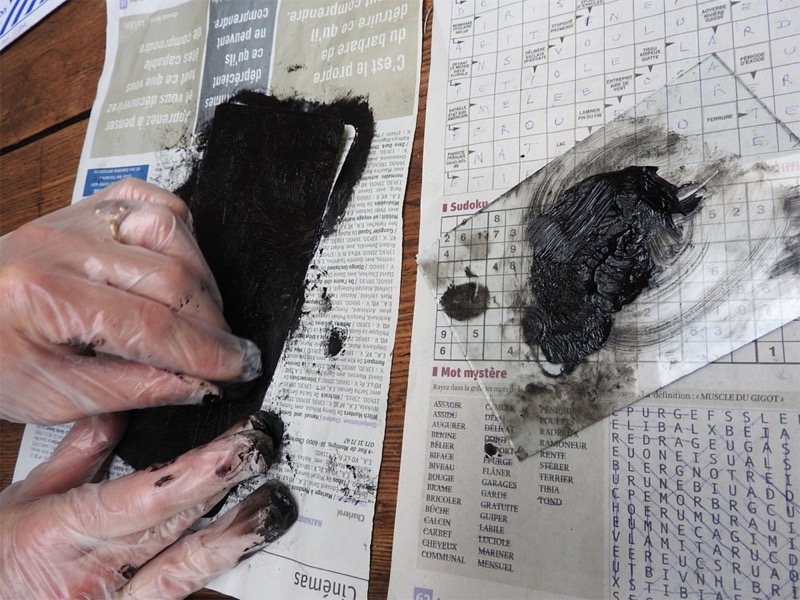
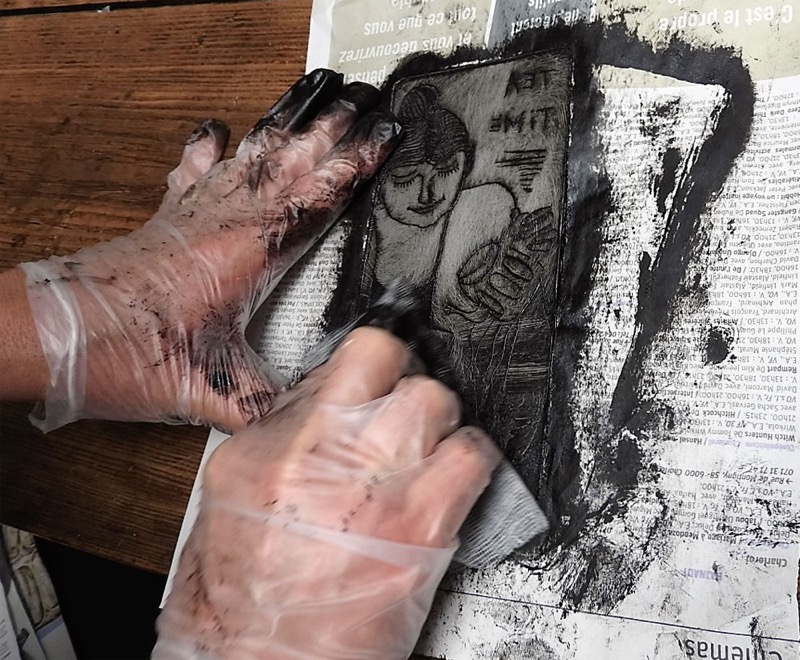
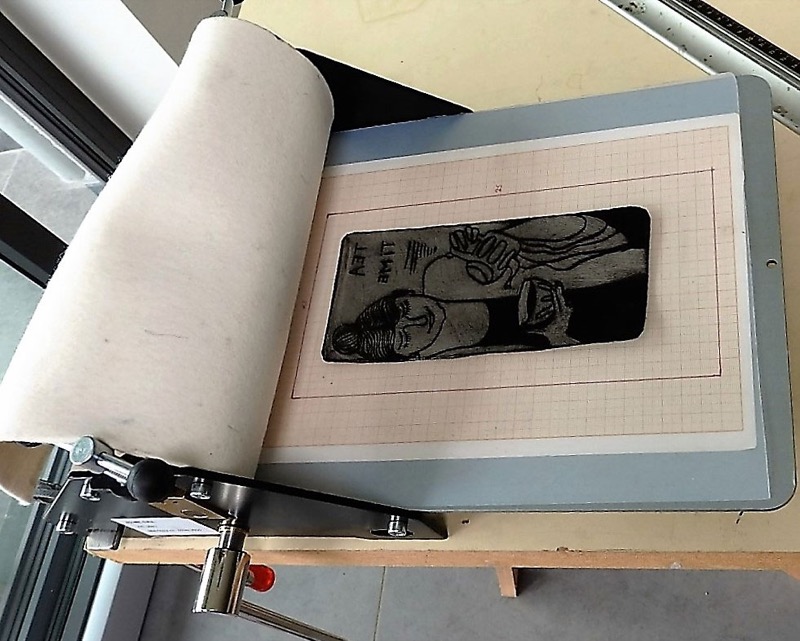
  • Accessories: a “Tetra Pak®” carton, (used for packaging milk, fruit juice, etc.), a preparatory drawing or a photo which will serve as a model, scissors, adhesive paper, a point for drypoint engraving, a pair of disposable gloves, an apron or old clothes, newspaper, a cloth, a tray, ink for intaglio engraving, tarlatan or medical gauze and a press for intaglio printing.


Tip: if you don't have an engraving tip, a compass point inserted into the top of a propelling pencil will do the job!

​Step 1 :Preparing the plate

Unfold the 4 corners of the Tetra Paksup>® carton and flatten it along the folds. Cut each extremity first, then cut along the seam. Flatten the cardboard and carefully cut the front part of the carton (this is the largest part without folds or seams). You can cut the corners so they are rounded. Now you have your plate, ready to be engraved. You can also recycle unused pieces of Tetra Paksup>® as clips to hold your paper without dirtying it.

​Step 2: Preparatory drawing

You can engrave directly onto your piece of Tetra Pak®, but remember that during printing, the image you engrave onto your plate will be reproduced backwards on the paper. This is important, especially if your drawing features text.

To transfer your image backwards onto the Tetra Pak® plate, use tracing paper: first trace the contour of your plate using a pencil to help you frame the subject you have chosen. Transfer using a soft pencil.

​Step 3: Transferring the subject

Turn the paper over on the Tetra Pak ® plate, with the pencil strokes on the metallic side. Be careful to frame the plate well. Use adhesive paper to hold it in place.

Using your pencil, rub the back of the image in order to transfer the soft pencil onto the plate you are going to engrave. This is the same process as for transfer printing.

​Step 4: Engraving

Go over the lines again with the drypoint: hold it in your hand as you would hold a pencil, and draw your line by cutting into the metallic side of the Tetra Pak®, making sure not to cut through the cardboard. Hold the plate in place with your other hand.

To create the surfaces that will appear in black after printing, gently remove the metallic sheet so as to expose the cardboard. Use the tip of your point if necessary to gently lift the metallic film.

​Step 5: Dampening the paper

You are using Canson® Edition 320 gsm extra white paper. It is excellent in quality, very resilient to dampening and resumes its shape without warping after drying.

After cutting your sheet of paper with a knife (to create irregular edges), submerge it in your tray of clear water for approximately five minutes.
Let it soak up the water while you are inking and wiping your engraved plate.

​Step 6: Inking

Put on disposable gloves, place a small amount of ink on your engraved plate and spread it over the entire surface making small circular movements with a crumpled cloth.

Concentrate on the engraved parts; the ink that lodges in the grooves will be printed on the paper when it is put under the press.

Ideally, inking is done over a hotplate, to make the ink sufficiently fluid so that it penetrates into the grooves.

By working under a ray of sunlight or a heat lamp, you can obtain the same results!

​Step 7: Wiping

Using a piece of tarlatan, delicately wipe your engraving to remove excess ink, making sure to leave sufficient ink in the grooves to obtain good quality printing.

More information: Tarlatan is a woven cotton fabric used to make evening dresses and tutus. You can replace it with medical gauze.

Step 8: Printing

Remove your gloves.
Take the paper out of the dampening tray and drain it between the pages of a newspaper.

Place your Tetra Pak® plate on the plate of the Intaglio printing press, on which you previously placed a template to help you position your engraving correctly.
Put the paper to be printed on top of this. Pass it under the roll, then lift it off gently. Your print is made!

Tip: Don't have a press but really want to get started? Perhaps you have a pasta-making machine in your kitchen! Place your engraving between your paper and a piece of felt and pass it through the roll of your pasta machine!

Our advice: Don't be disappointed if the results are not what you expected, especially if this is the first time you've tried engraving. Engraving requires practice and experience; keep at it and with perseverance you will gradually get the hang of it and master the right techniques.