Level: beginner
Estimated time: 3 hours
Author: Julia Chausson
www.juliachausson.com
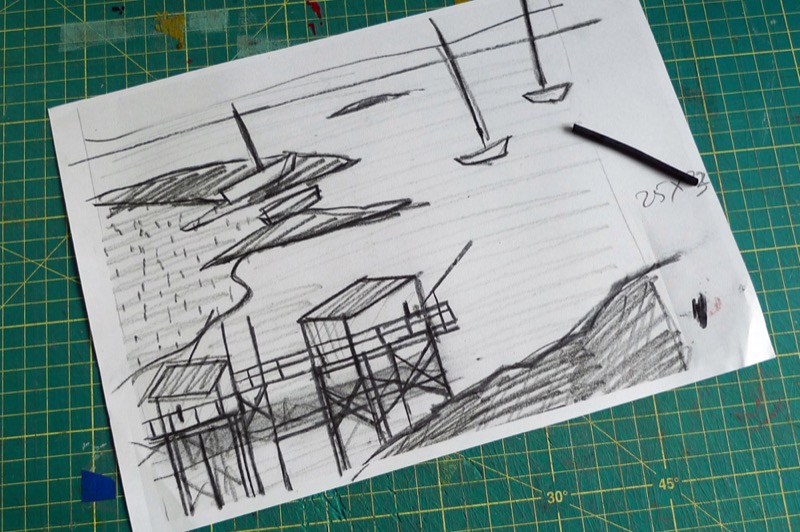
Would you like to try woodblock printing like Paul Gauguin, Félix Vallotton, Edward Munch, Hokusai or Hiroshige? By following these simple steps you can make your first ever xylography...
Material :
Pencils: fine charcoal pencils (diameter: 2 to 3 mm)
Paper : Canson® Barbizon
Accessories:
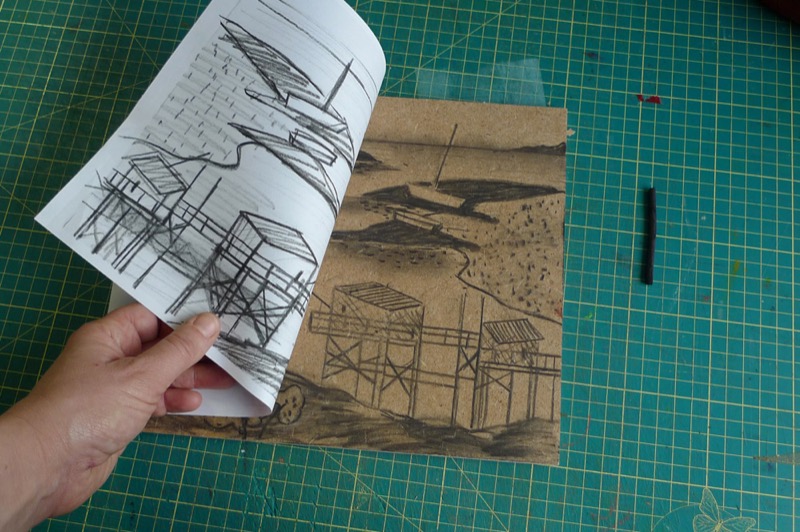
- Spray glue
- an MDF plate (chipboard)
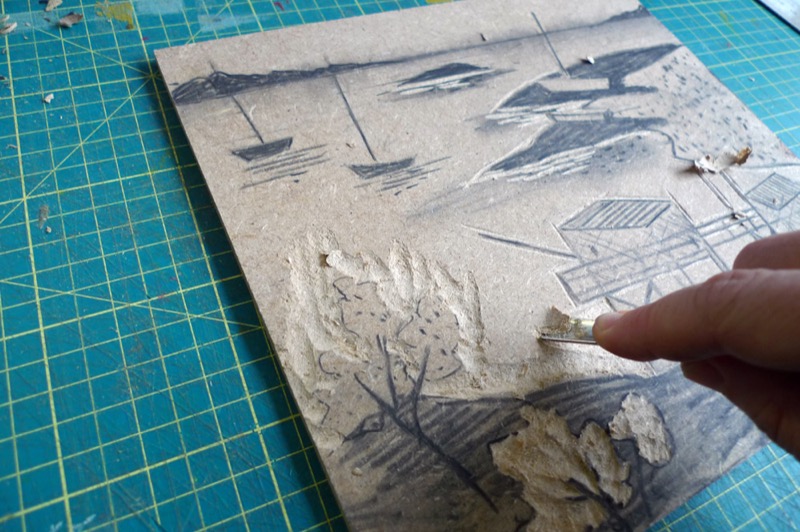
- chisels (U-shaped chisels are easier to use)
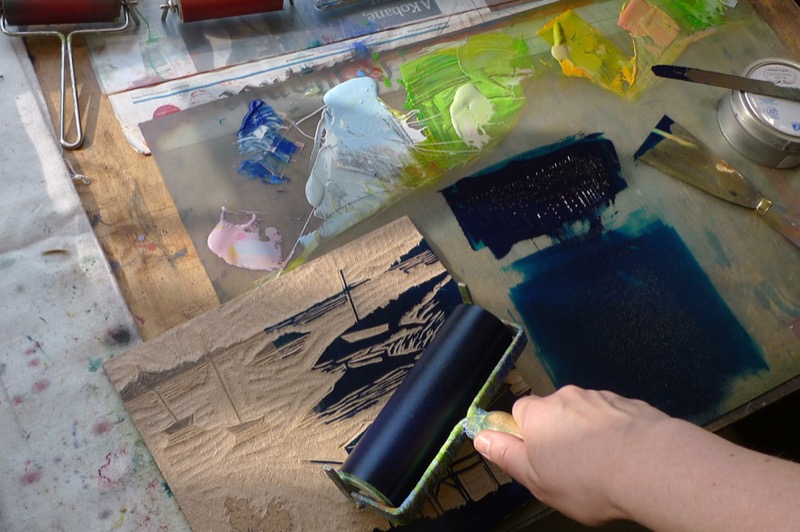
- a rubber inking roller
- linocut inks
- a sheet of Plexiglas
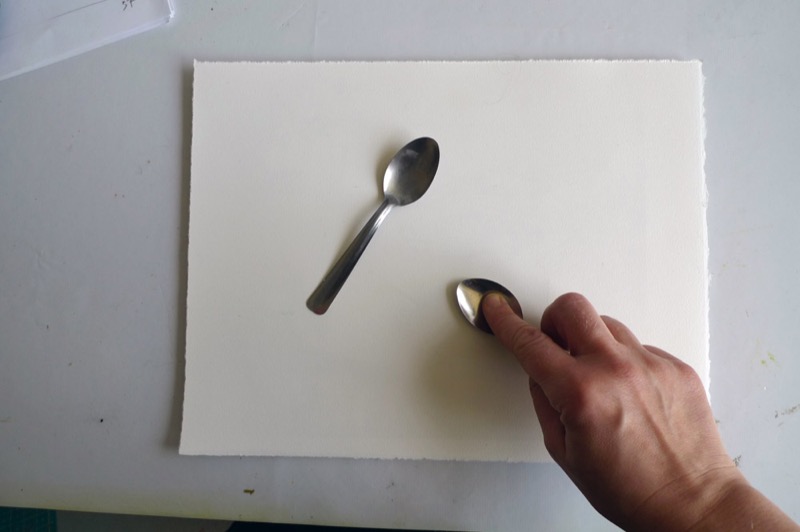
- a spatula, a proof press or a small spoon, or a Japanese baren (a stamp covered with bamboo leaves for hand printing)