Pastel & Colour: Tinting your paper

Rate this tutorial
Average: 3.3 (4 votes)

For a truly personalized result, certain artists prefer to tint their medium themselves. Play your hand!


What you need to know

Tinting your paper has two benefits:

  • Optimizing the background tint reduces the risk of overloading your drawing material.
  • You can create several areas with different colors on the same sheet of paper.

1. Creating a background with dry pastel

Reduce your pastel to powder by scratching it with a knife over a plate.

Dip a rag or a piece of cotton wadding into the powder and rub it over the entire paper surface, pressing down enough to tint all the high and low points on the paper.

Use sweeping circular or crisscross motions if you want to create a textured background.

For a perfectly smooth finish, stump with a big paintbrush.

Trick of the trade

By stabilizing the background with fixative or pressing a blotter down hard on the tinted paper, you can keep the pigments from mixing with the ones you use for your work.

2. Original tints

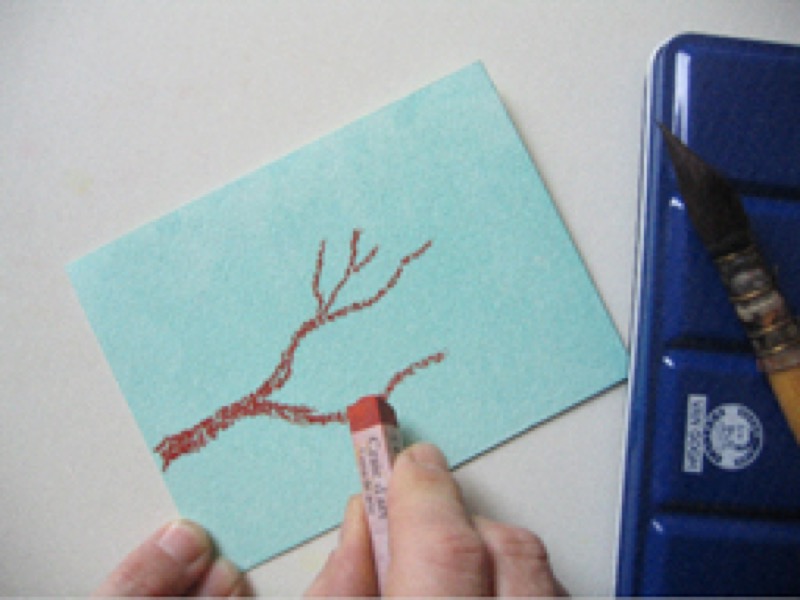
Dry or oil pastels can be used afterwards with these two techniques.

Go for transparency by using a watercolor or highly diluted India ink wash. Allow to dry completely before applying pastels.

Imitate oriental tradition: rub white paper gently with moist tea leaves (or teabags). This will cover it with a very delicate tint! 


Note: if you plan on using a wet technique, select water resistant paper, such as watercolor paper, and stretch it first to keep it from buckling.