
Pastel & Colour: Sketching successfully

Rate this tutorial
Average: 4 (5 votes)

While it is quite possible to create a work off the cuff, doing a preliminary drawing is always advisable.


What you need to know

There are two techniques for creating a sketch:

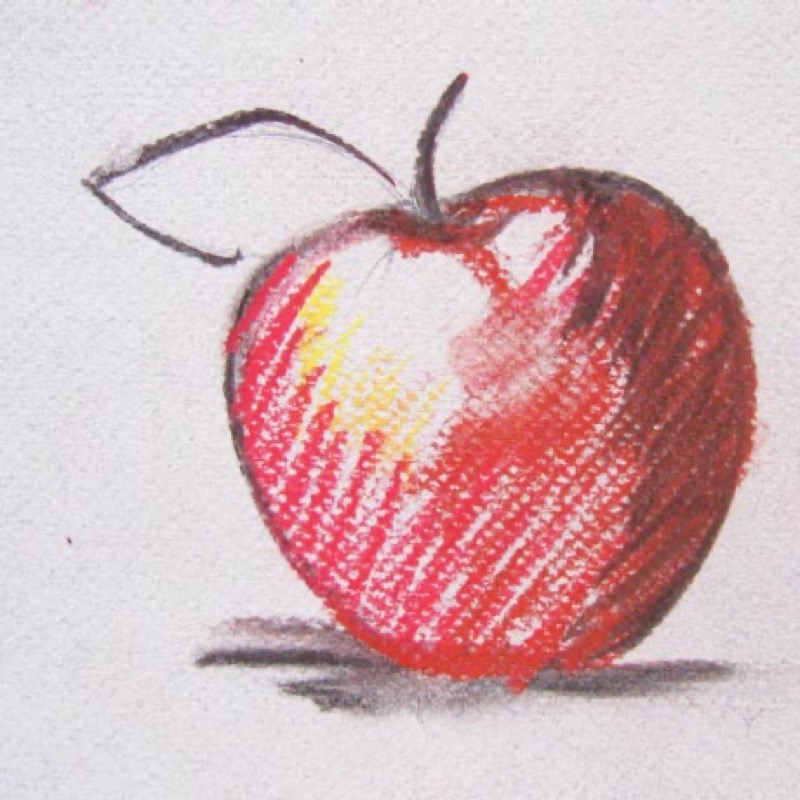
  • Using square pastels to lightly shade in the main forms with colors appropriate to the final result.
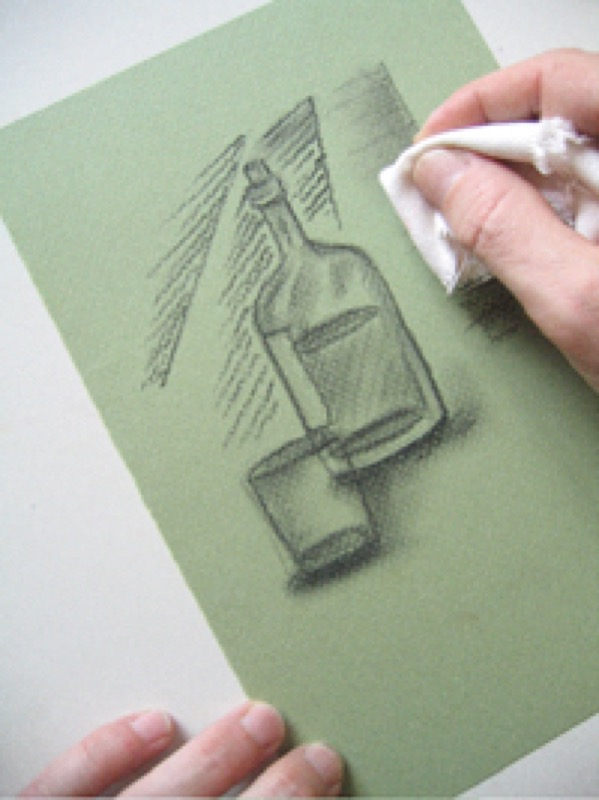
  • Lightly drawing with charcoal: this is more precise, and includes the broad lines, contours, and even, if you wish, the details.

1. Shading with dry pastels

Use the edge of your sticks to add light blocks of color, representing the main masses, and allowing you to readily visualize the various tones. 

You could also sketch the volumes: draw light oblique lines or widely spaced hatching with the tip of your pastel.

If necessary, draw a true preliminary drawing with square pastels or pastel pencils, defining each contour with the appropriate shade.


Note: do not use a graphite pencil because its texture "repels" pastels!

2. Charcoal sketching

Draw your lines lightly, without pressing too hard.

Include the details that are needed to compose your piece.

You could also shade your future contours using oblique lines or cross-hatching.

Use your finger or a rag to erase any mistakes.

Once you've finished your sketch, rub the drawing with a dry rag. Most of the charcoal will disappear, leaving a light trace.

3. Oil pastel sketching

Like dry pastels, this is done directly with sticks in the color you are planning to use, without pressing too hard and lightly shading the main masses.