
Manga: Placing screens

Rate this tutorial
Average: 5 (2 votes)

Shading, hair, backgrounds… Greys, shades and all kinds of mini motifs take a long time to do with a pen: use screens, the way all the greatest contemporary mangakas do! The quick and easy way to get it right.


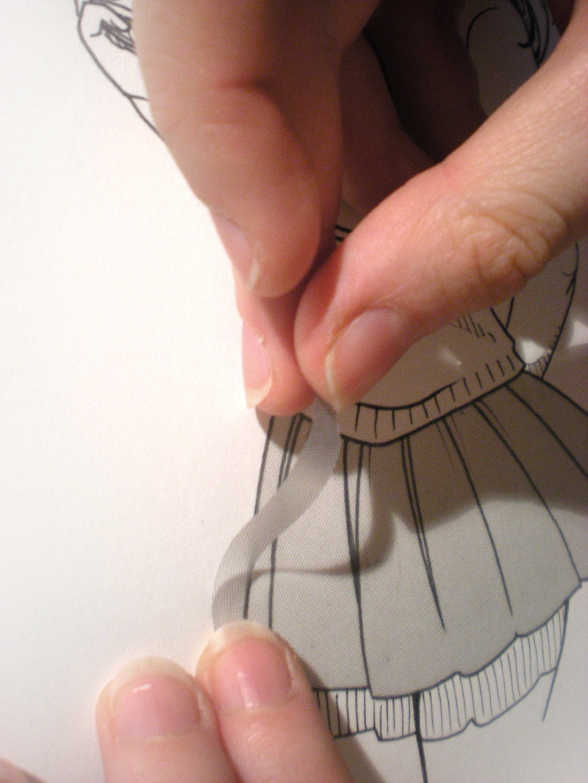
There is a plethora of different screens. These are adhesive sheets with dots, lines or motifs in various shades of gray.

1. Supplies

Applying a screen  is precision work, and requires specific material:

  •  A classical utility knife to precut the screens.
  •  A highly precise utility knife with a triangular blade (aka exacto knife) for delicate cut-outs.
  •  A spatula or toonbera to push out air bubbles when applying, to help the screen  adhere to your paper.
  • A dusting brush (a big feather, for instance) to remove eraser crumbs and pencil lead dust before placing the screen.

2. Technique

Before getting started, clean the relevant surface: dust, finger marks, and eraser chunks need to be removed to ensure a perfect application!


The main steps:

  •  Place the screen sheet on the work surface and cut it out in the shape of the pattern, making sure to leave a margin.
  •  Remove the protective film and glue the screen in its place. Spread it well to avoid air bubbles. cover with protective film: this will protect your work from damage while attaching (next step).
  • Attach the screen: lightly rub the protective film with your spatula.
  • Once the screen is attached, very carefully cut off the surplus along your drawing's contours. Note: if you press too hard on the utility knife, you run the risk of tearing your work!
  • Gently detach the part to be removed.
  • Put the protective film back on the attached screen then rub firmly to make sure it adheres well to paper.