
Manga character pen and watercolor

Rate this tutorial
Average: 3 (4 votes)

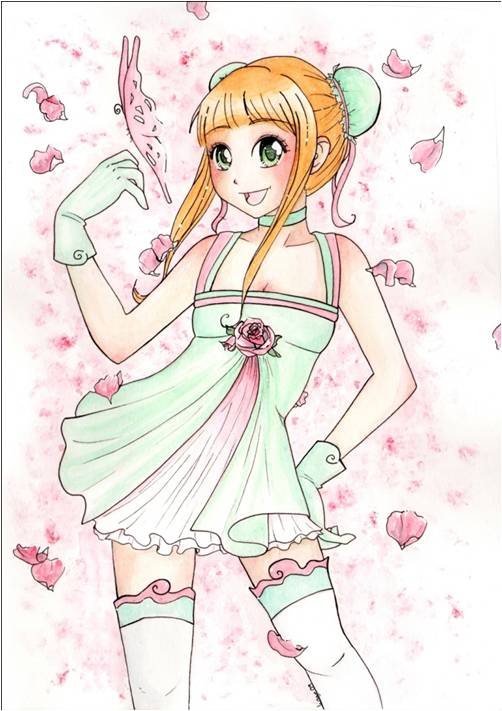
Time of execution: 2 hours / Level: intermediate

Artist : Zélia Rodrigues 

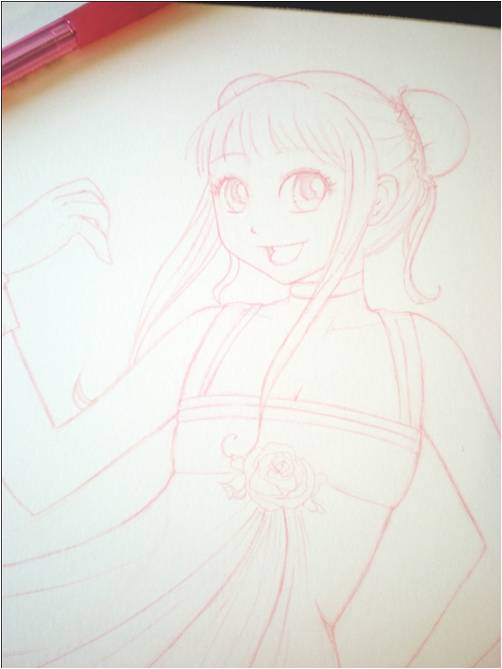
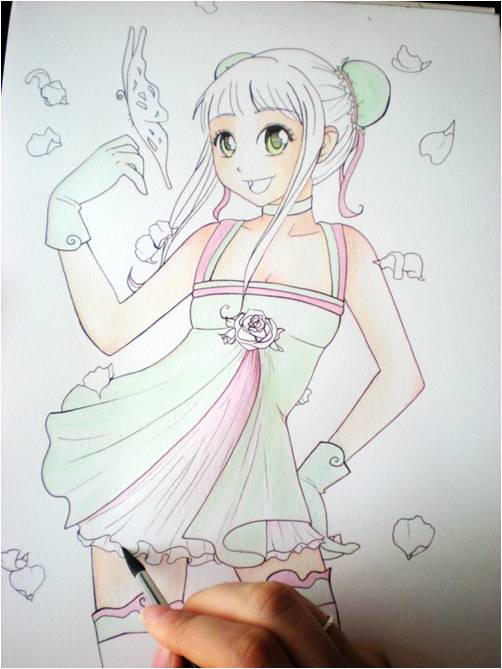
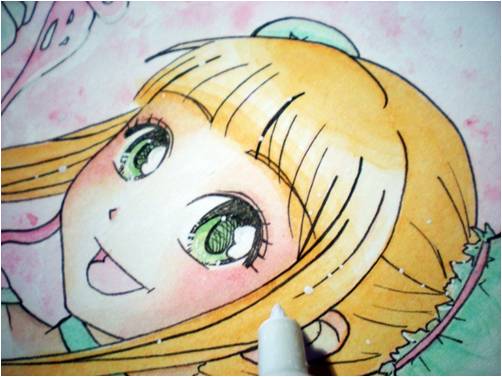
Learn how to create your manga characters! From conceiving them on scratch paper to coloring them with watercolors, here are ten steps designed for you to develop good reflexes and improve your technique.
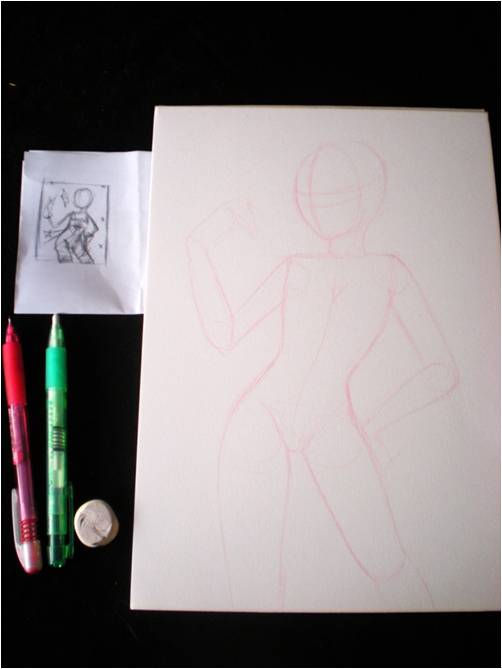
 

Material 

Paper: Canson Illustration (Graphic Novels , Manga, Comics) 250g/m², 1 sheet of scratch paper

Pencils and paintbrushes: 1 HB 0.5 mm mechanical pencil with red leads, one 0.2 and one 0.1 inking pen and 1 (small gray) round, pointed brush medium, 1 small paint brush with synthetic bristles

5 watercolor colors in pots: green, pink, orange, brown and yellow

Accessories: 1 simple eraser, 1 eraser holder, 1 roll of paper towels, 1 white marker

Step 1

Doing a preliminary sketch

On a sheet of scratch paper, do a quick pencil sketch to summarize the concept of the drawing: test the layout and the character's attitude. Keep trying until you're satisfied with the result.

On your work sheet: draw the leading lines for the character and the joints. Start from the dynamic line of the body: the spinal column.


Draw the character's details.
 

Draw a line of symmetry on your character's face and a median line for correctly positioning the eyes, nose, mouth and ear.

Draw the contour of the hair, taking the volume of the head into account.

Draw your character's clothing: a light dress, to suggest spring.

Step 2

Adding the finishing touches.

Draw detailed strands of hair, and adjust the dress and its features.

Draw the hand, chest and leg details, paying attention to proportions.

Add the finishing touches to the face by drawing the eyelashes and reflections in the eyes. Make sure the reflections are all on the same side, or your character will look like he's cross-eyed!

Step 3

Inking the main lines.

Draw every line from top to bottom. If you deviate a little, don't worry: correct with a white felt-tip by going over the line to add thickness. 


Inking details.

Ink the petals, the flower and the butterfly.

Ink the eyes: add shading by hatching from darkest to lightest and from top to bottom, spacing the hatching more and more.

Finish by emphasizing the tops of the eyes and the eyelashes to give the eyes more depth.

Step 4

Painting the skin.

Go from lightest to darkest, after moistening the areas. Use light brown for the skin and add pink to the cheeks. To paint this color, moisten the area once again with the clean paint brush.


Painting clothing.

Choose two colors that harmonize to your liking (here, green and pink) for the clothing, and apply them either as a solid or as a gradation, by moistening the desired areas. For the gradation, apply the color from top to bottom. Wipe off any runoff with a dry brush.

Step 5

Painting details

No need to moisten first. Remember to leave extra to signify light, like on rose petals. Also add shadows by intensifying the color, from lightest to darkest.

Step 6

Painting a lightly colored background.
 

Moisten the paper around the character. Apply the color with a damp piece of paper towel, dipped in the watercolor of your choosing. Shade off the surplus with a clean piece or a paint brush.


Little trick of the trade:

To add a little light to the drawing, use a white ink felt-tip. Put little beads on the hair and petals, and in the eyes. This too adds life to the character!