
Manga: India ink and digital color: «DUSTY SINGS»

Rate this tutorial
No votes yet

Preparation: 1 and a half hours / Coloring: 3 hours /   Level: advanced

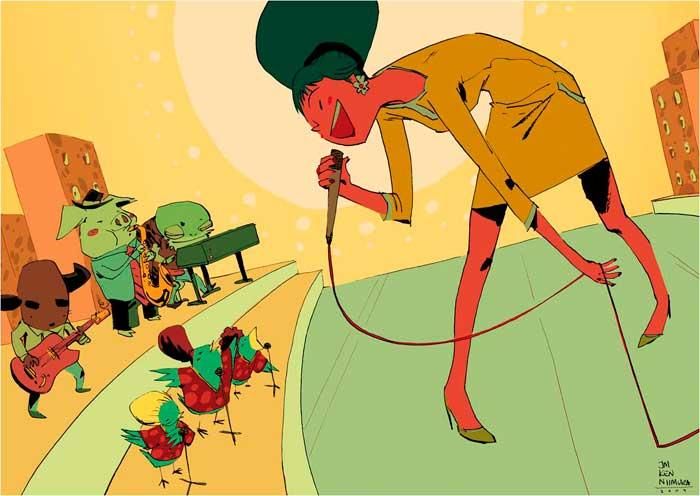
Artist : JM Ken Niimura


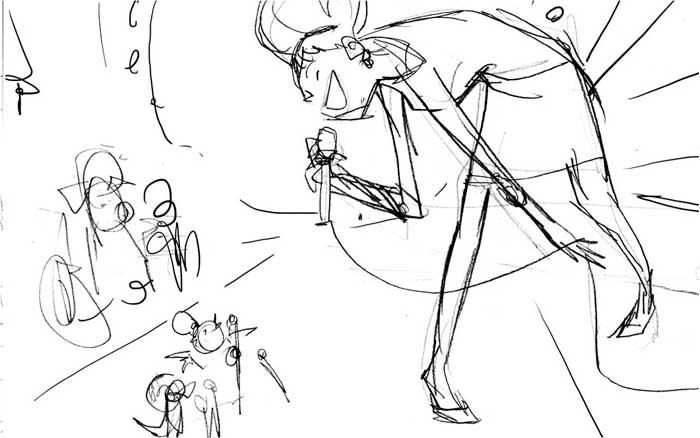
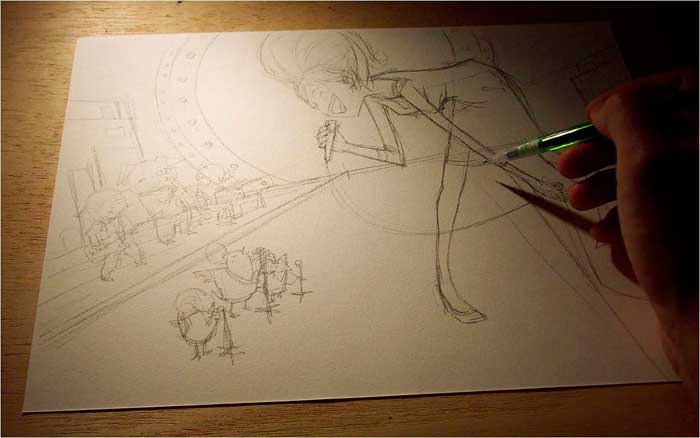
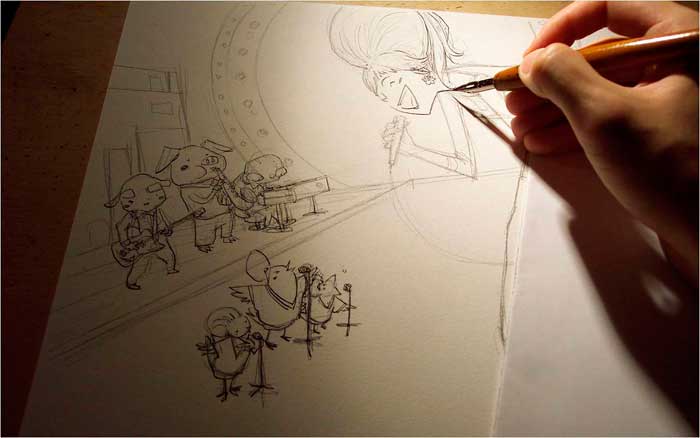
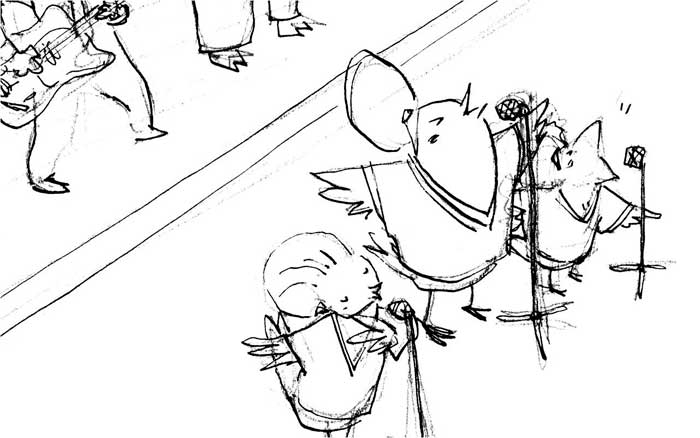
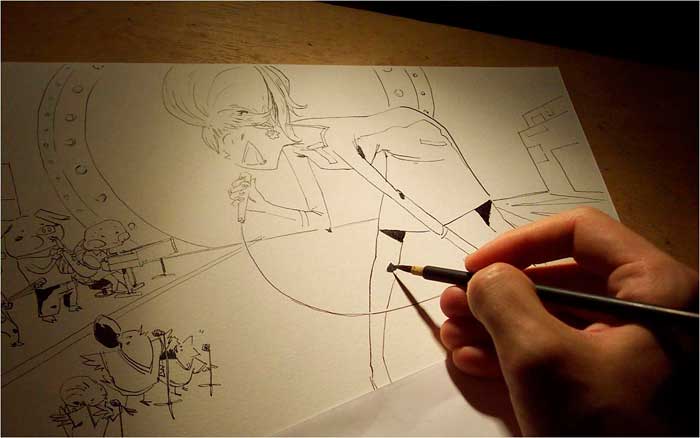
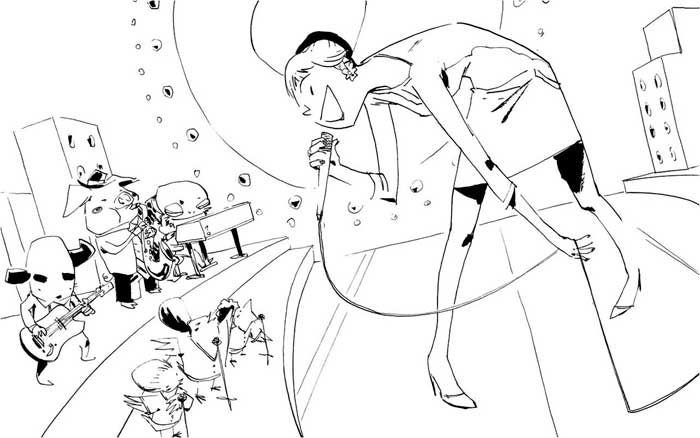
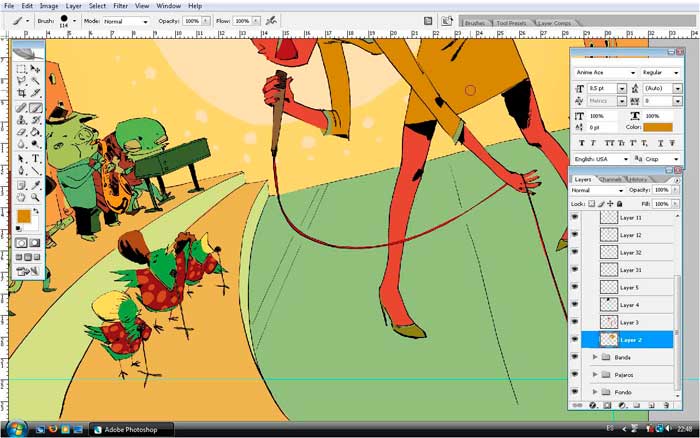
What is the secret to successful digital coloring? A perfectly composed drawing and meticulous inking. Goal of this exercise: teaching you to organize your preliminary work. Child's play!


Material

  • Canson Illustration 250 g/m2 - fine grained cold pressed
  • Black India ink
  • Pencils and paintbrushes: 1 0.5 HB mm mechanical pencil, 1 medium Japanese paintbrush (tanuki bristles), 1 pen
  • Acesorries: 1 eraser, paper handkerchiefs, 1 rag, 1 wood board (bigger than the sheet of paper), sheets of A4 paper

Step 1

Doing the sketch.

Create your drawing broadly on a sheet of scratch paper. The sketch will lay the foundations for your work to come: therefore, it needs to include the main elements. This way, you can avoid any need to retouch your composition as you go along.

Step 2

Doing the pencil sketch.

Copy your sketch onto your working sheet of paper. Add the details. you will use this drawing as your guide to make inking easy: however, you need to make sure your line is not too intense. If you make mistakes, gently erase them, avoiding leaving any traces.

Step 3

Inking with a pen.

Ink the lines: if you are right-handed, go left to right (and conversely if you are left-handed). That way, you won't get the page dirty. You can also slip a sheet of A4 paper under your hand.

Step 4

Inking the details.

Work quickly, but precisely. Focus! The quality of these lines will determine the quality of your final rendering. They should not be either too rigid or too jerky. The effect you're going for: naturalness!

Step 5

Inking solid black blocks.

Once your lines are drawn, add solid black areas with a paint brush (they give rhythm to the composition by adding a contrasting note). This is a color illustration: don't add too many. Work lightly and confidently.

Step 6

Do your retouching.

You are going to do your coloring on the computer: it is essential to erase everything perfectly. This will spare you a lot of work.

Next, retouch the lines if necessary: stick on pieces of paper or correct with white gouache and a paintbrush.  

Step 7

Scanning and doing the digital coloring.

Scan at a minimum of 300 dpi. Preferably work in 600 dpi and CMYK: this allows you to increase the drawing's format. As you select each color, consider the overall balance, particularly how it can help the reader "read" the drawing better.  

Step 8

Trick of the trade.

Thanks to digital, you can retouch certain parts of the drawing and even replace one character with another one. Go ahead and get started, but keep on considering the details in light of the entire illustration.  This way, you'll create an attractive, balanced picture.