Are you a manga fan? Now it's your turn bring characters and a story into the world from the tip of your pen! Learn all about the 6 key steps that will make your dream come true: creating your own manga.

1. Scripting
Story, characters, actions… your head is overflowing with ideas. You need to get them on paper so you can start sorting them out and organizing them. So start by figuring out the general theme for your script (love, a detective story, a comedy, etc.)
Next, work out your characters: the hero or heroine, the anti-hero and the secondary characters. Work out everyone's personality and sketch their physical appearance. Their appearance needs to reflect the character's personality.
Draft your script: from the introduction to the ending, along with the development and the various twists and turns.
Split your script into sections. You need to divide your script into several sequences. Each sequence needs to be a single unity: of place (the action takes place in a cafeteria), of time (the hero is getting up) or of action (the hero confronts his rival). Next, a pre-script involves associating a certain number of panels (pages) with each sequence to describe it.
In practice: A first sequence!
Now you do the rest…
-The hero wakes up and realizes he's terribly late. As he's getting up, he trips on his sheets, falls down head first on the ground and rants about the day that is definitely starting off poorly…until his lady-love enters his bedroom with a steaming cup of coffee.
- Plan on a double page for representing these elements (p. 1 and 2).
2. Put together a storyboard
Think about the composition of the panels: how many boxes will you need? How are you going to organize them so the page is balanced? There’s only one method: develop a storyboard! Sketch your future panels the way film directors do.
Be careful about the direction of the text! Traditionally, you read from right to left in Japanese mangas: so the first box of the panel is located to the upper right of the right-hand page.
Avoid monotony by varying the size of your boxes and the various shots (close-ups, medium close-ups, full shots, etc.).
Trick of the trade
When you open a manga, your eye naturally moves to the top of the left-hand page. Do you want to highlight a drawing or a particularly significant aspect of the action? make sure to place it there!
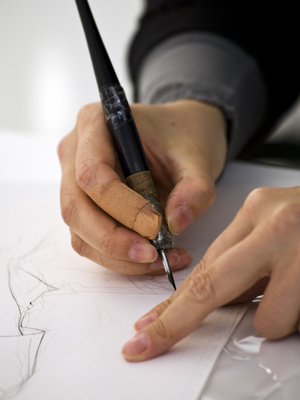
3. Doing the pencil sketch
Draw the contours of the boxes with a blue pencil (invisible when printing) then use a gray pencil to do your rough sketches inside each one: draw your characters and the settings, making sure to maintain the perspective. Place markers where you'll put your future effects.
4. Inking
Start by inking the contours of the boxes: the most skillful people can draw the lines with a ruler and pen… beginners, however, should use a rapidograph or an ultra fine point pen.
In the background, use a pen to draw your dialogue balloons and the other captions.
Ink the contours of the settings and characters.
Add effects: speed lines, flashes, grids, etc.
Memo
While inking, don't forget to rinse your pen regularly in clean water: this will keep your ink from drying inside the pen.
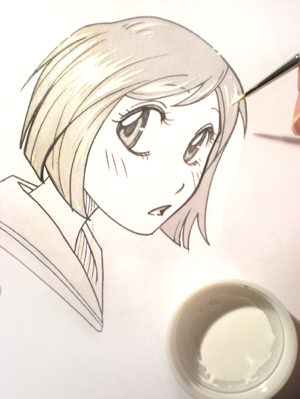
5. Filling in
For details such as hair, clothes, and small features of the decor, use a more practical fine point pen for precise drawing.
For blocks and shading, use a wide marker or a paint brush marker.
Remember to add screens to the backgrounds and to work them (hatching, erasing) to create sophisticated effects worthy of the greatest mangakas. Make sure to clean the surface of your original drawing before adding a screen!
6. Add the final touches
Your manga is taking shape but is not ready to be read yet: It’s missing the dialogues and details!
It's all in the details! A drop of white correction fluid in the middle of a pupil and your character becomes more mischievous, project some white on a black background and your heroes are kissing under a starry sky... Use any kind of white (opaque white, white correction fluid, white ink) to correct, refine, and embellish your drawings to perfection.
Start by adding the dialogues to each balloon with a blue pencil: Practice on a draft by reproducing the shape of the balloon and inserting the text. When you have found the right configuration, ink in the characters with a pen (or a fine point felt tip).
Recommended product:
Graduate Manga
See also :
Manga
Manga: Selecting your paper