1. Select your photos
Start by sorting your photos around a theme or event. Be sure to include even your least successful pictures: by scrapbooking them, you can improve their quality! So you don't overload your album, plan on using 1 to 2 photos per page for A4 size, and no more than 4 for a 30cm x 30 cm page.
What you need to know: How should you select your color palette?
A color wheel you will help to choose the right shades of paper.
A center wheel sorts the colors, starting with the warmest (from yellow to purple) all the way to the coolest (from blue to green). When you turn the wheel, three triangles show possible color combinations. Blue, for instance, can be combined with mauve and lime green (an easy combination); yellow with red (a bold combination); orange yellow with red orange (an invigorating combination).
4. Cropping and matting photos
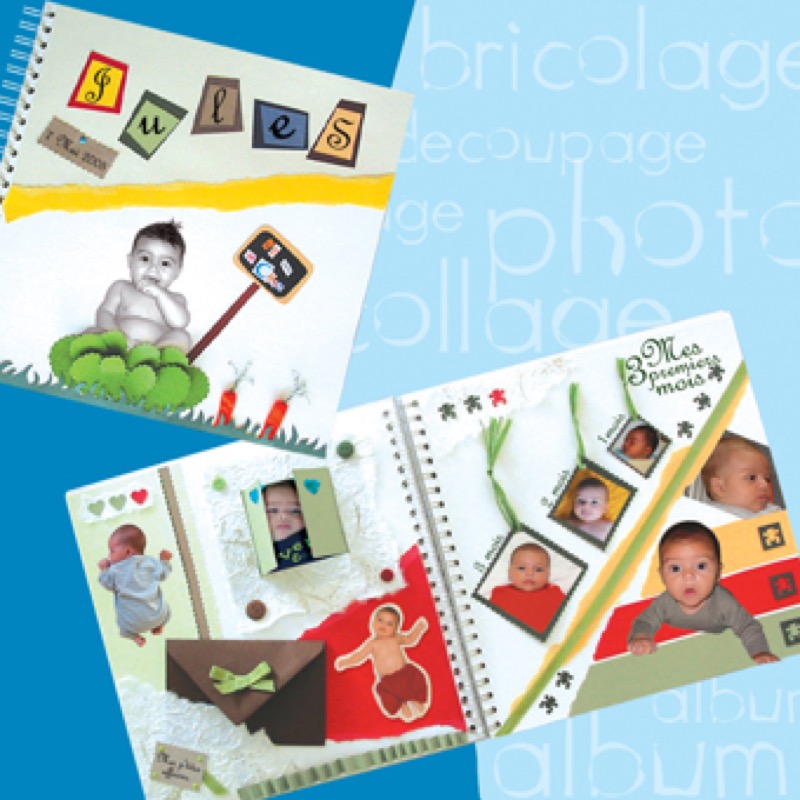
Cropping is the key to scrapbooking. The goal: to emphasize your subject by removing superfluous details. Armed with a template (a kind of pattern to assist you in cutting out shapes) and a pencil, you can crop your photos into all kinds of shapes: rectangle, circle, oval, heart, star, birthday balloon? You can also crop a photo following the contours of a person, then mount it on colored paper to make it stand out.
Some advice: carefully store your original photos and only work on copies of your snapshots!
Notes: Improve your journaling!
Ask yourself the following questions: Who? When? Where? Why? How ?
Your answers can be journaled in various ways:
-a simple title (the name of a person or a place, a funny saying, a film or song title...).
-a poem or a nursery rhyme.
-a letter addressed to the person in the photograph.
-an entertaining paragraph, filled with stories.
-a simulated "ID card", etc.
6. Page layout
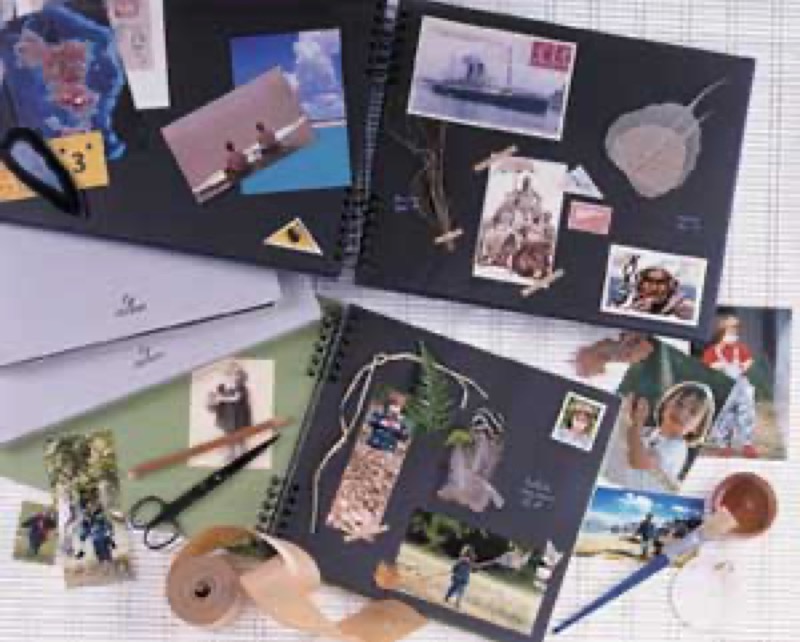
Before adhering the elements onto your page, you should try out different arrangements. There are many page maps (sketches) available. They will help you find just the right lay out for your photos. Add a few embellishments here and there, then adhere all of your elements to the page.
Tips
The chic look of tags
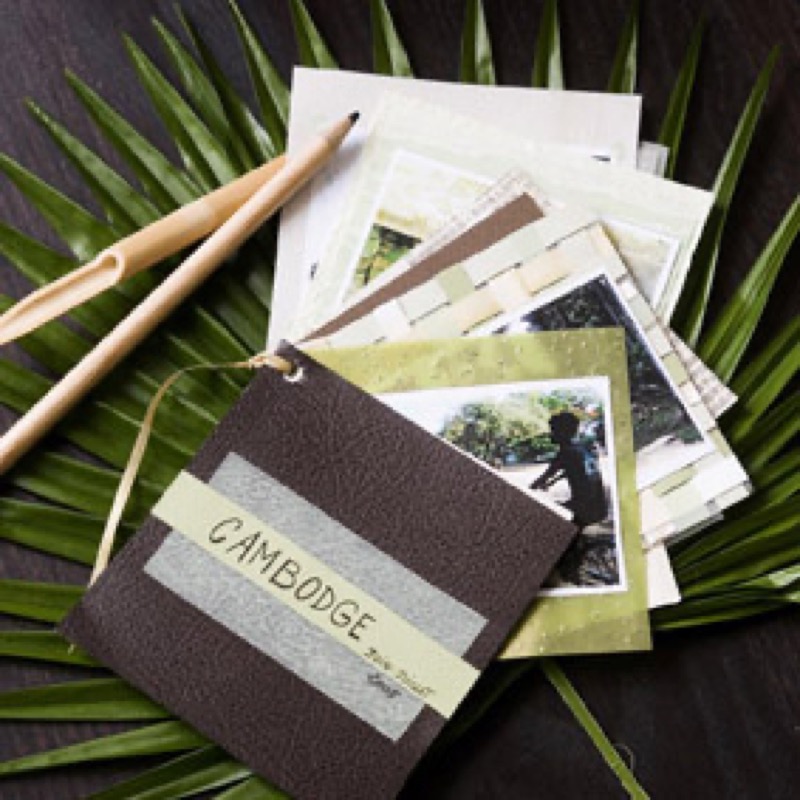
They started out as simple labels for luggage, now tags come in all different shapes (circles, squares, triangles, flowers, letters...) and materials (fabric, metal, wood, plastic, modeling clay...). A decorative object in its own right, you can journal on tags or use them to frame a photo.
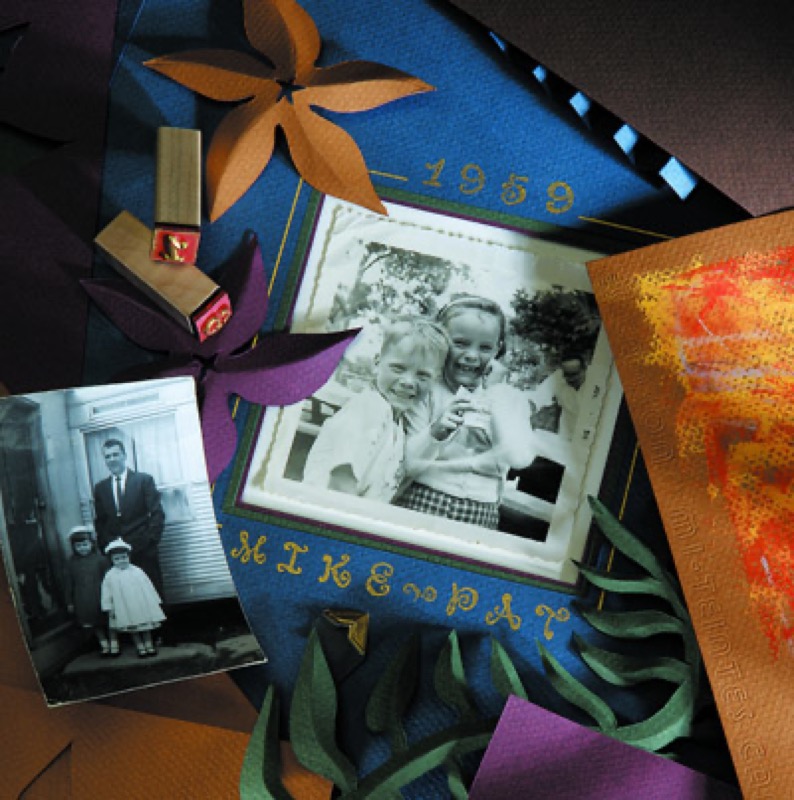
To begin, find a label or draw your own original shape using a stencil pattern. Punch a hole in it and add a tie (raffia, ribbon, string, paperclip, safety pin...). Lastly, add some color (paint, ink, chalk), to the letters or the embellishments (stamps, stickers, collages...).
Embossing
Use embossing to highlight a design. There are two different types of embossing:
-Dry embossing, rubbing paper over a raised design using a metal tipped embossing tool;
-Heat-set embossing (also known as wet embossing), using slow drying ink with embossing powder which dries to a hard finish when heated.


